16 February 2023
Plant photography tips for your own garden
Learn how to capture stunning photos of plants at home, whether in your garden, on your balcony or even windowsill.

Freedom to travel and access to nature may be limited at the moment, but that doesn’t mean you can’t still enjoy nature photography.
Whether in your garden, on your balcony or even around your indoor plants, you can still capture stunning photos of plants at home.
Here are our top tips for beautiful plant photography.
Seasonal highlights
Nature is alive with colour throughout spring and summer.
From fresh green leaves unfurling on trees to magnificent flowers blooming, you’re spoilt for choice for photography subjects in these gorgeous seasons.
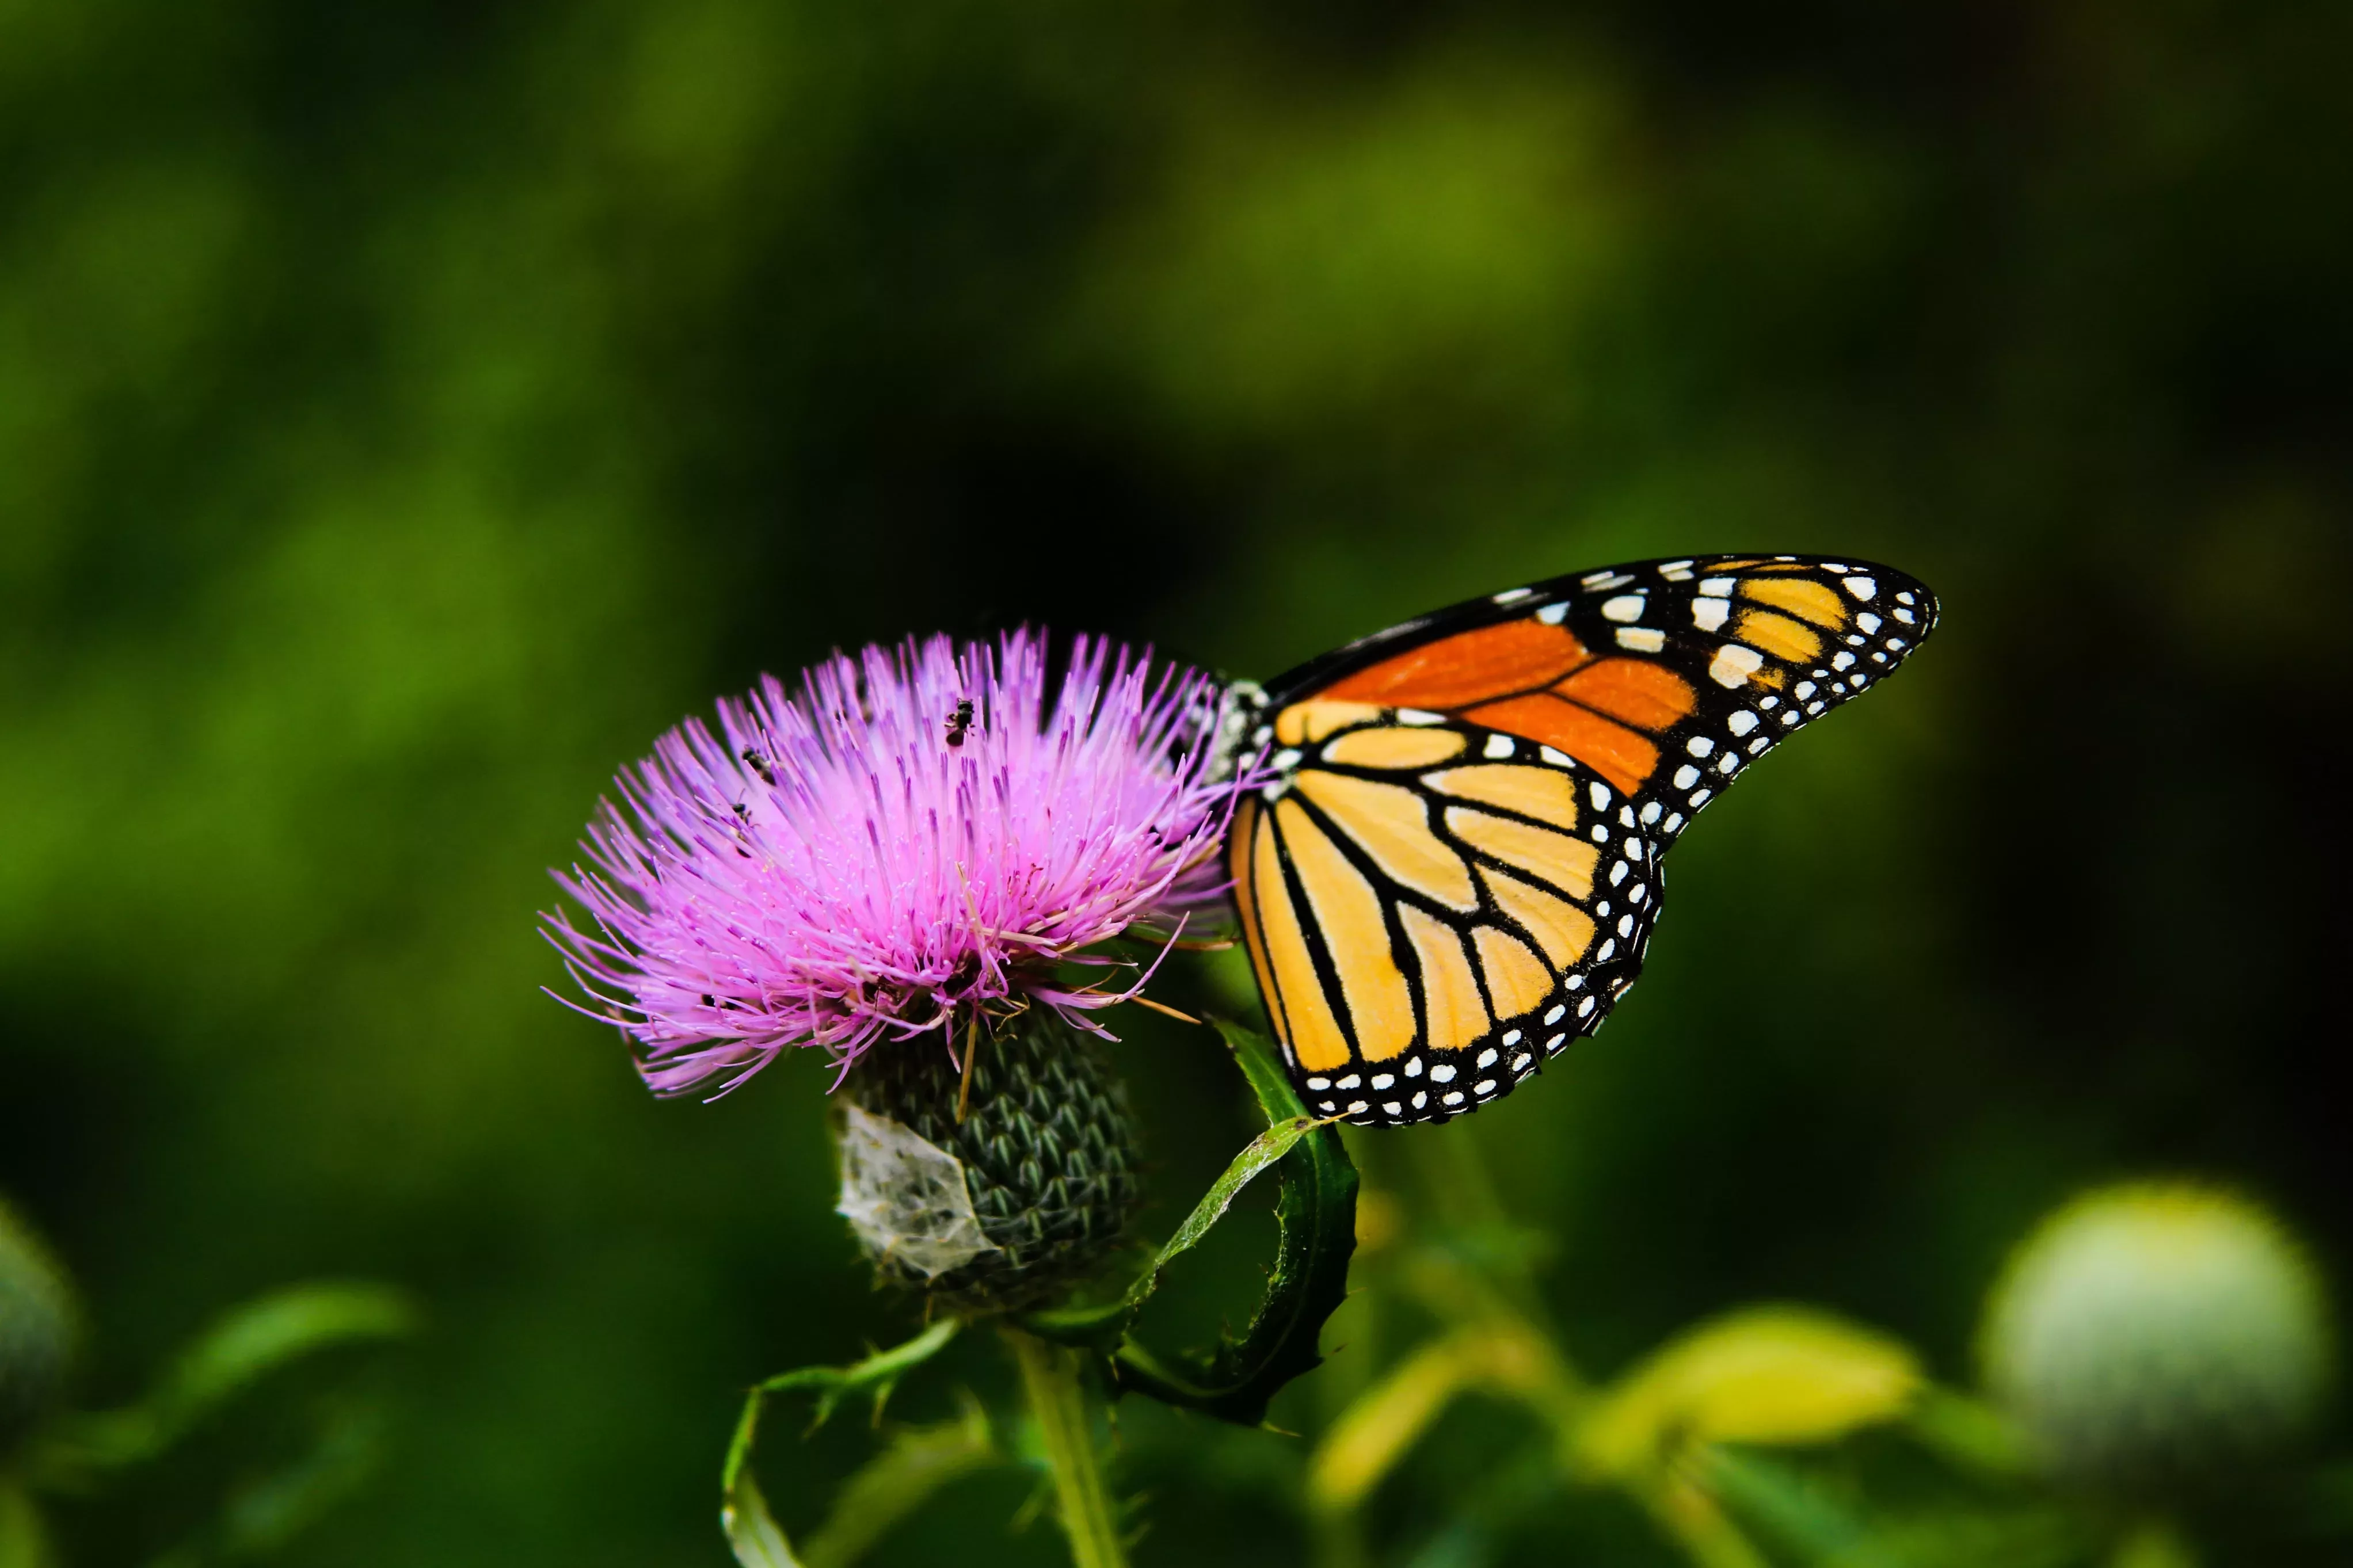
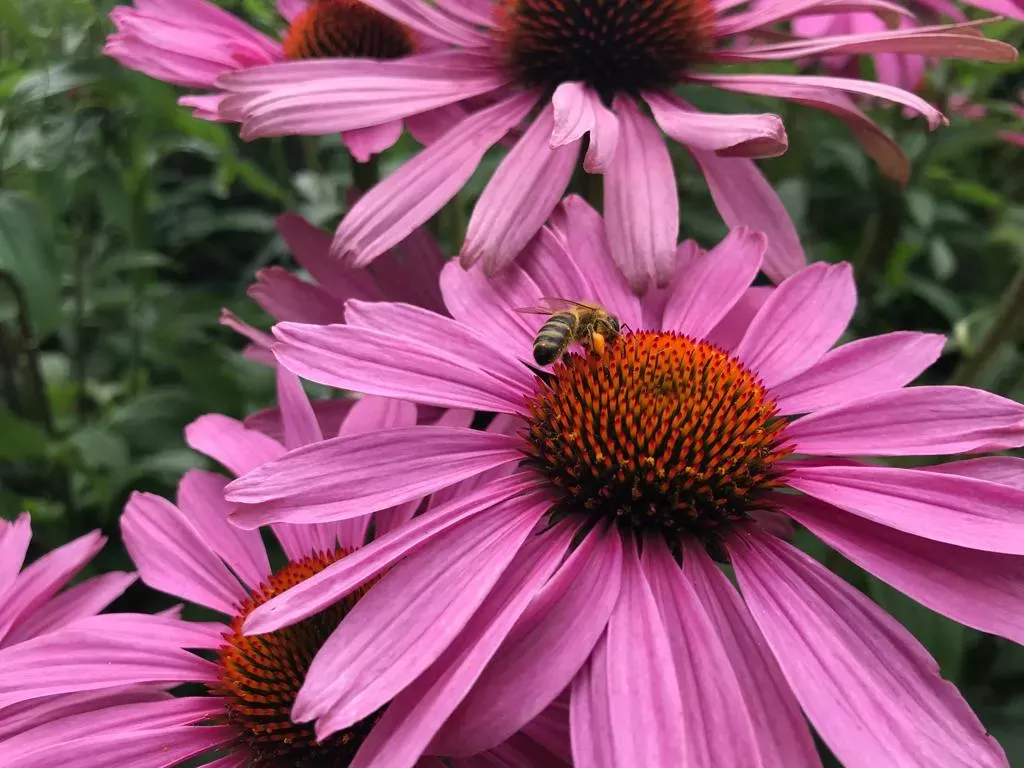
At this time of year, wildlife is also more active and visible. Including animals, birds and insects in your garden photography can sometimes complement and enhance your plant images.
If you don't have any outdoor space, you could try photographing trees and other plants that you can see from your window.
Colours and mood
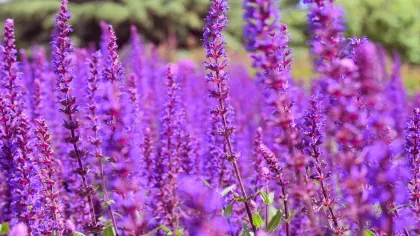
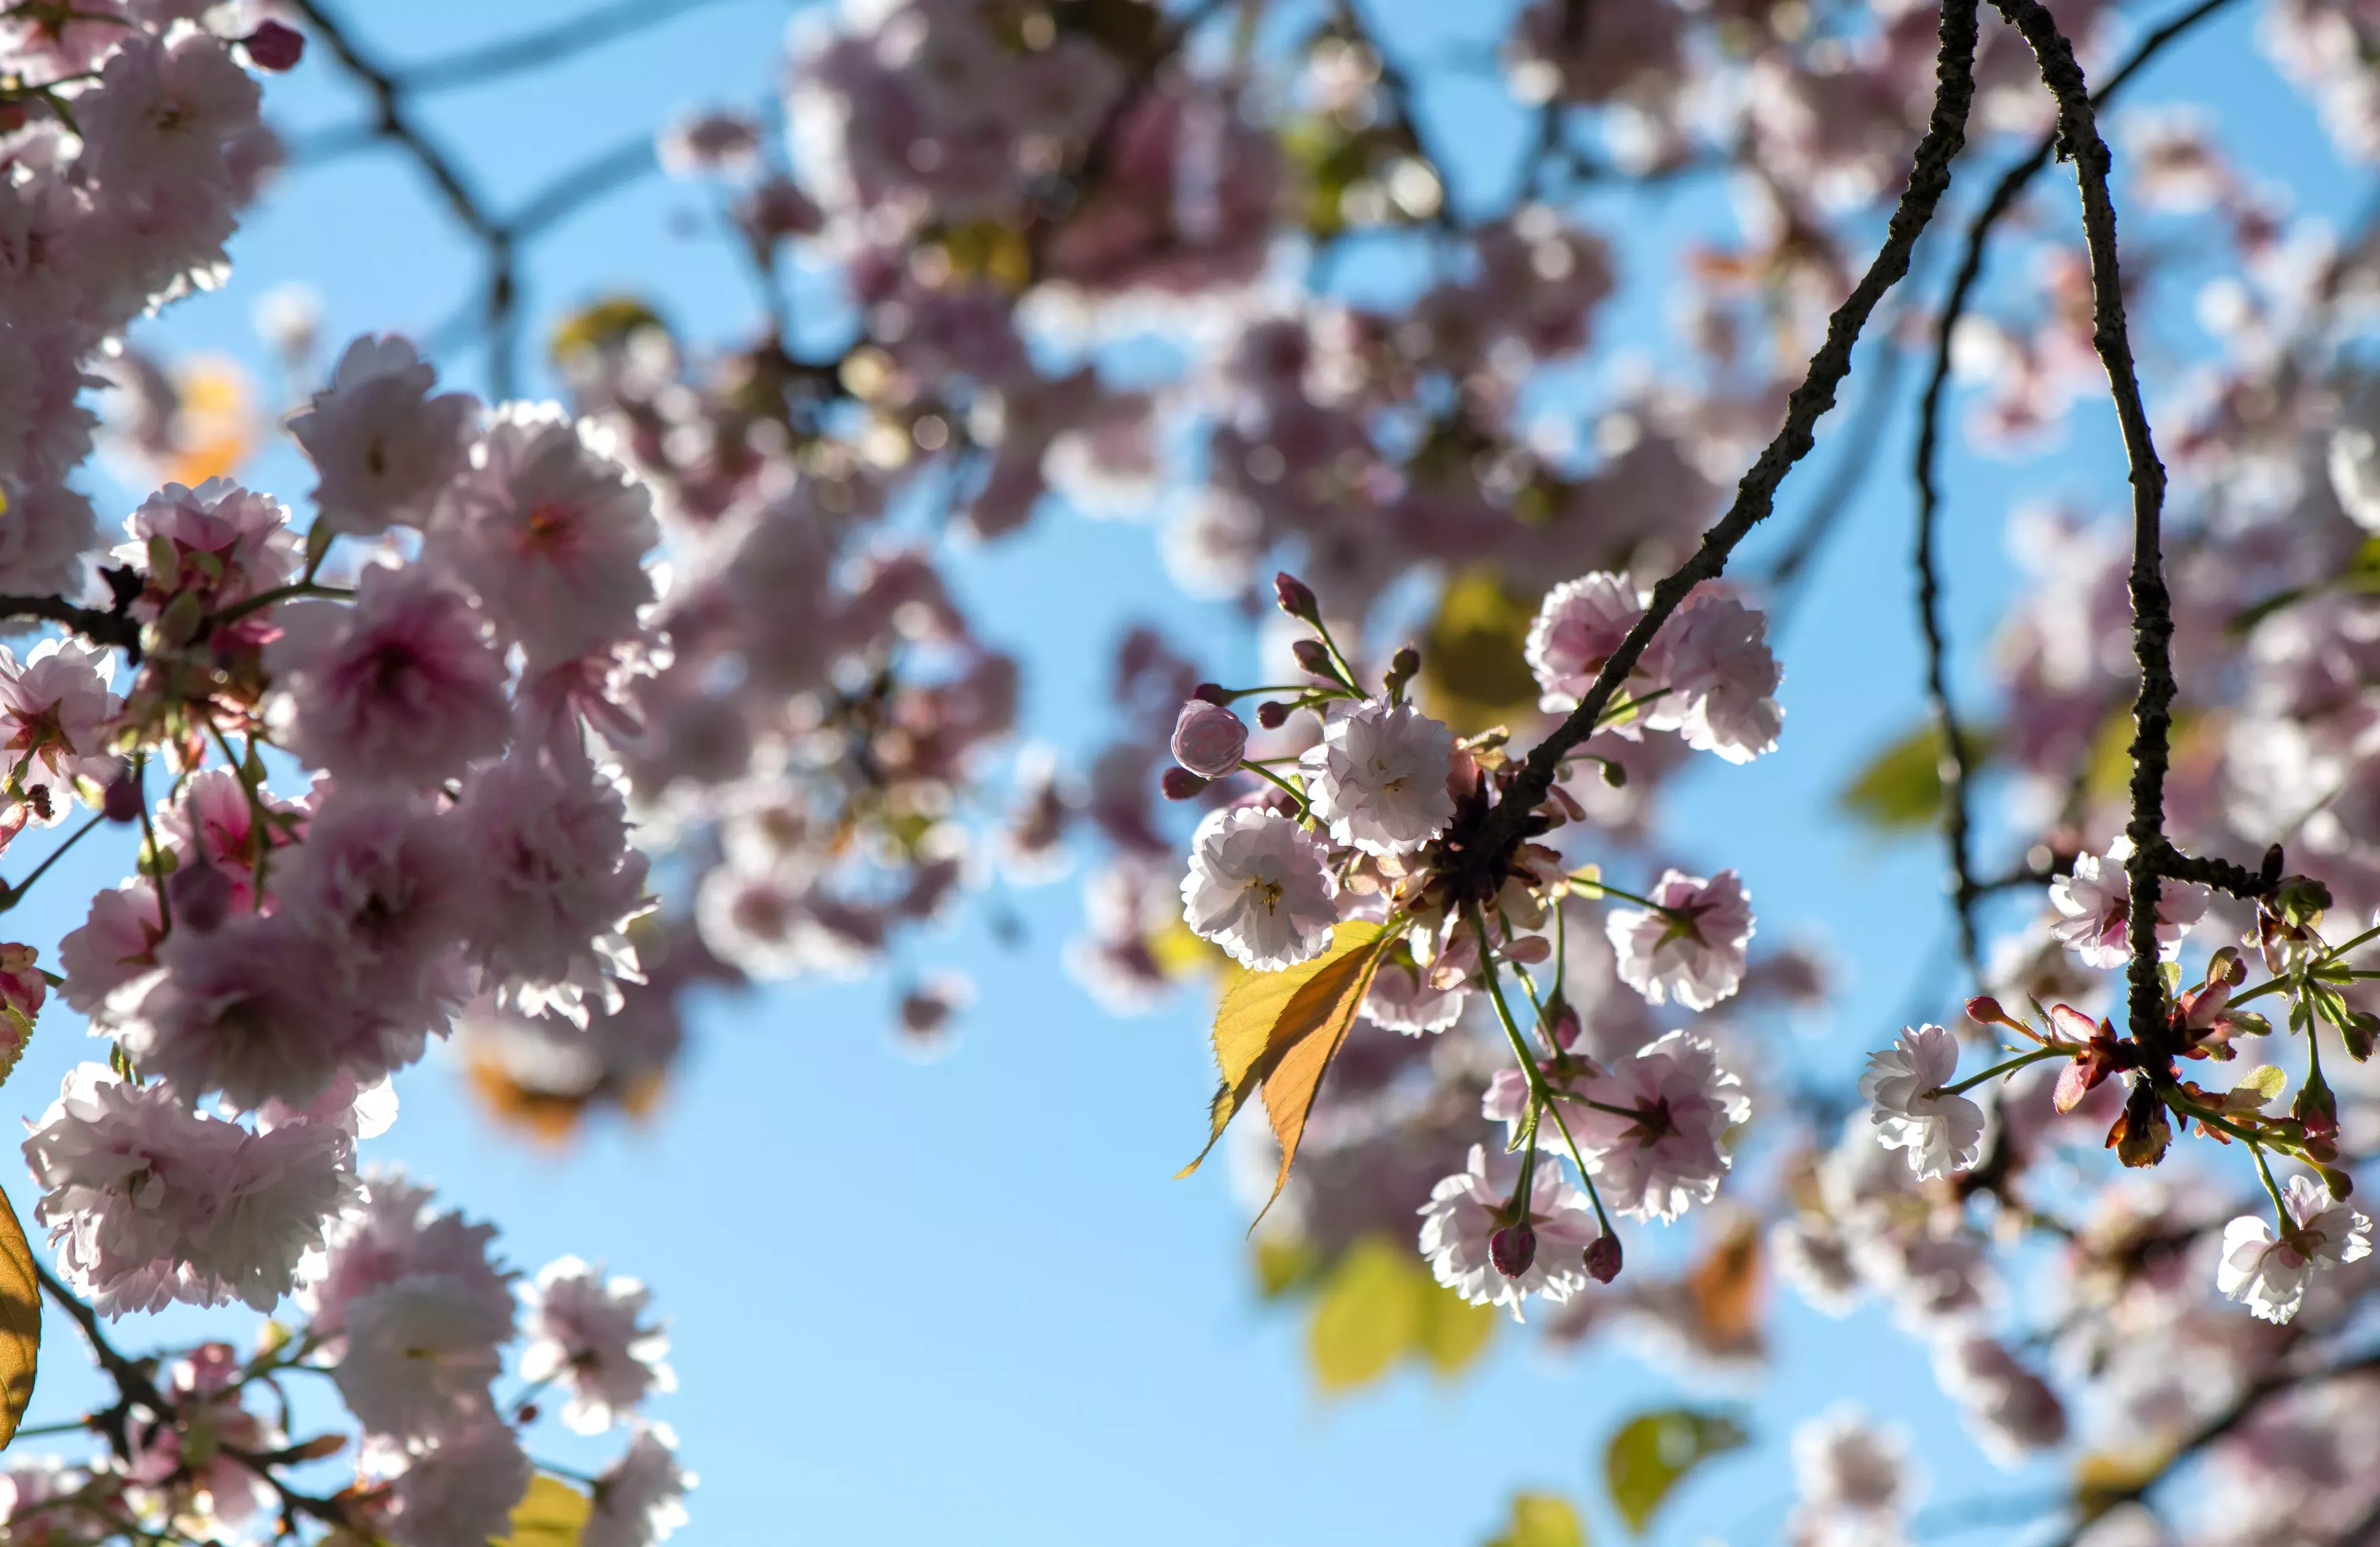
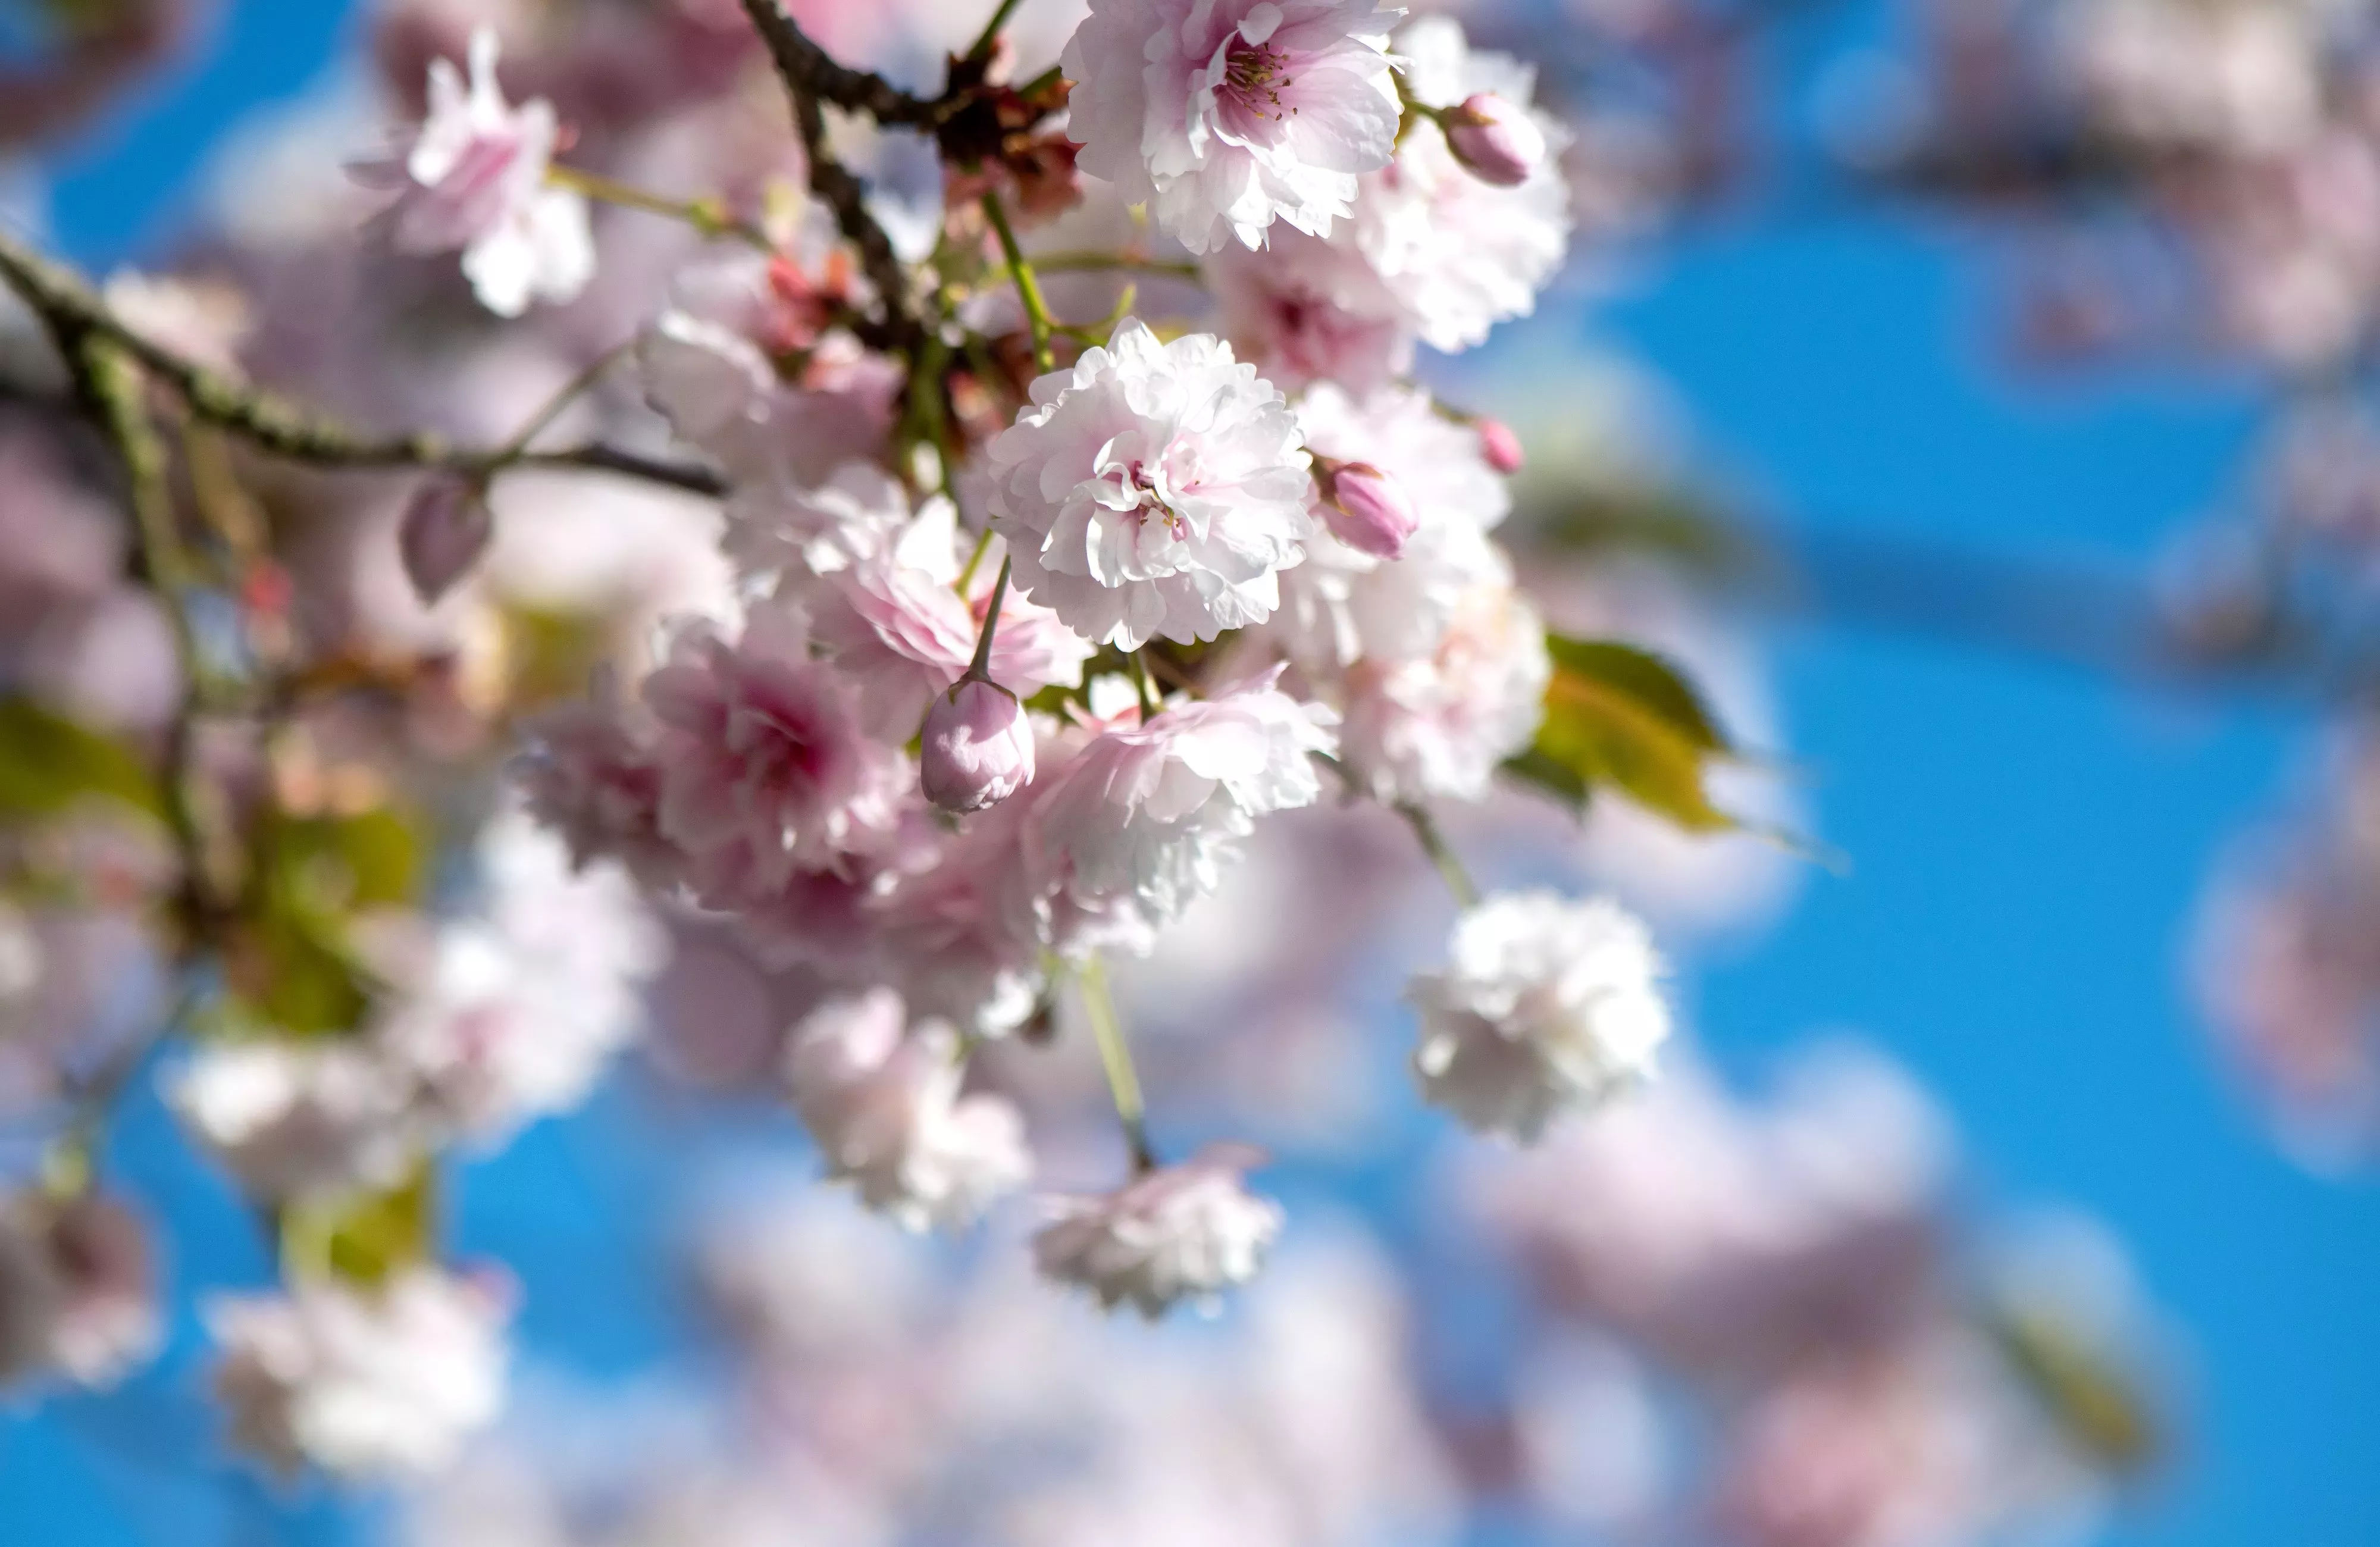
For a dramatic and eye-catching photo, play around with harmonious and contrasting colours, whether that’s seasonal soft pinks and purples, vibrant reds, warm oranges or lush greens.
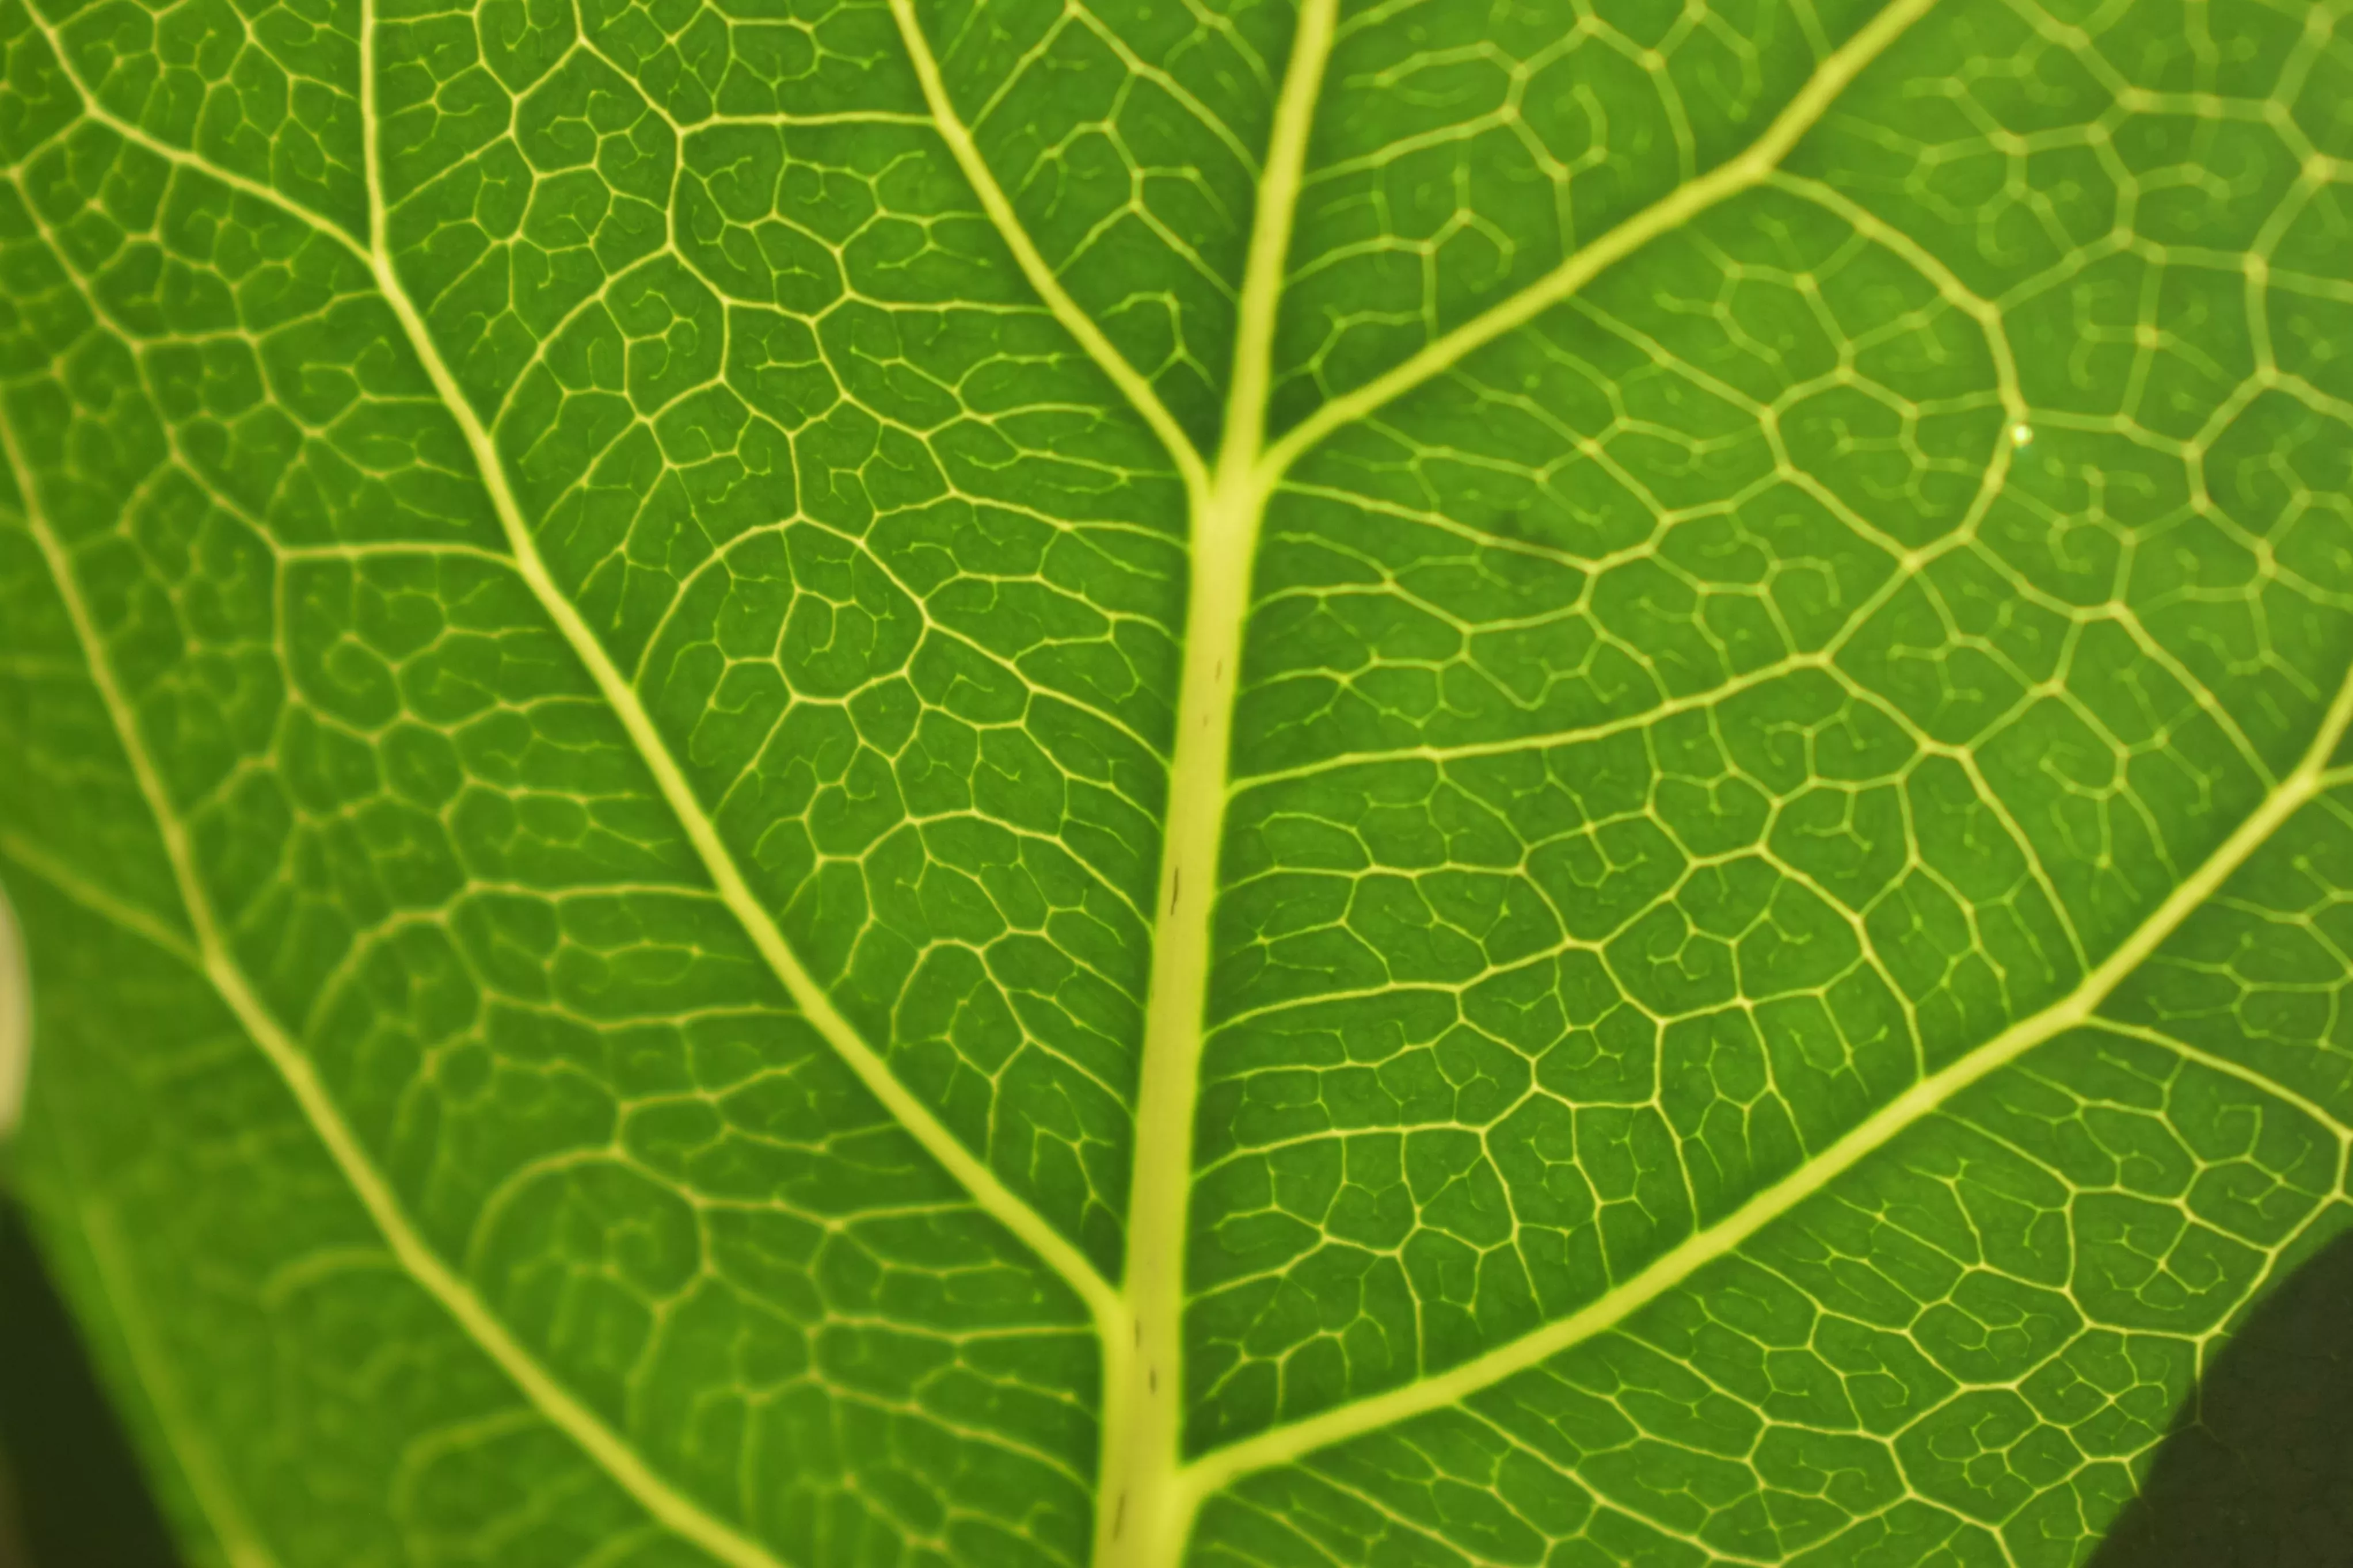
Whilst flowers have a variety of colours, don't forget to also focus on the beauty and texture of foliage, and the effect of light on or through leaves.
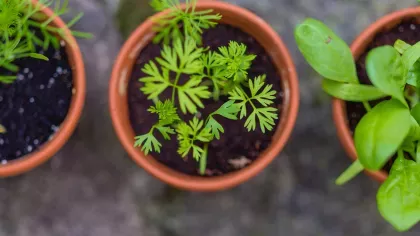
Look at the ways the colours compare and contrast in your own garden planting scheme, vegetable patch or houseplant collections.
Best time of day
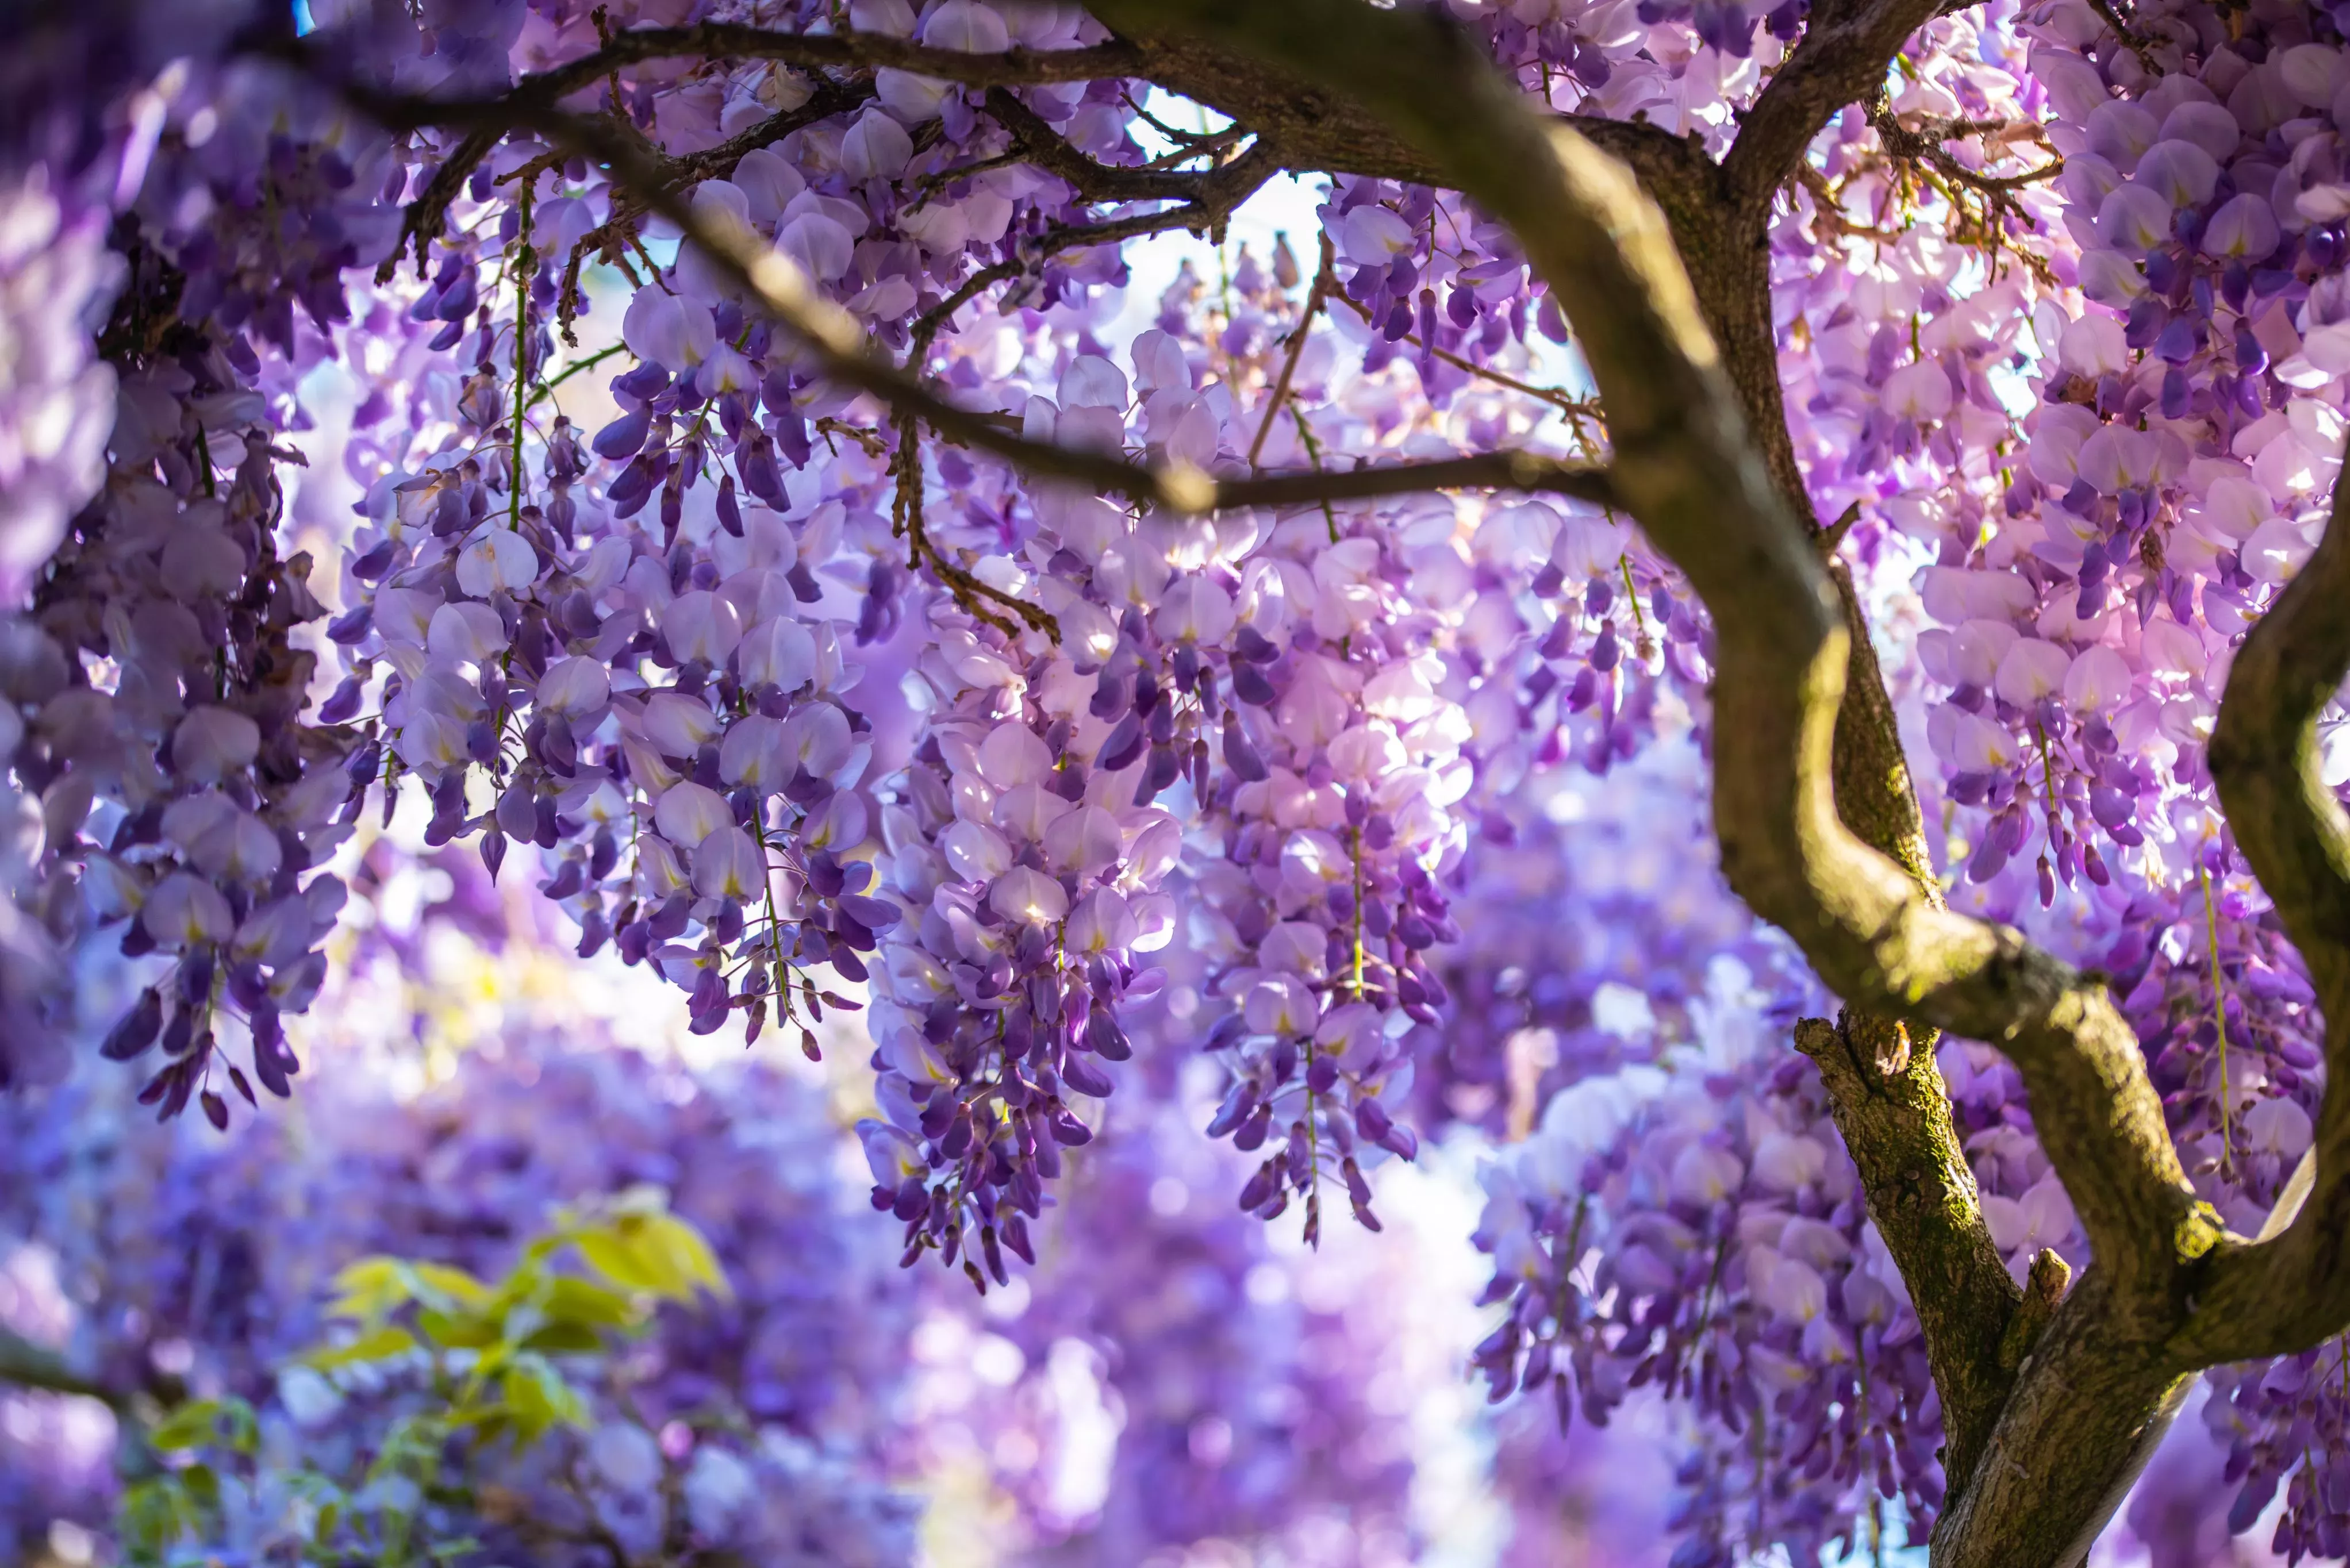
Lighting is key in plant photography. Early mornings and late afternoons usually offer the best natural light.
At this time of day, the sun emits a soft and warm golden glow, perfect for capturing beautiful images.
For beginners, it's a good idea to take pictures when the sunlight is not directly hitting the plants. This is so you know where the light will be and how it will behave in your space.
When the sky is overcast you can also capture more of the natural colours of plants.
Get up close and personal
Your space may be limited at home and you might be taking pictures in a small back garden or even around your windowsill.
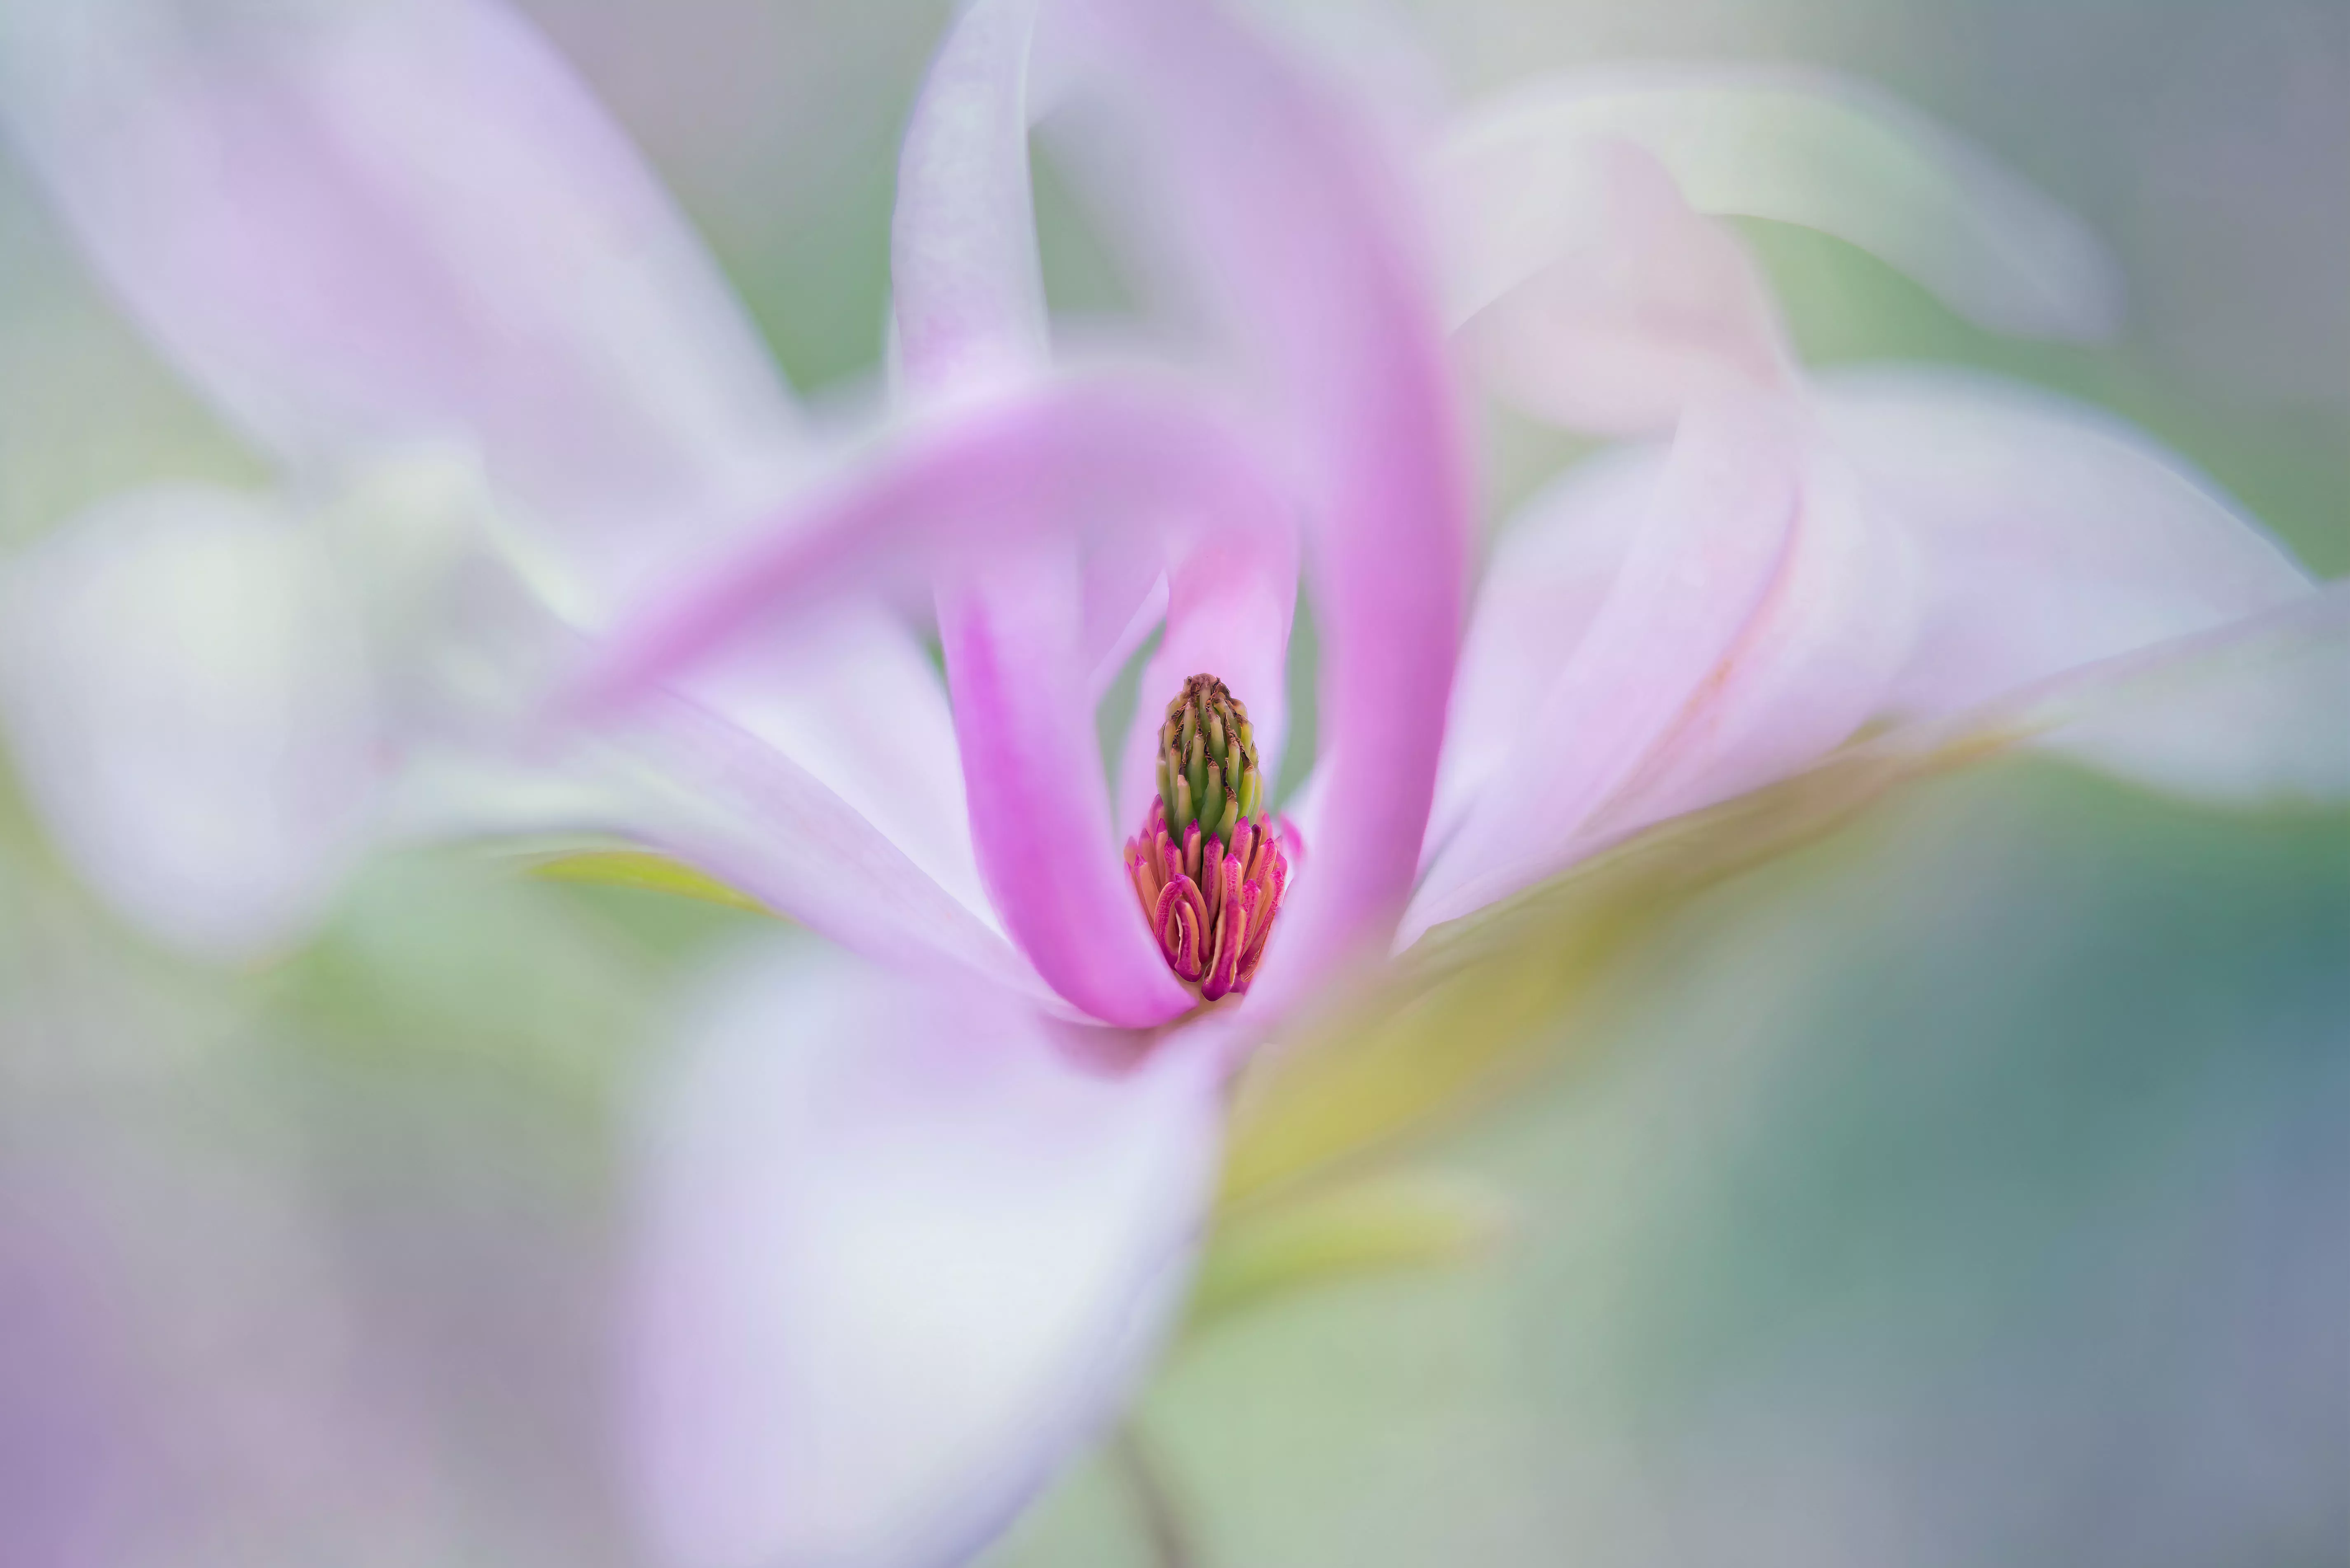
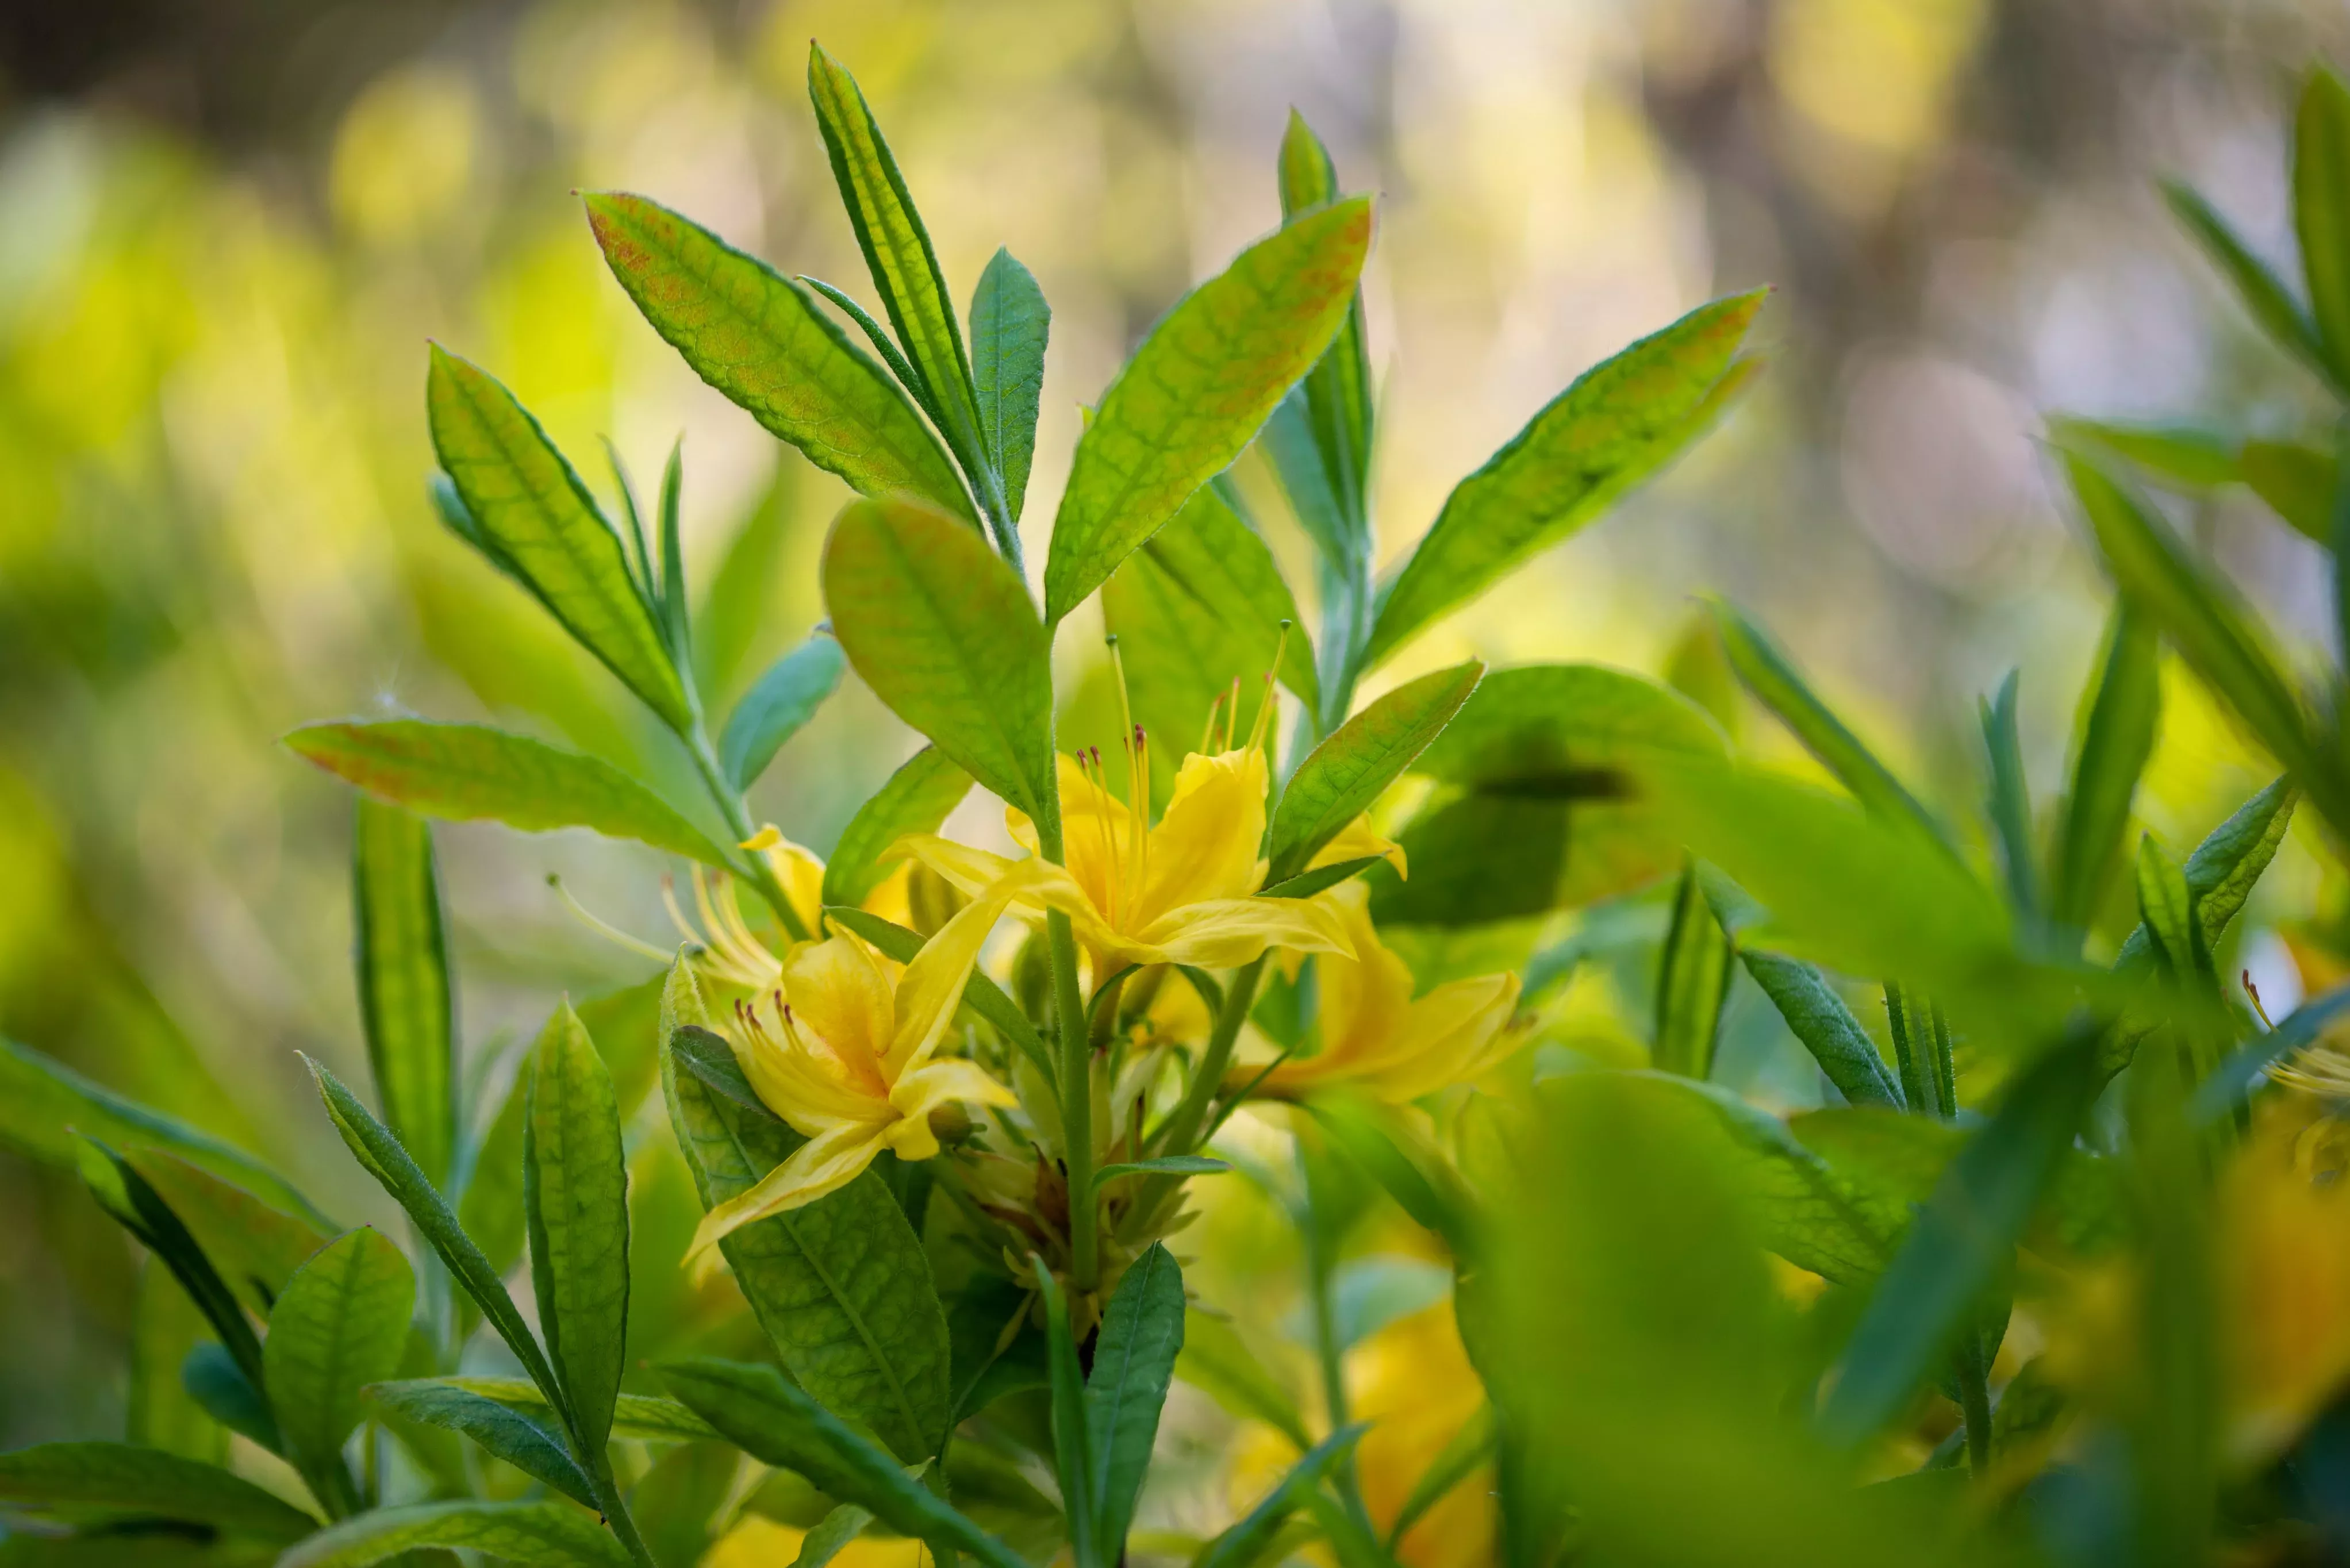
So, this is a great opportunity to get striking close-up shots and practise your macro photography skills.
Have a tripod or something sturdy that you can place your camera on to avoid blurry images.
Don’t worry if you haven’t got a macro lens. Place yourself at the minimum focal distance that your lens will focus at and zoom in as much as you can.
You can crop the image afterwards (but do remember, if you crop in heavily you will be removing pixels from the image which will affect its quality).
Make your close-up photographs more dramatic by filling the frame with a single colour or texture of a plant.
Add some personality
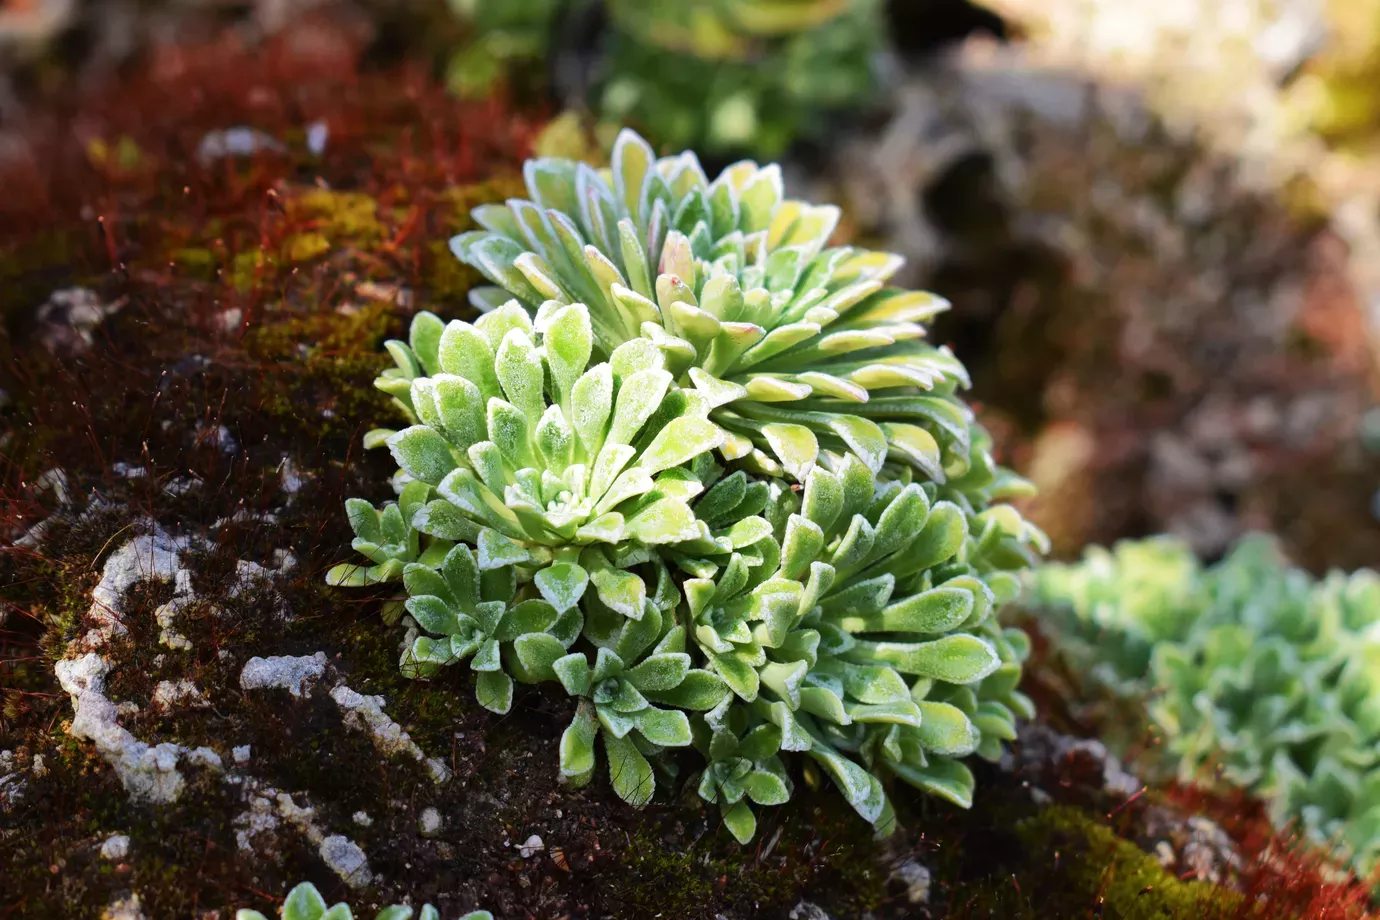
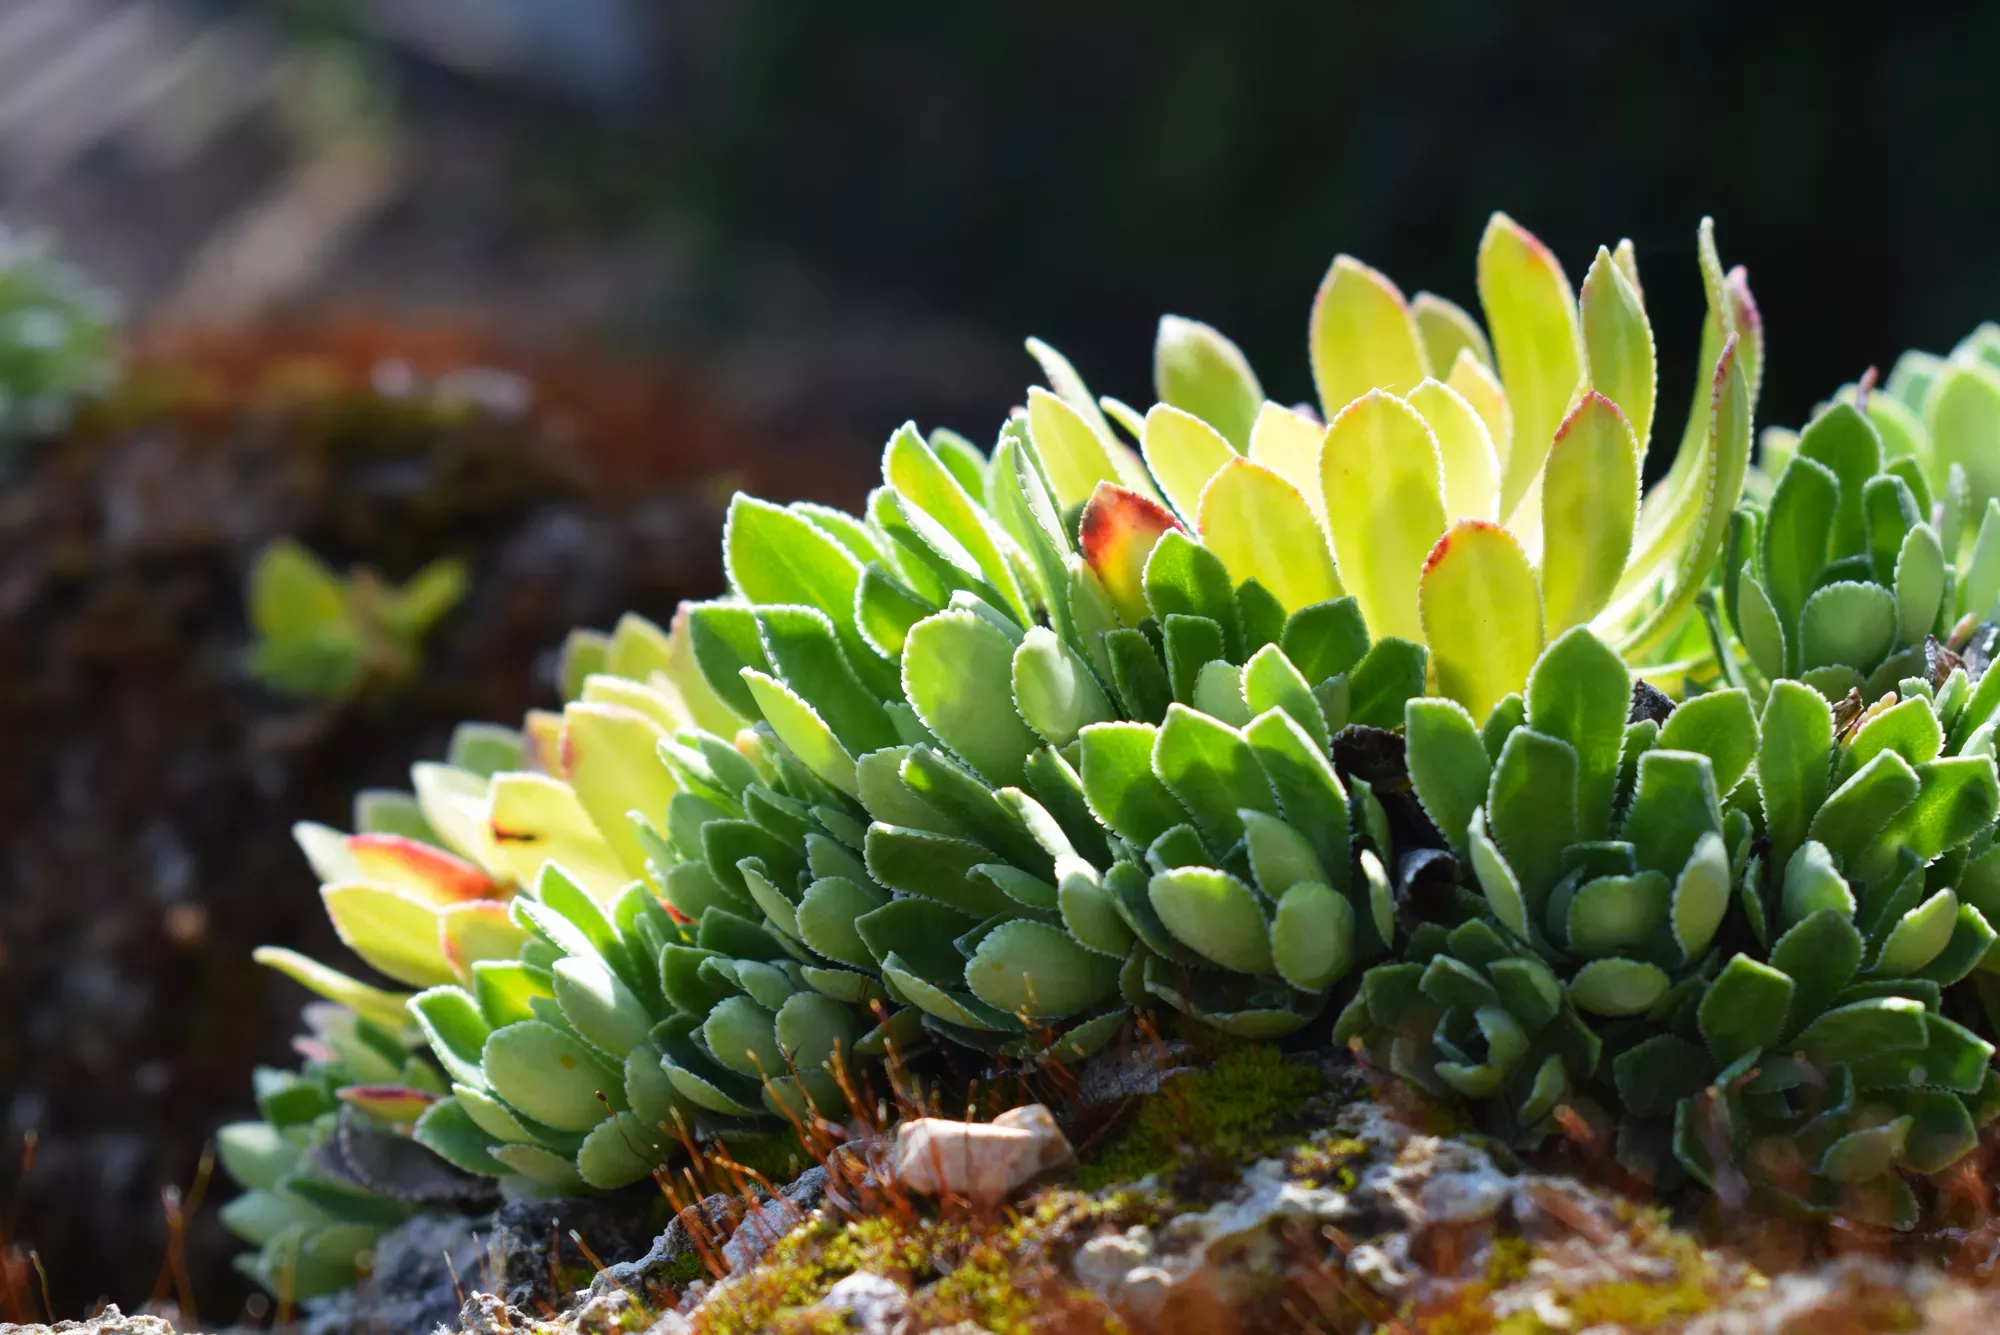
Capture distinct characteristics of your plants to portray personality. Focus on lines, patterns, textures, shapes, shadows and light.
Tree bark, veins in a leaf, and colourful petals are all interesting subjects to explore.
You can also use the plant’s surroundings to make the image stand out, such as handmade objects and structures. Perhaps include a stone bird bath, wrought iron balcony railings or a wooden garden fence?
The wonder of water
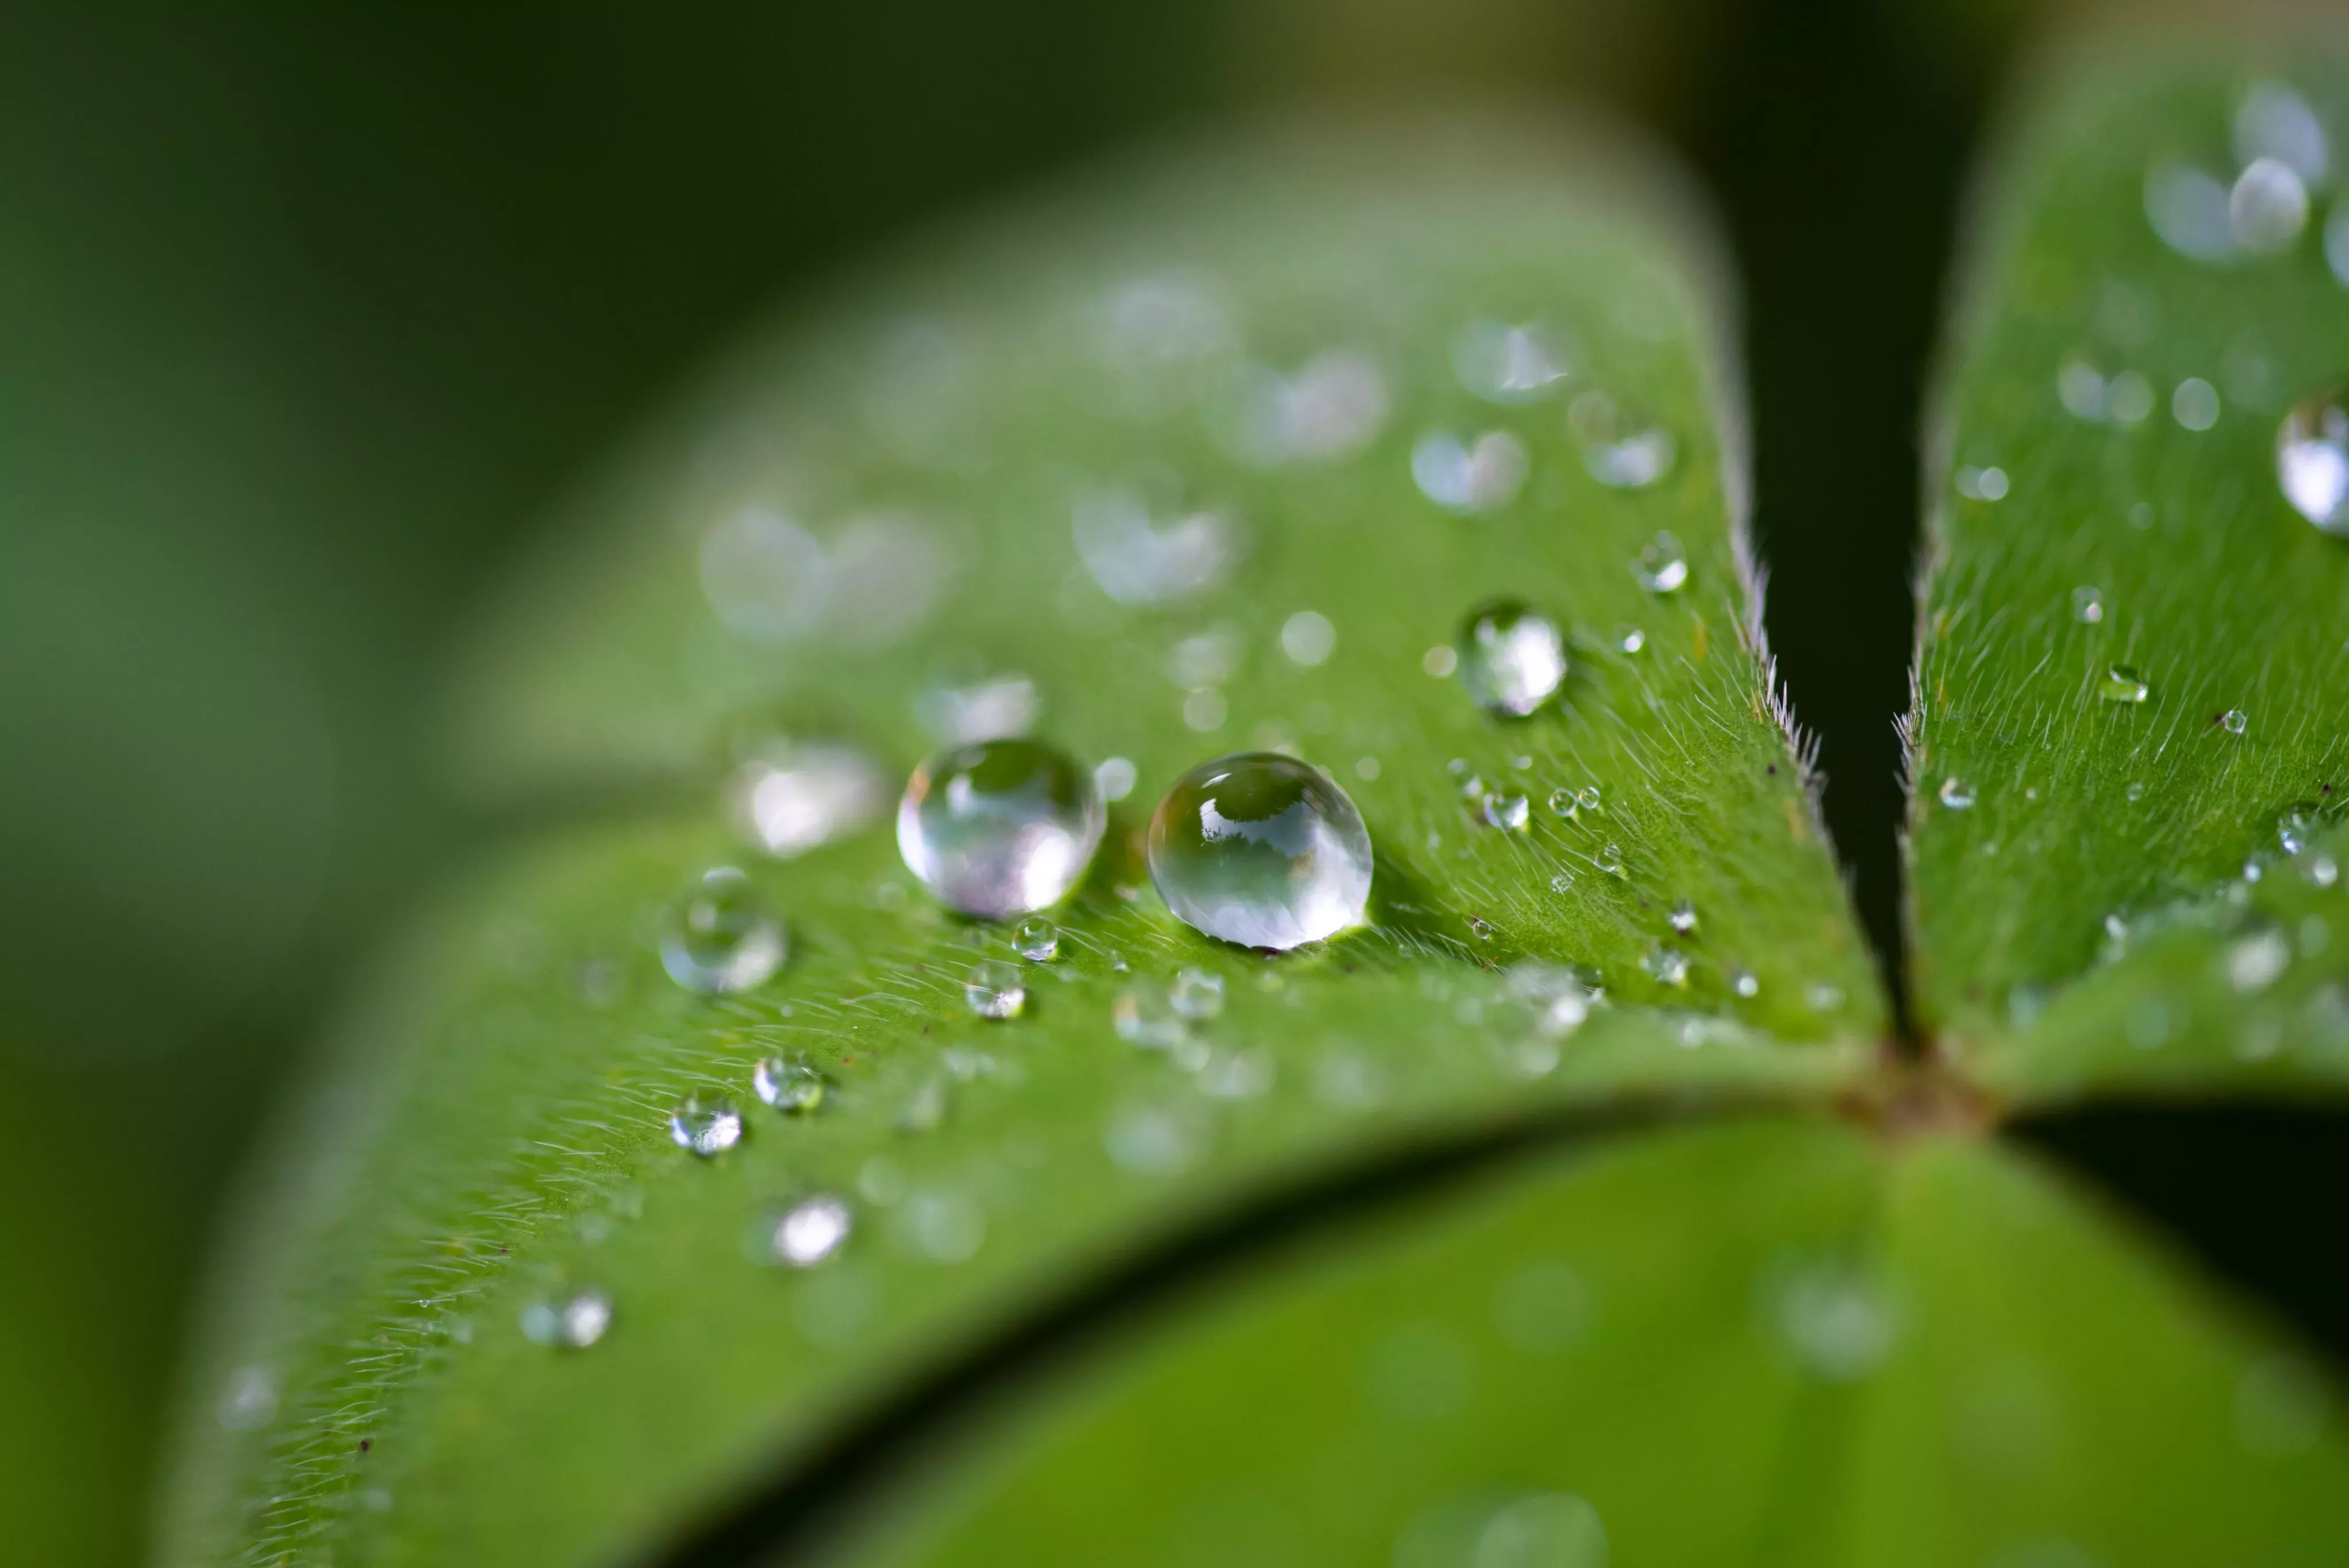
Spraying mist or watering your plants can add an interesting dimension to your plant photography.
It’s best to do this on a clear day when the sun is shining to add contrast to the image.
You can even continue to mist water over the plant as the photo is being taken to make it look like rainfall. A spray bottle or garden sprinkler will work nicely.
This is also a great tip for when you’re practising your macro photography.
General plant photography top tips
- Keep the photo background clear of any distracting elements – minimalism is good
- Try to position yourself so you can find complementary colours in the background of the image
- Vary the angles from which you take your photographs. This allows complete control over how significant the background or foreground will be
- Set the camera on a wide aperture to reduce the depth of field. This will keep your subject sharp while its surroundings look blurry
- Use compositional tools such as a rectangle frame to arrange and frame your plant photos
- Take photos in both portrait and landscape for variety
Follow these top tips to take some great plant pictures, experiment, and, most importantly, have fun!
