25 October 2022
Night-time photography top tips
Listen up budding photographers! Capture the perfect night-time photos, just in time for Glow Wild.

Capturing great photos at night can be challenging but we’ve got some handy tips to help you when you’re shooting in the dark.
Why not try out your new skills at Glow Wild, the perfect setting for a night-time shoot?
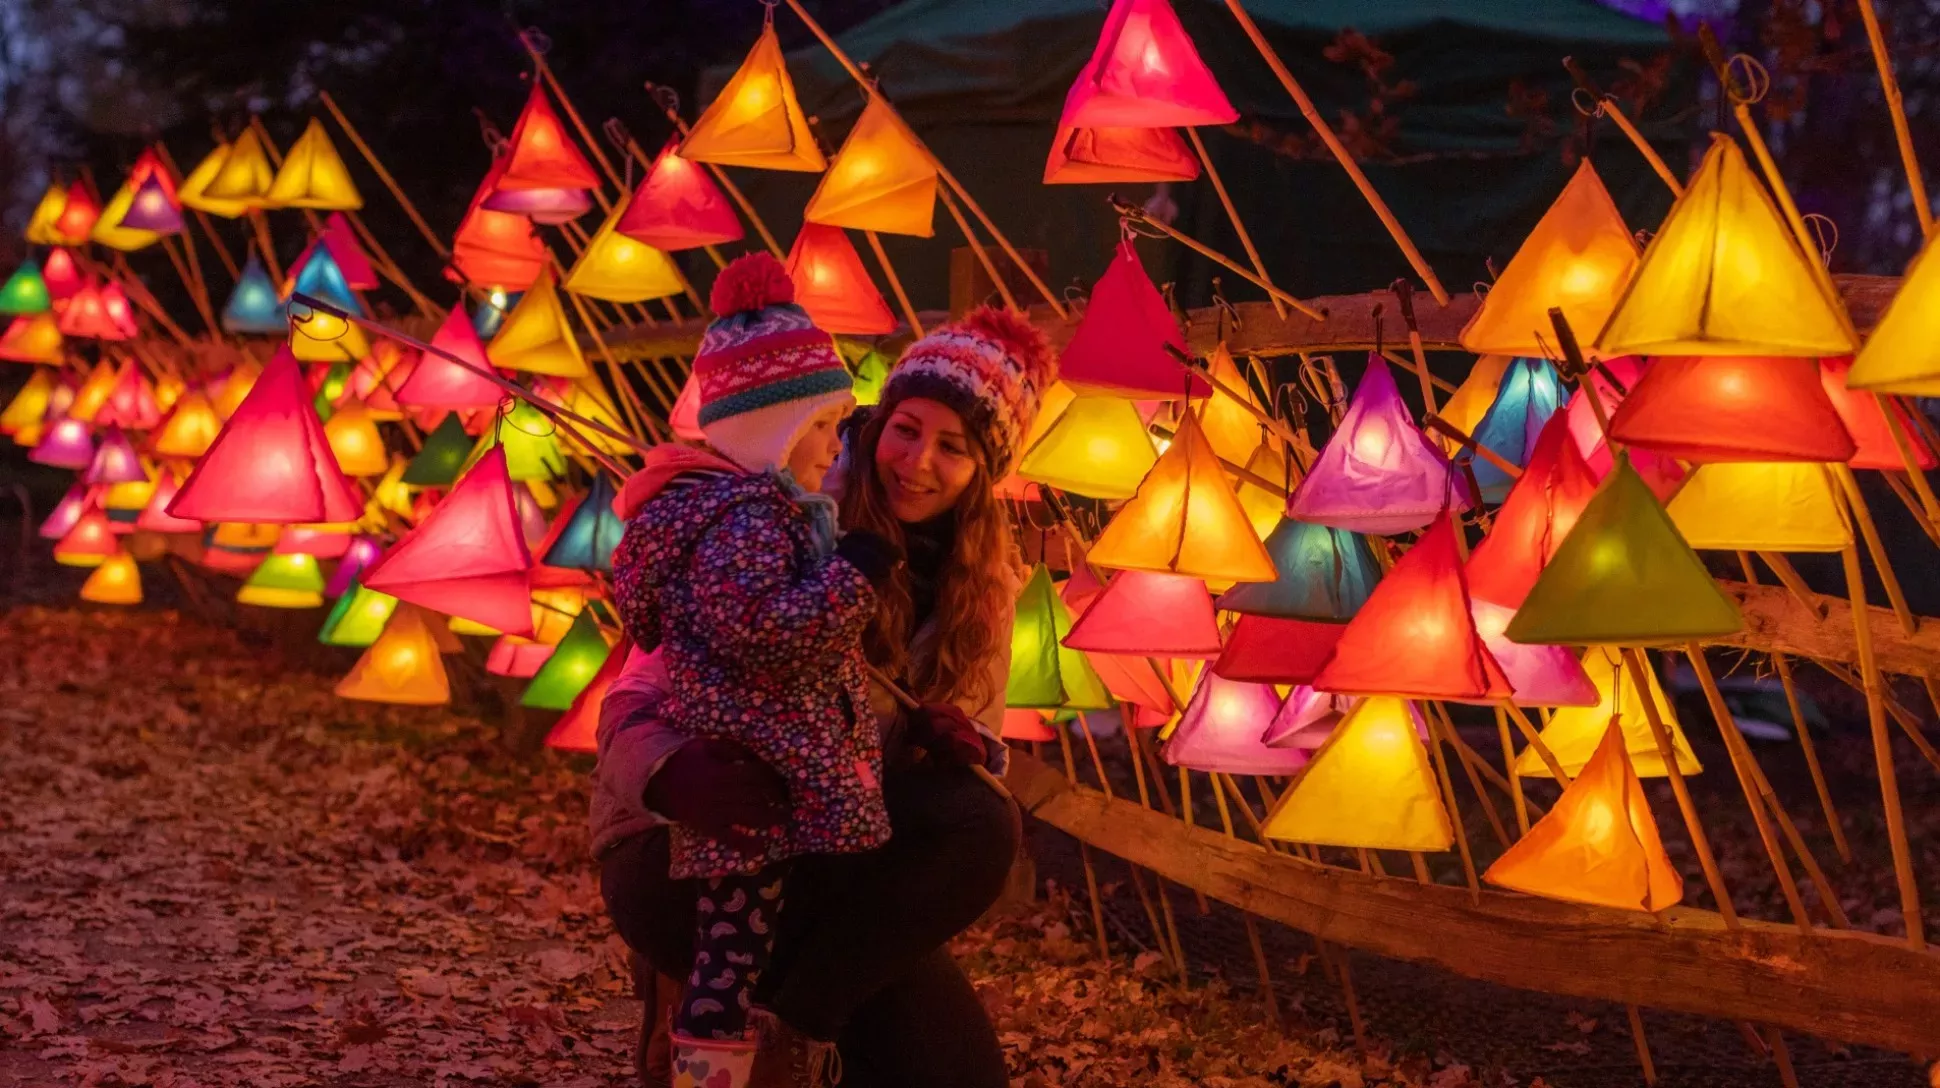
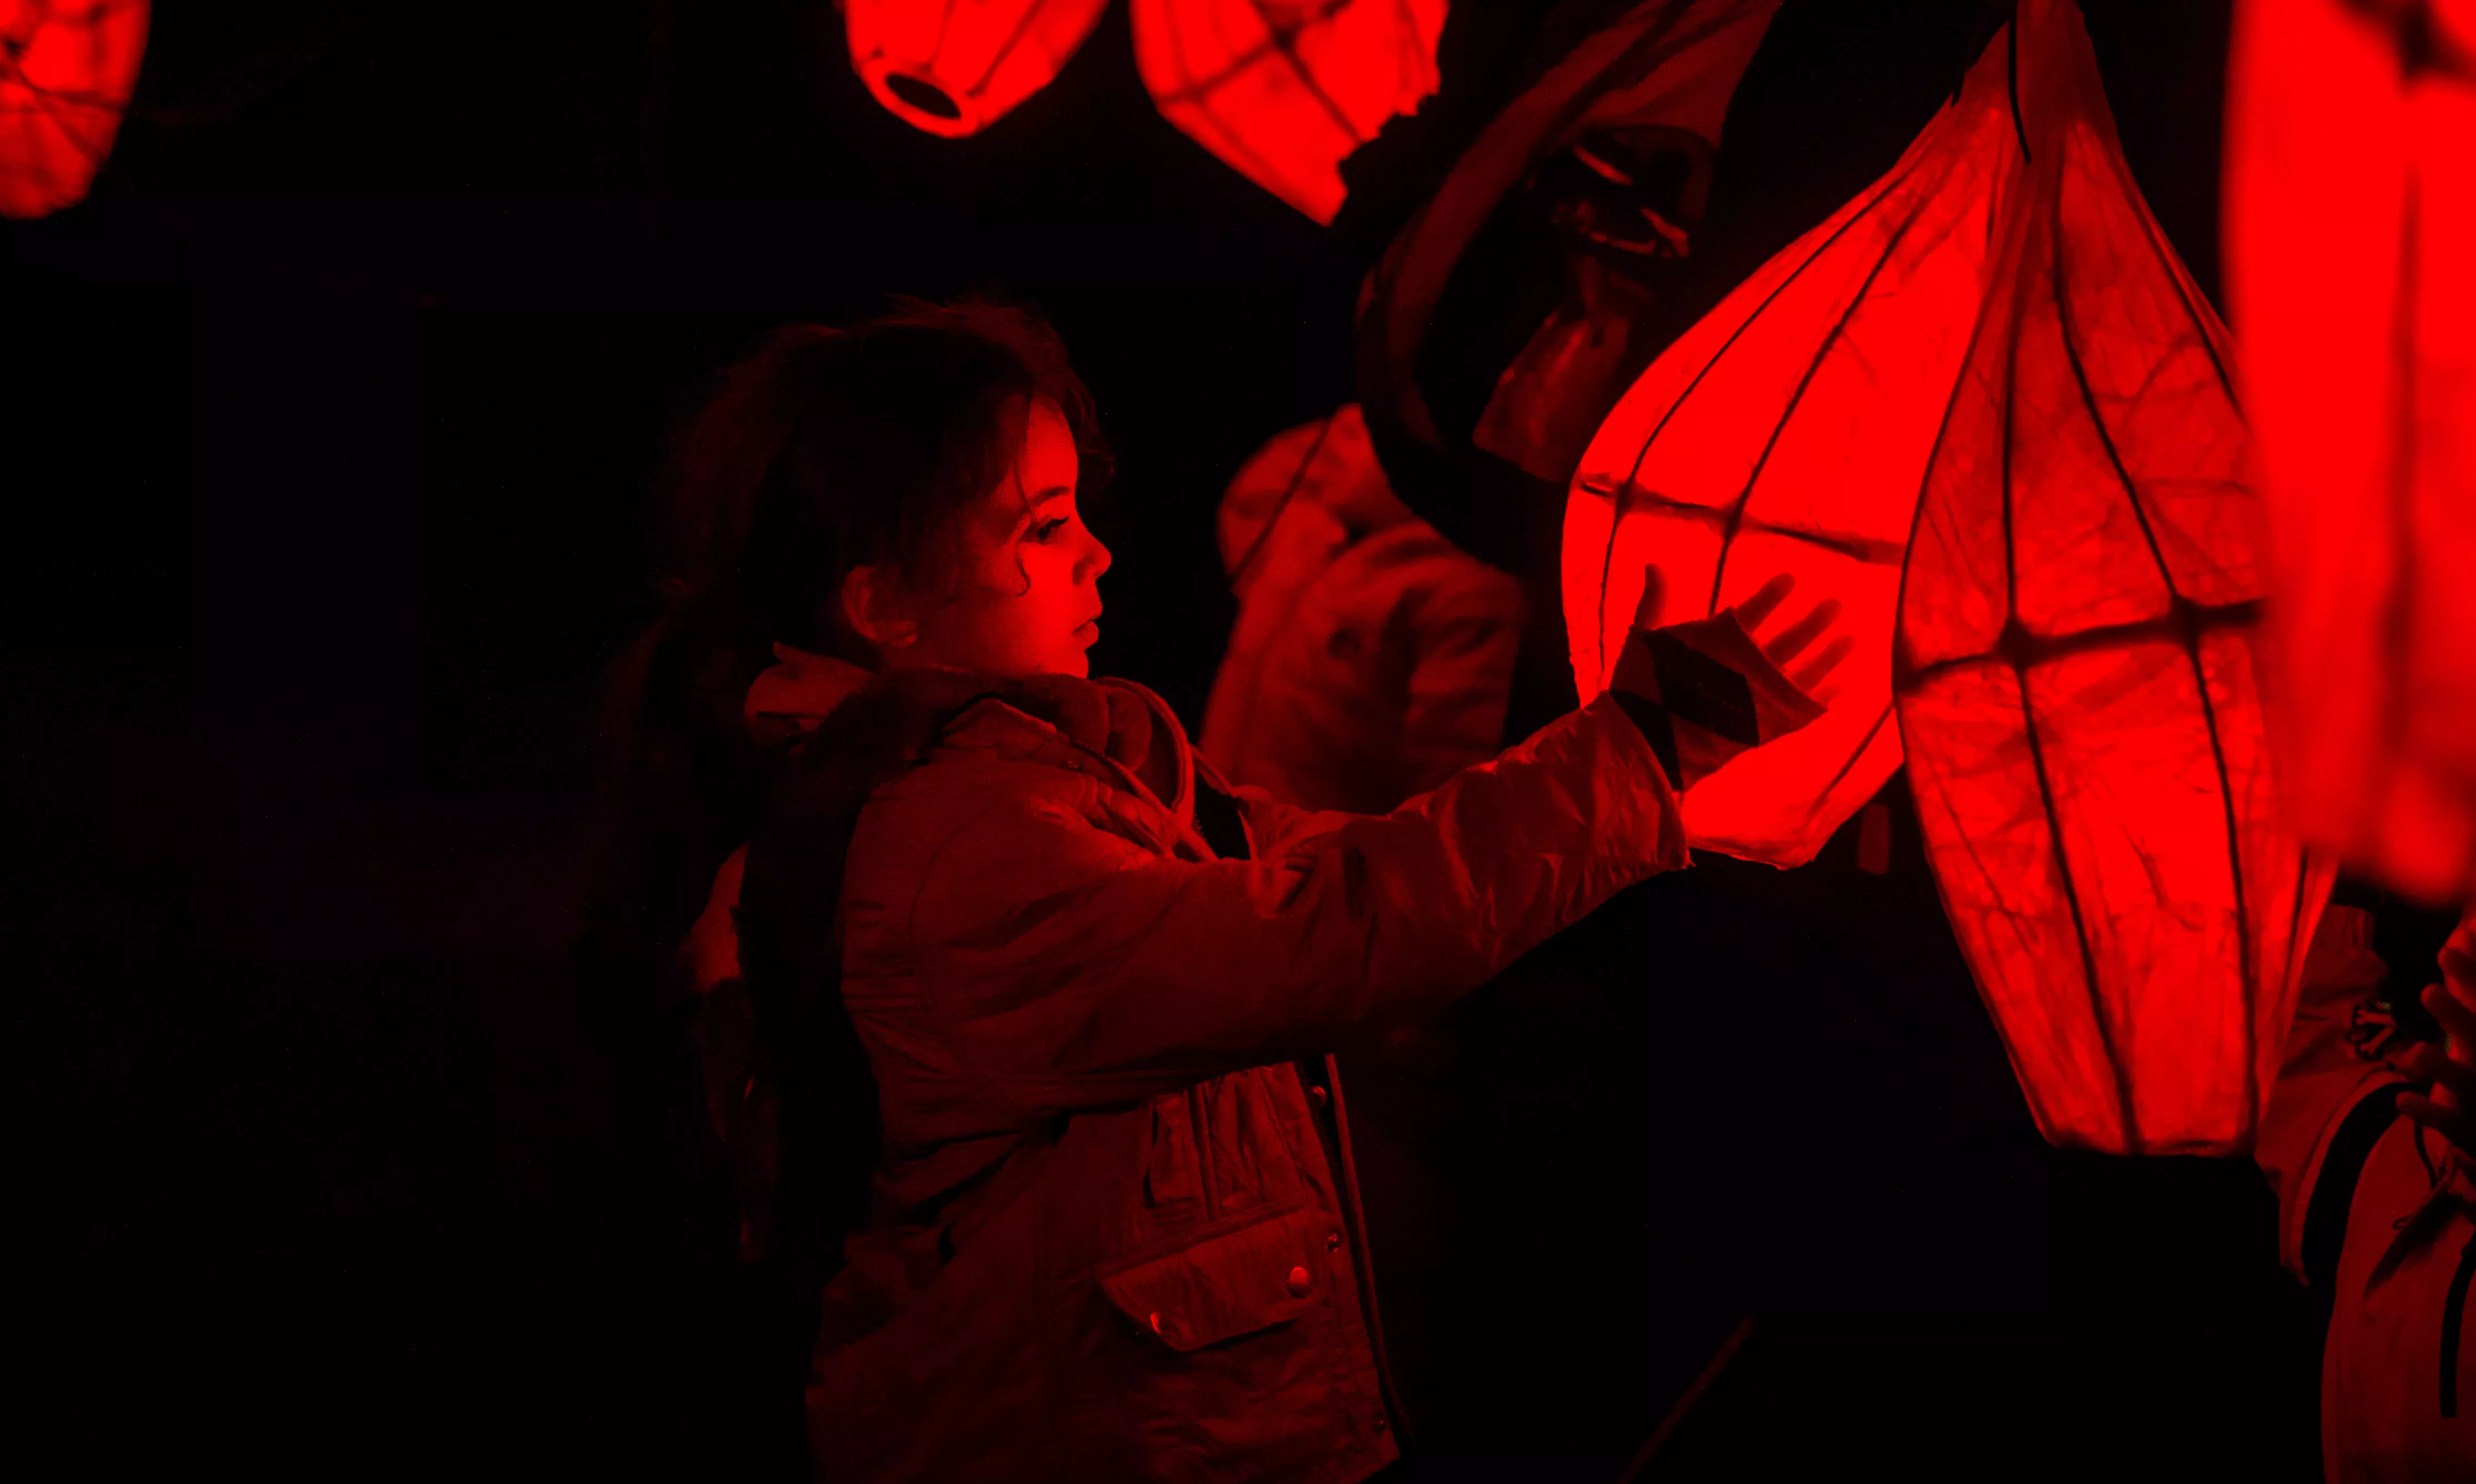
The interplay of shadow and light, warm glow of lanterns, and illuminations reflected in the water will make for visually dynamic and atmospheric photographs.
Here's how to capture them...
Keep it steady
For a sharp and unblurry night-time image you need to keep your camera steady.
Use a tripod or something else solid for support, such as a rock or wall.
For flexibility, put your camera into manual mode. It will take your camera around three to 10 seconds to record a night image depending on the amount of light available and what effect you are going for.
This means that if your camera isn’t properly supported the images may come out blurry.
The key is to keep the camera perfectly still. If there are no ledges, then at least try and keep your elbows next to your body for stability.
Avoid the blur
To avoid further camera shake you could invest in a shutter release remote trigger.
Just pressing the shutter button on the camera can cause it to shake, even with a tripod.
Your camera’s self-timer function will also help prevent blurry photos.
Let the light in
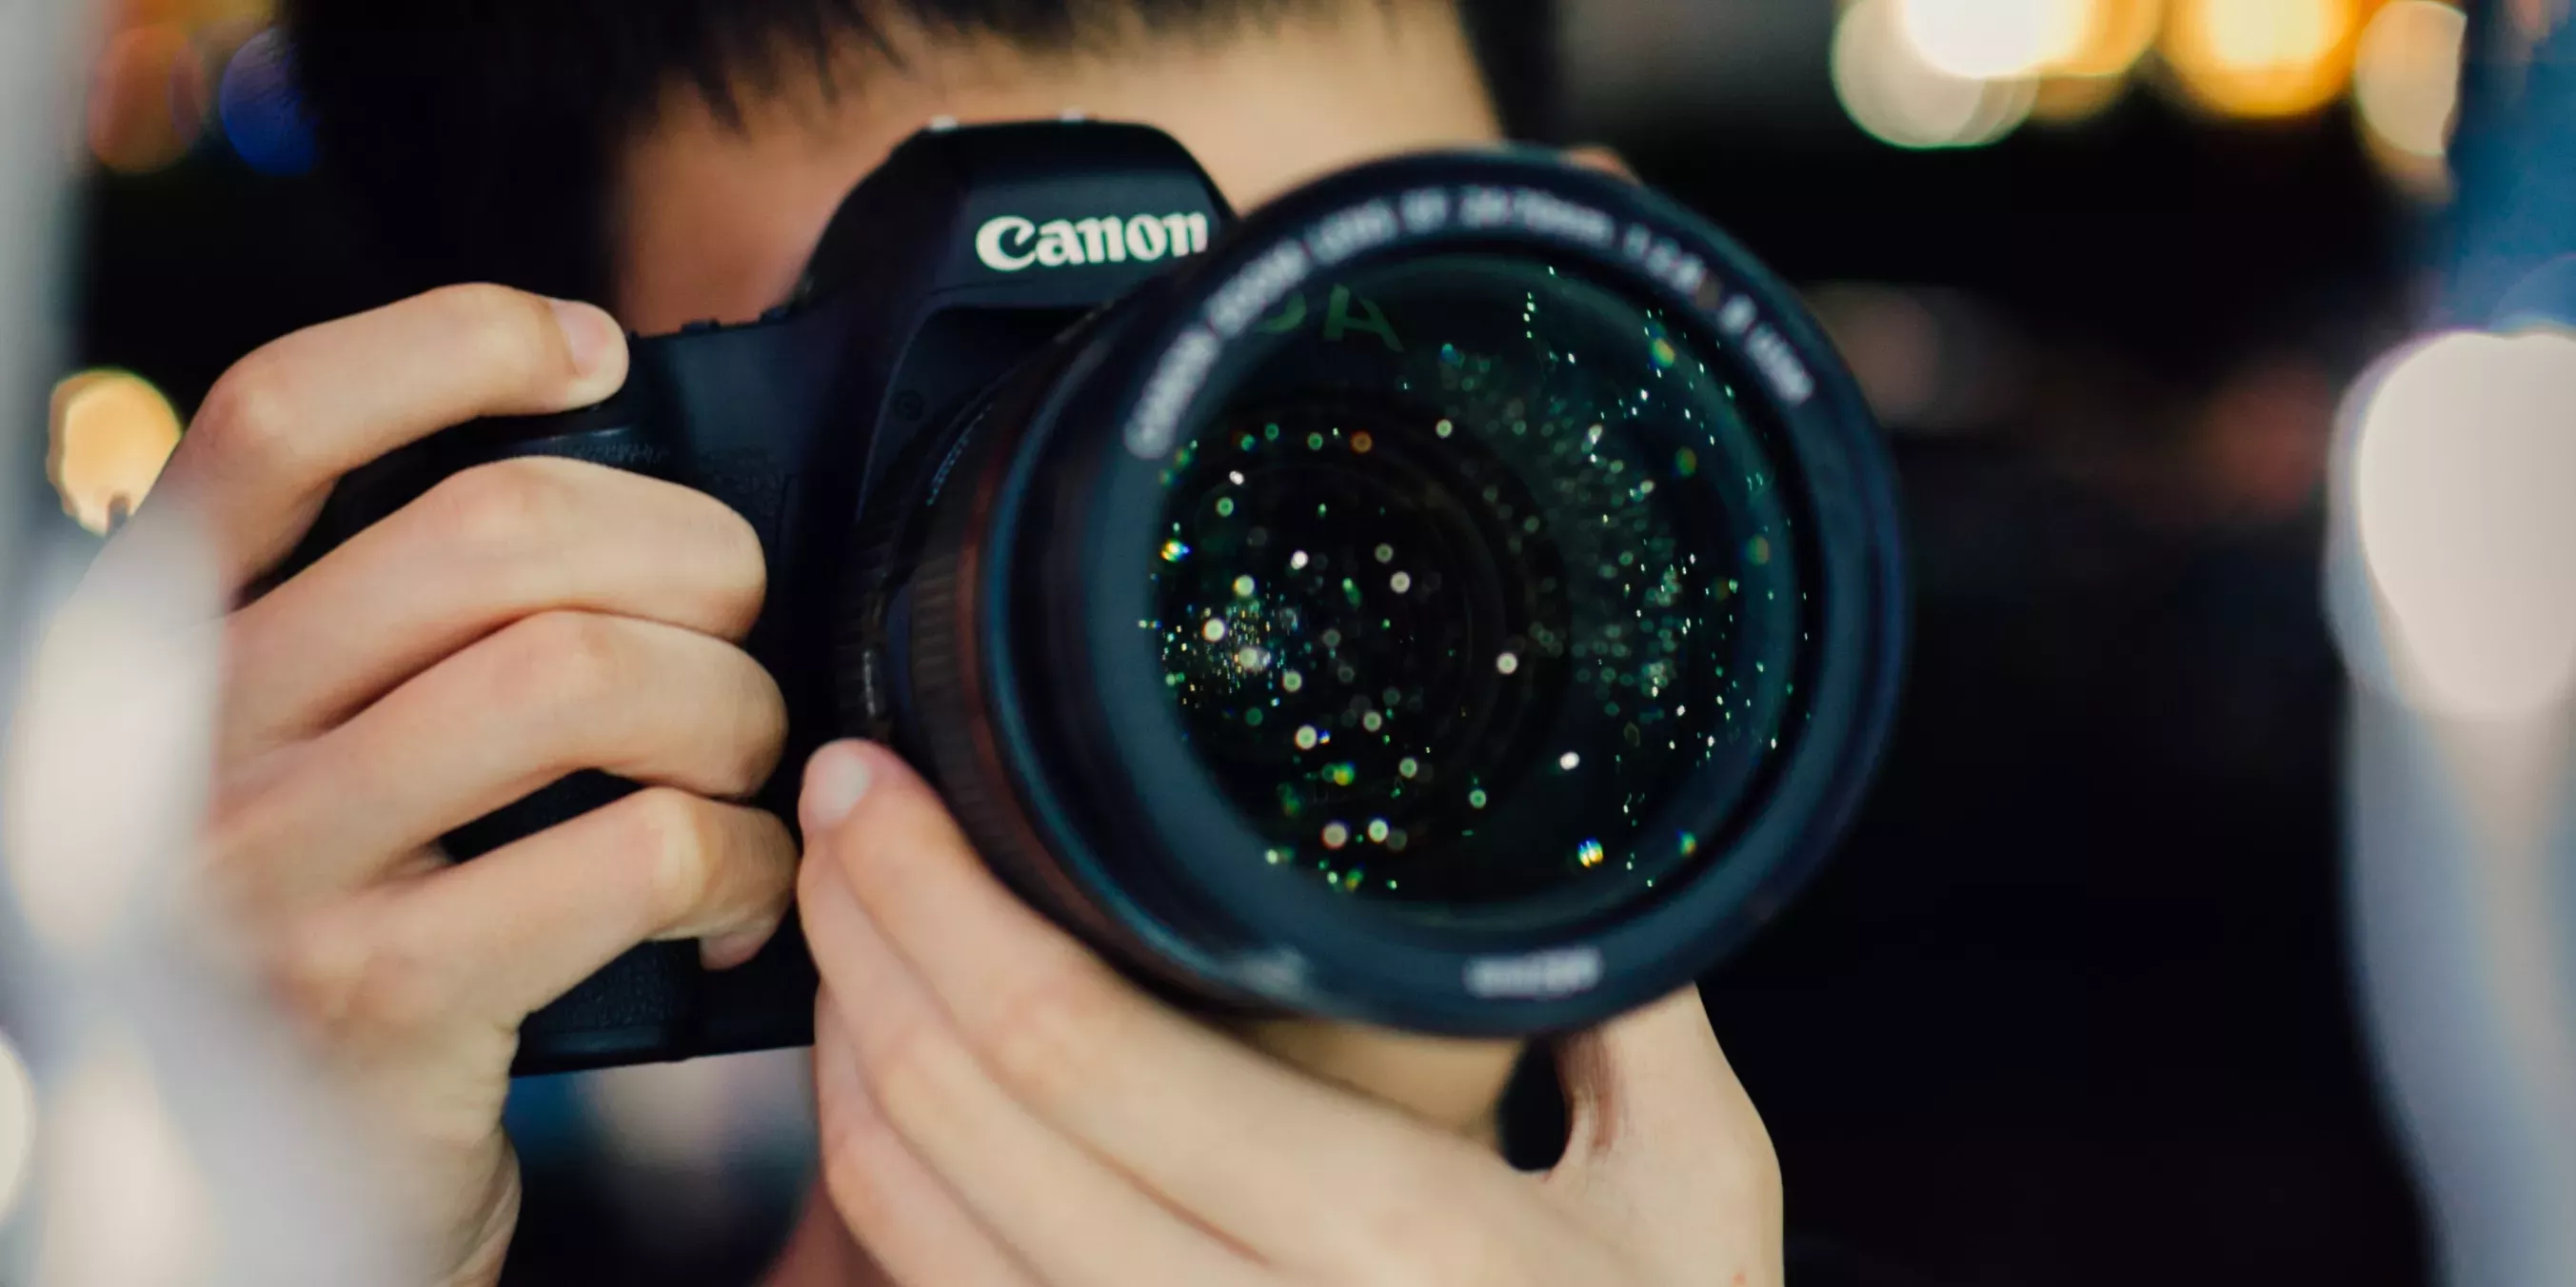
For a great night picture, controlling aperture and shutter speed is important.
Aperture is the size of the lens opening. You want large apertures to let in as much light as possible.
Shutter speed will control how long the shutter stays open. The longer it's open, the more light will reach the sensor.
Setting higher ISO speeds will also increase the amount of light in the camera's sensor.
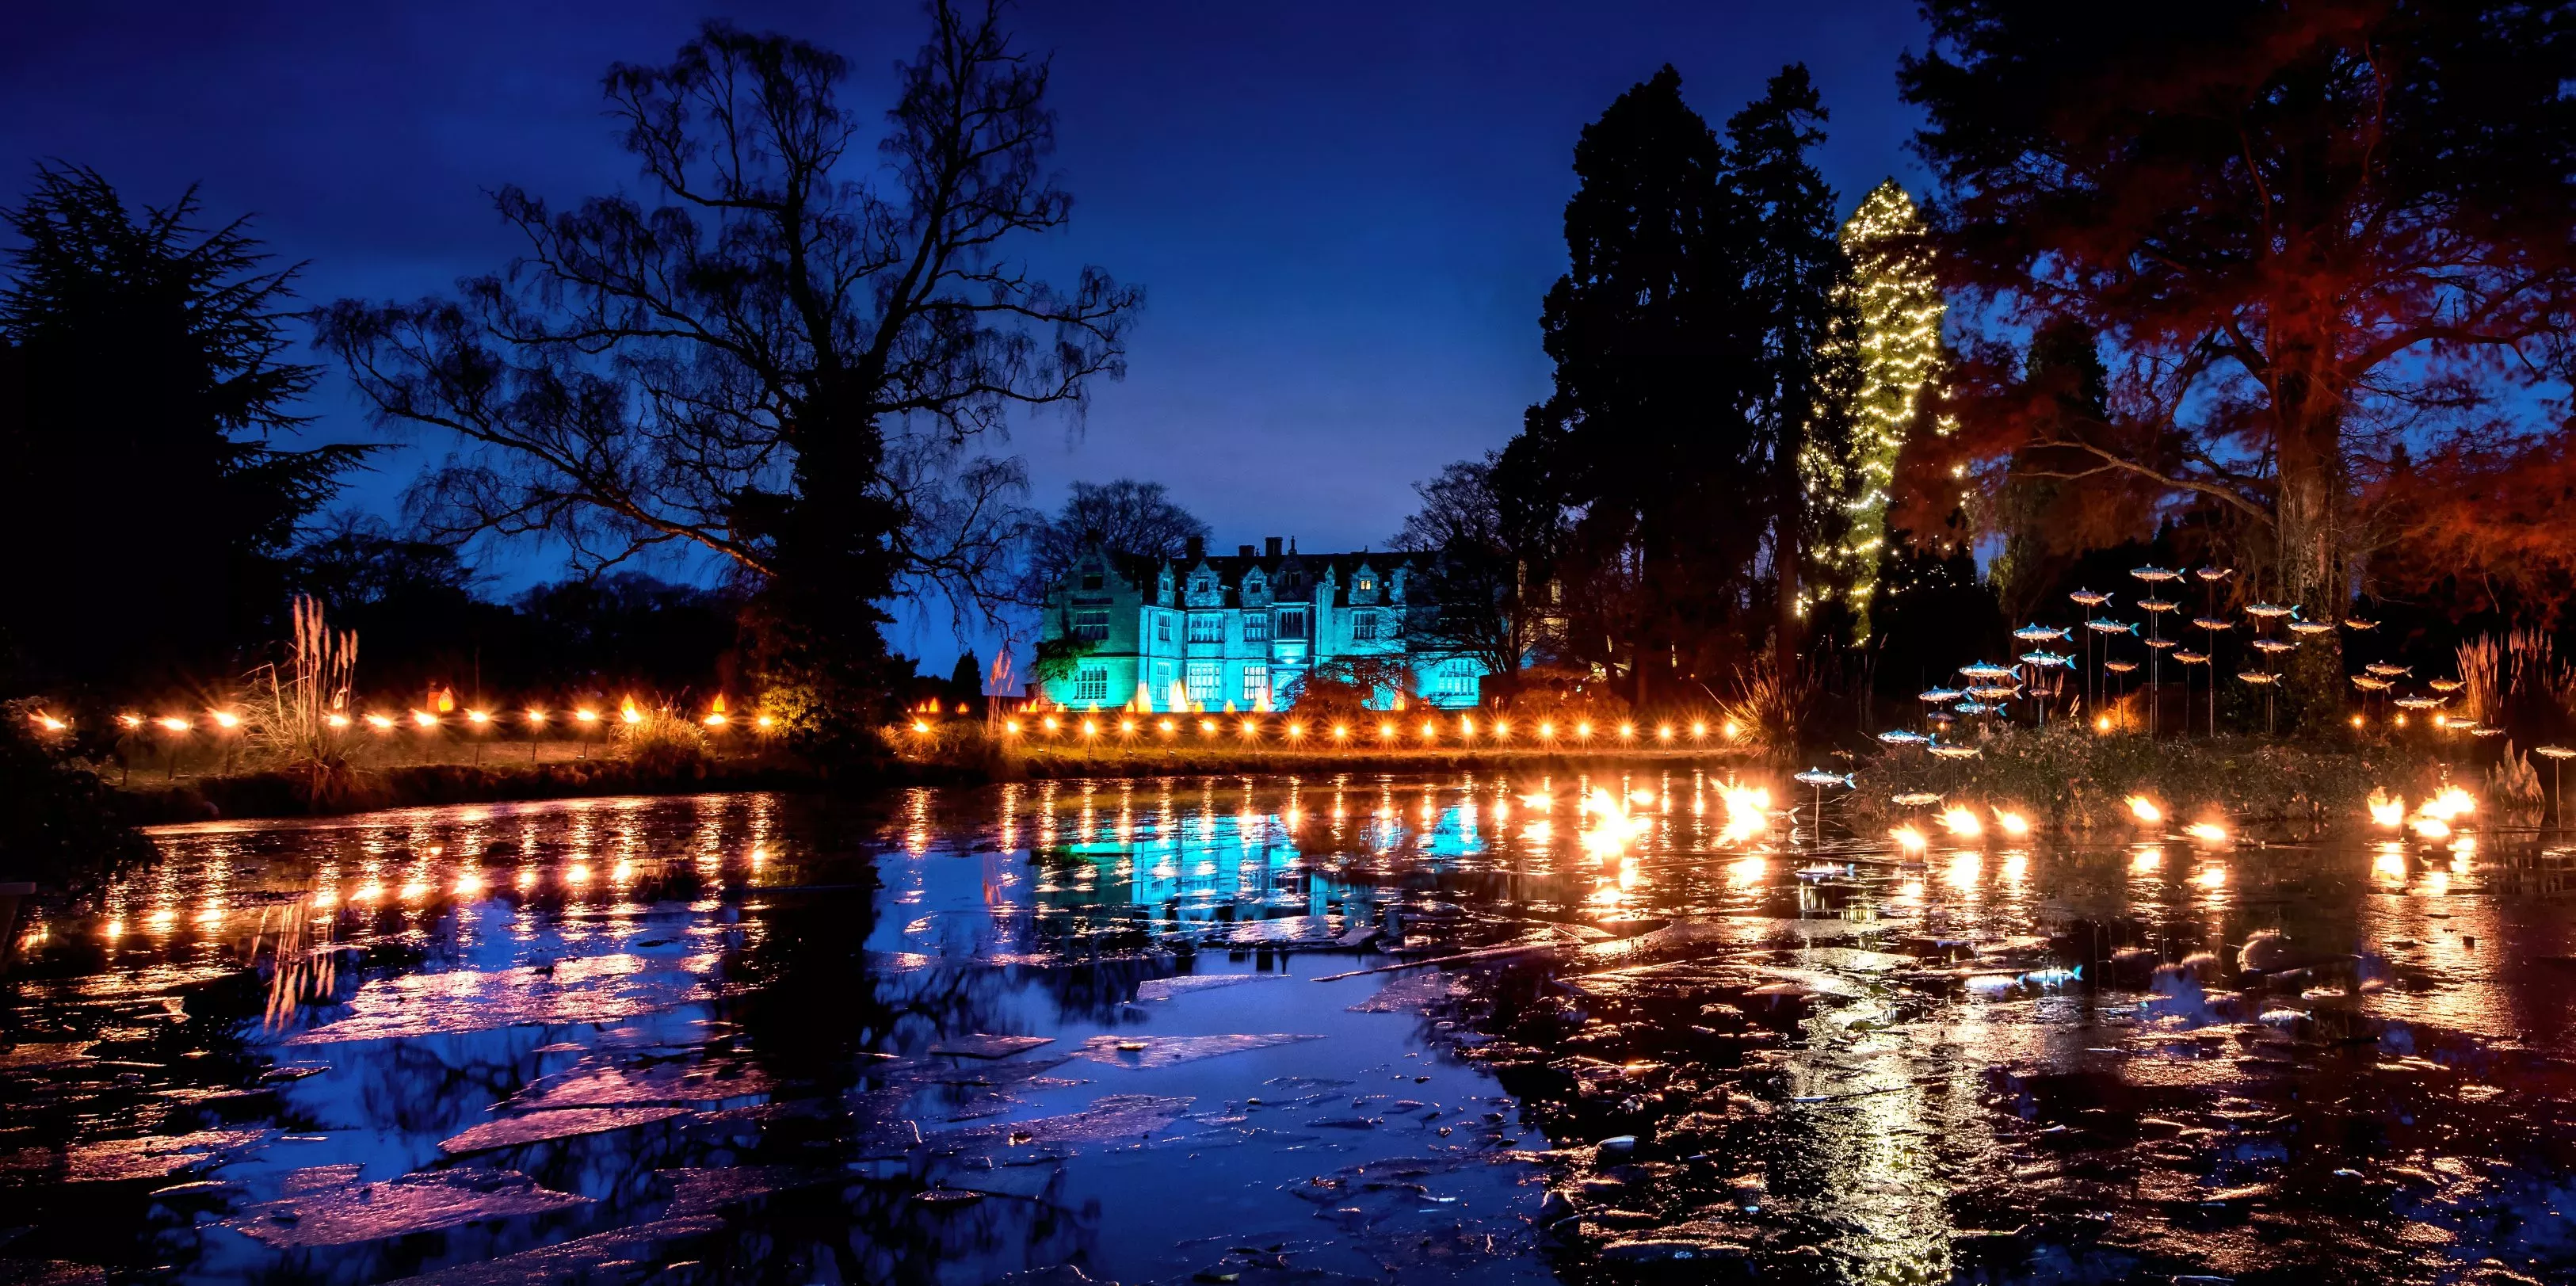
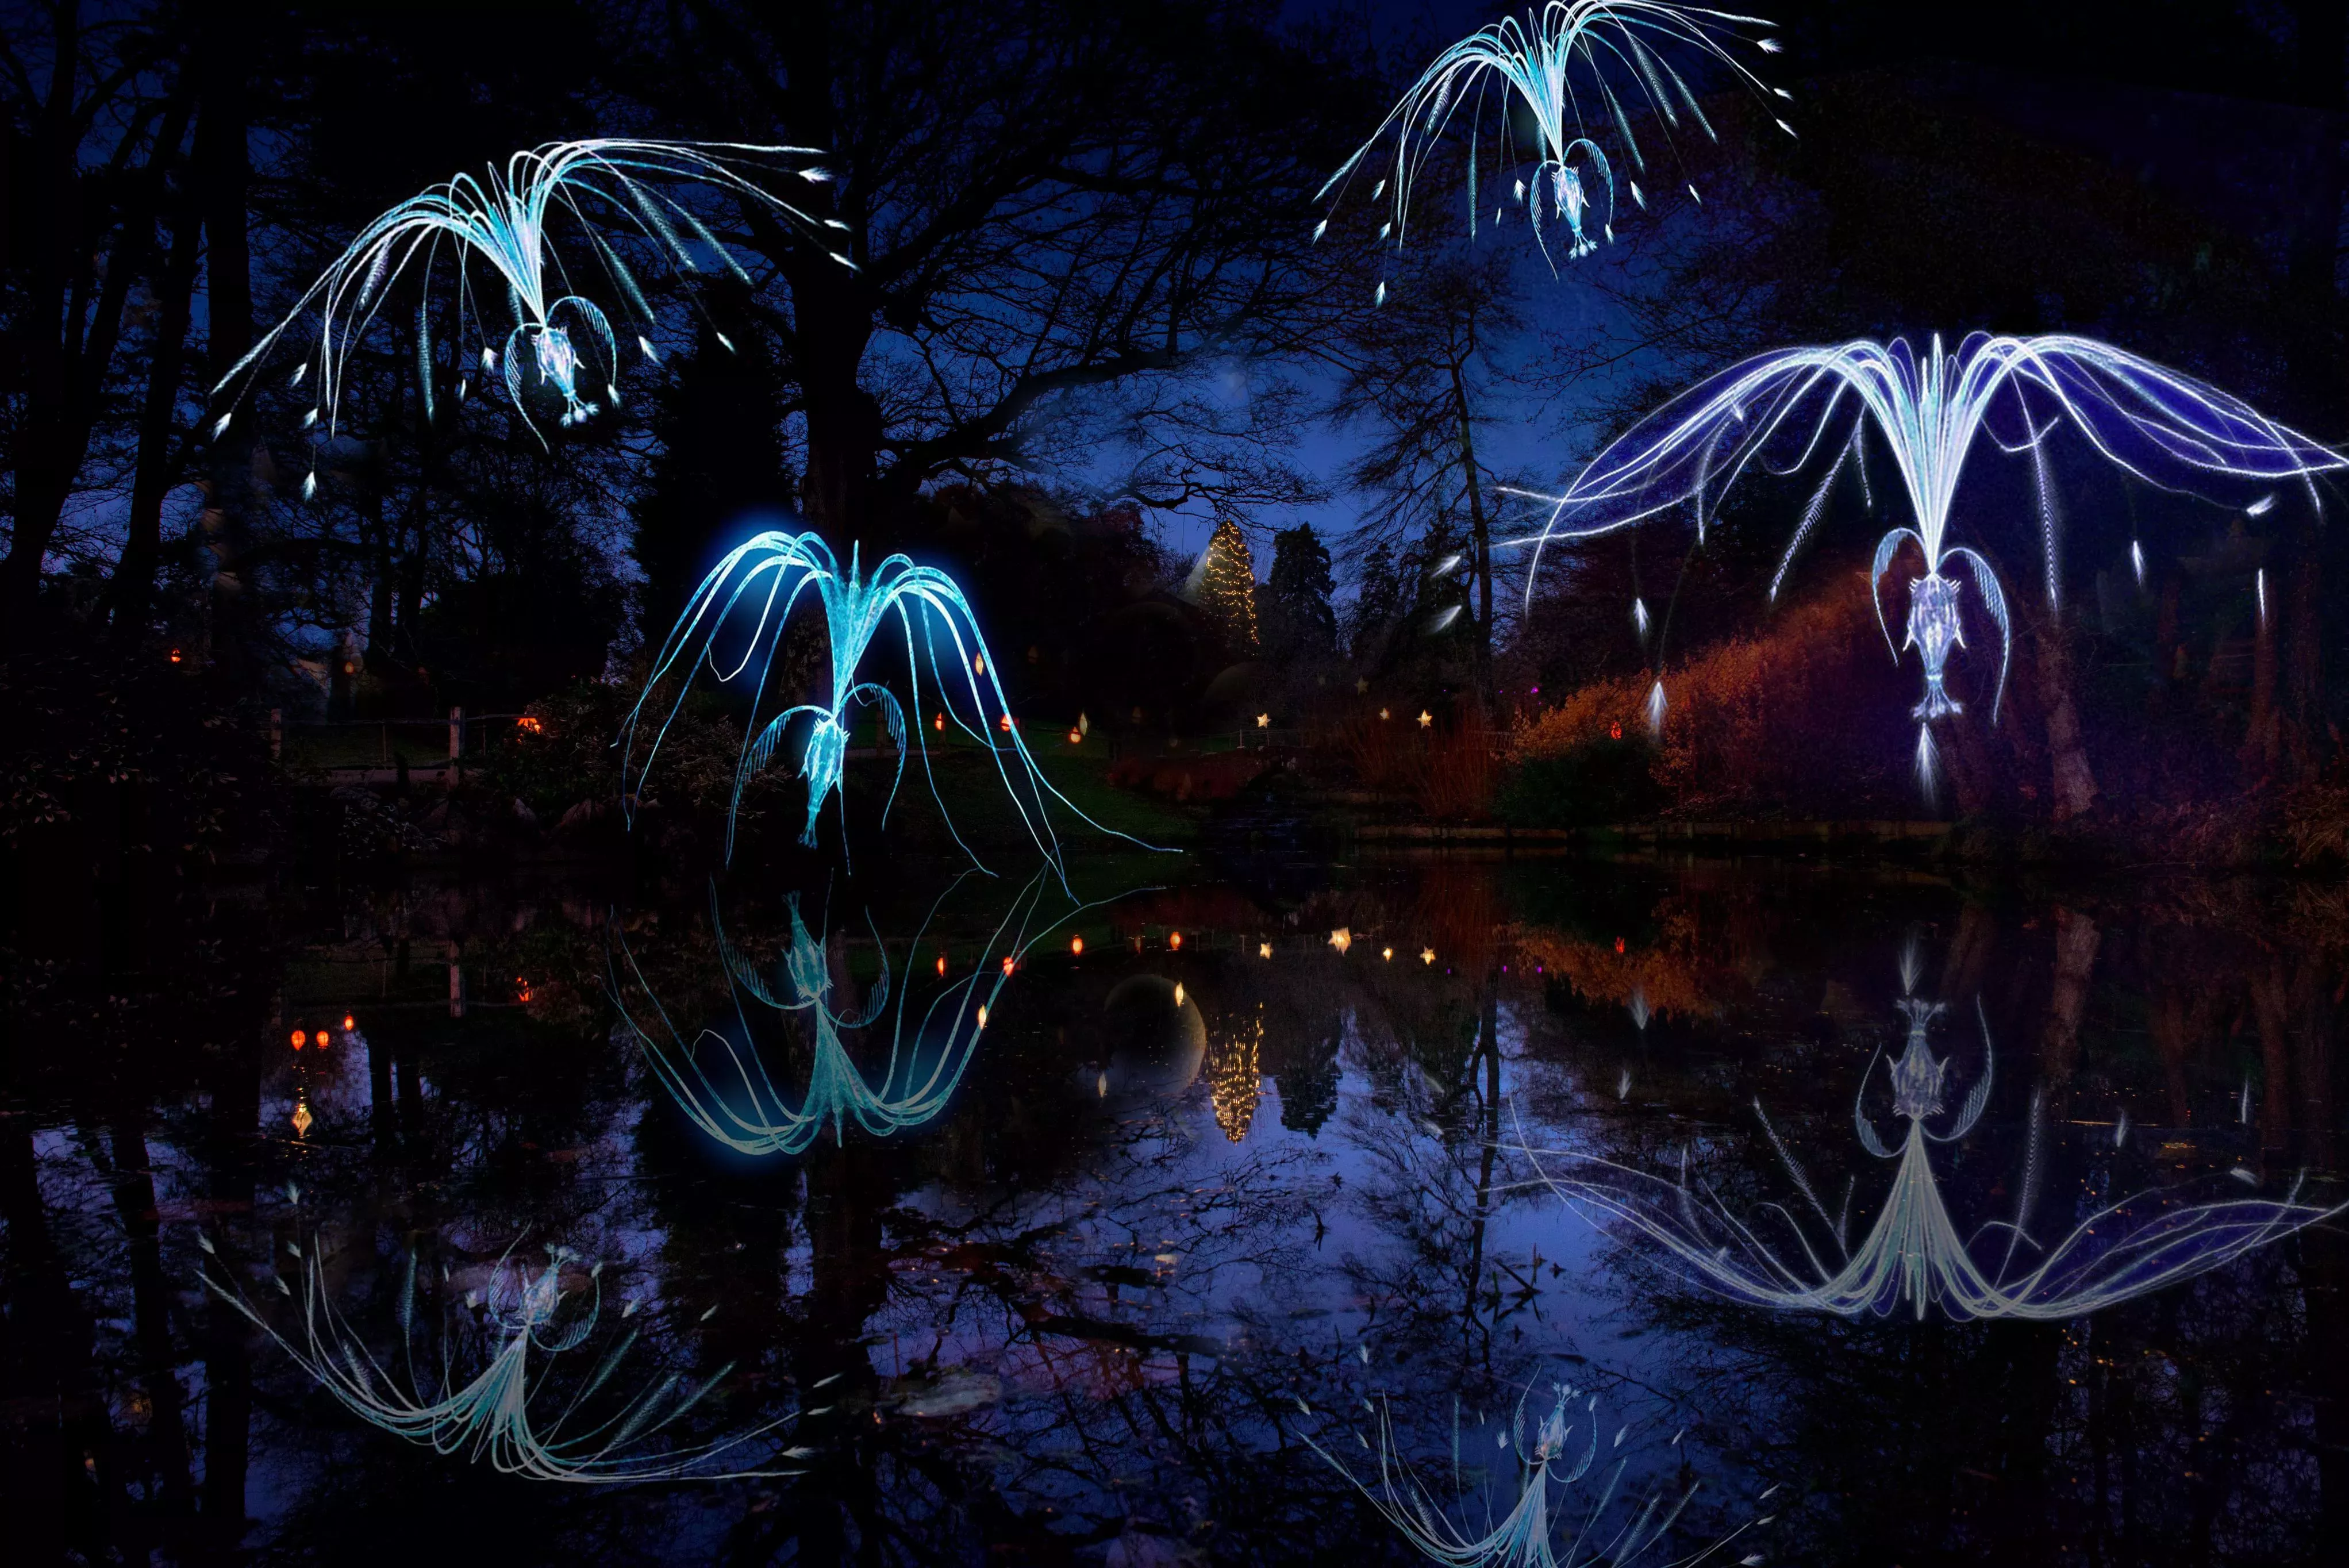
Complete darkness won’t create good photos. There has to be some kind of light to illuminate your scene, whether that be glowing lanterns, twinkling Christmas tree lights or the Glow Wild moon and stars.
Test for the best
It's a good idea to take some test shots, as night-time photography requires you to be more methodical.
Play around with the camera settings to achieve what you want.
Experiment with light streaks and trails or try various perspectives to make the subject more interesting. You can also try using different ISO levels, apertures and shutter speeds.
There will be plenty of opportunities at Glow Wild to experiment, with the dark sky and shadows contrasting beautifully with the illuminations.
And don’t forget to take a snap of the tallest living Christmas tree in the UK.
Create dramatic compositions
In night photography, light is important for creating stunning compositions and helping frame your images.
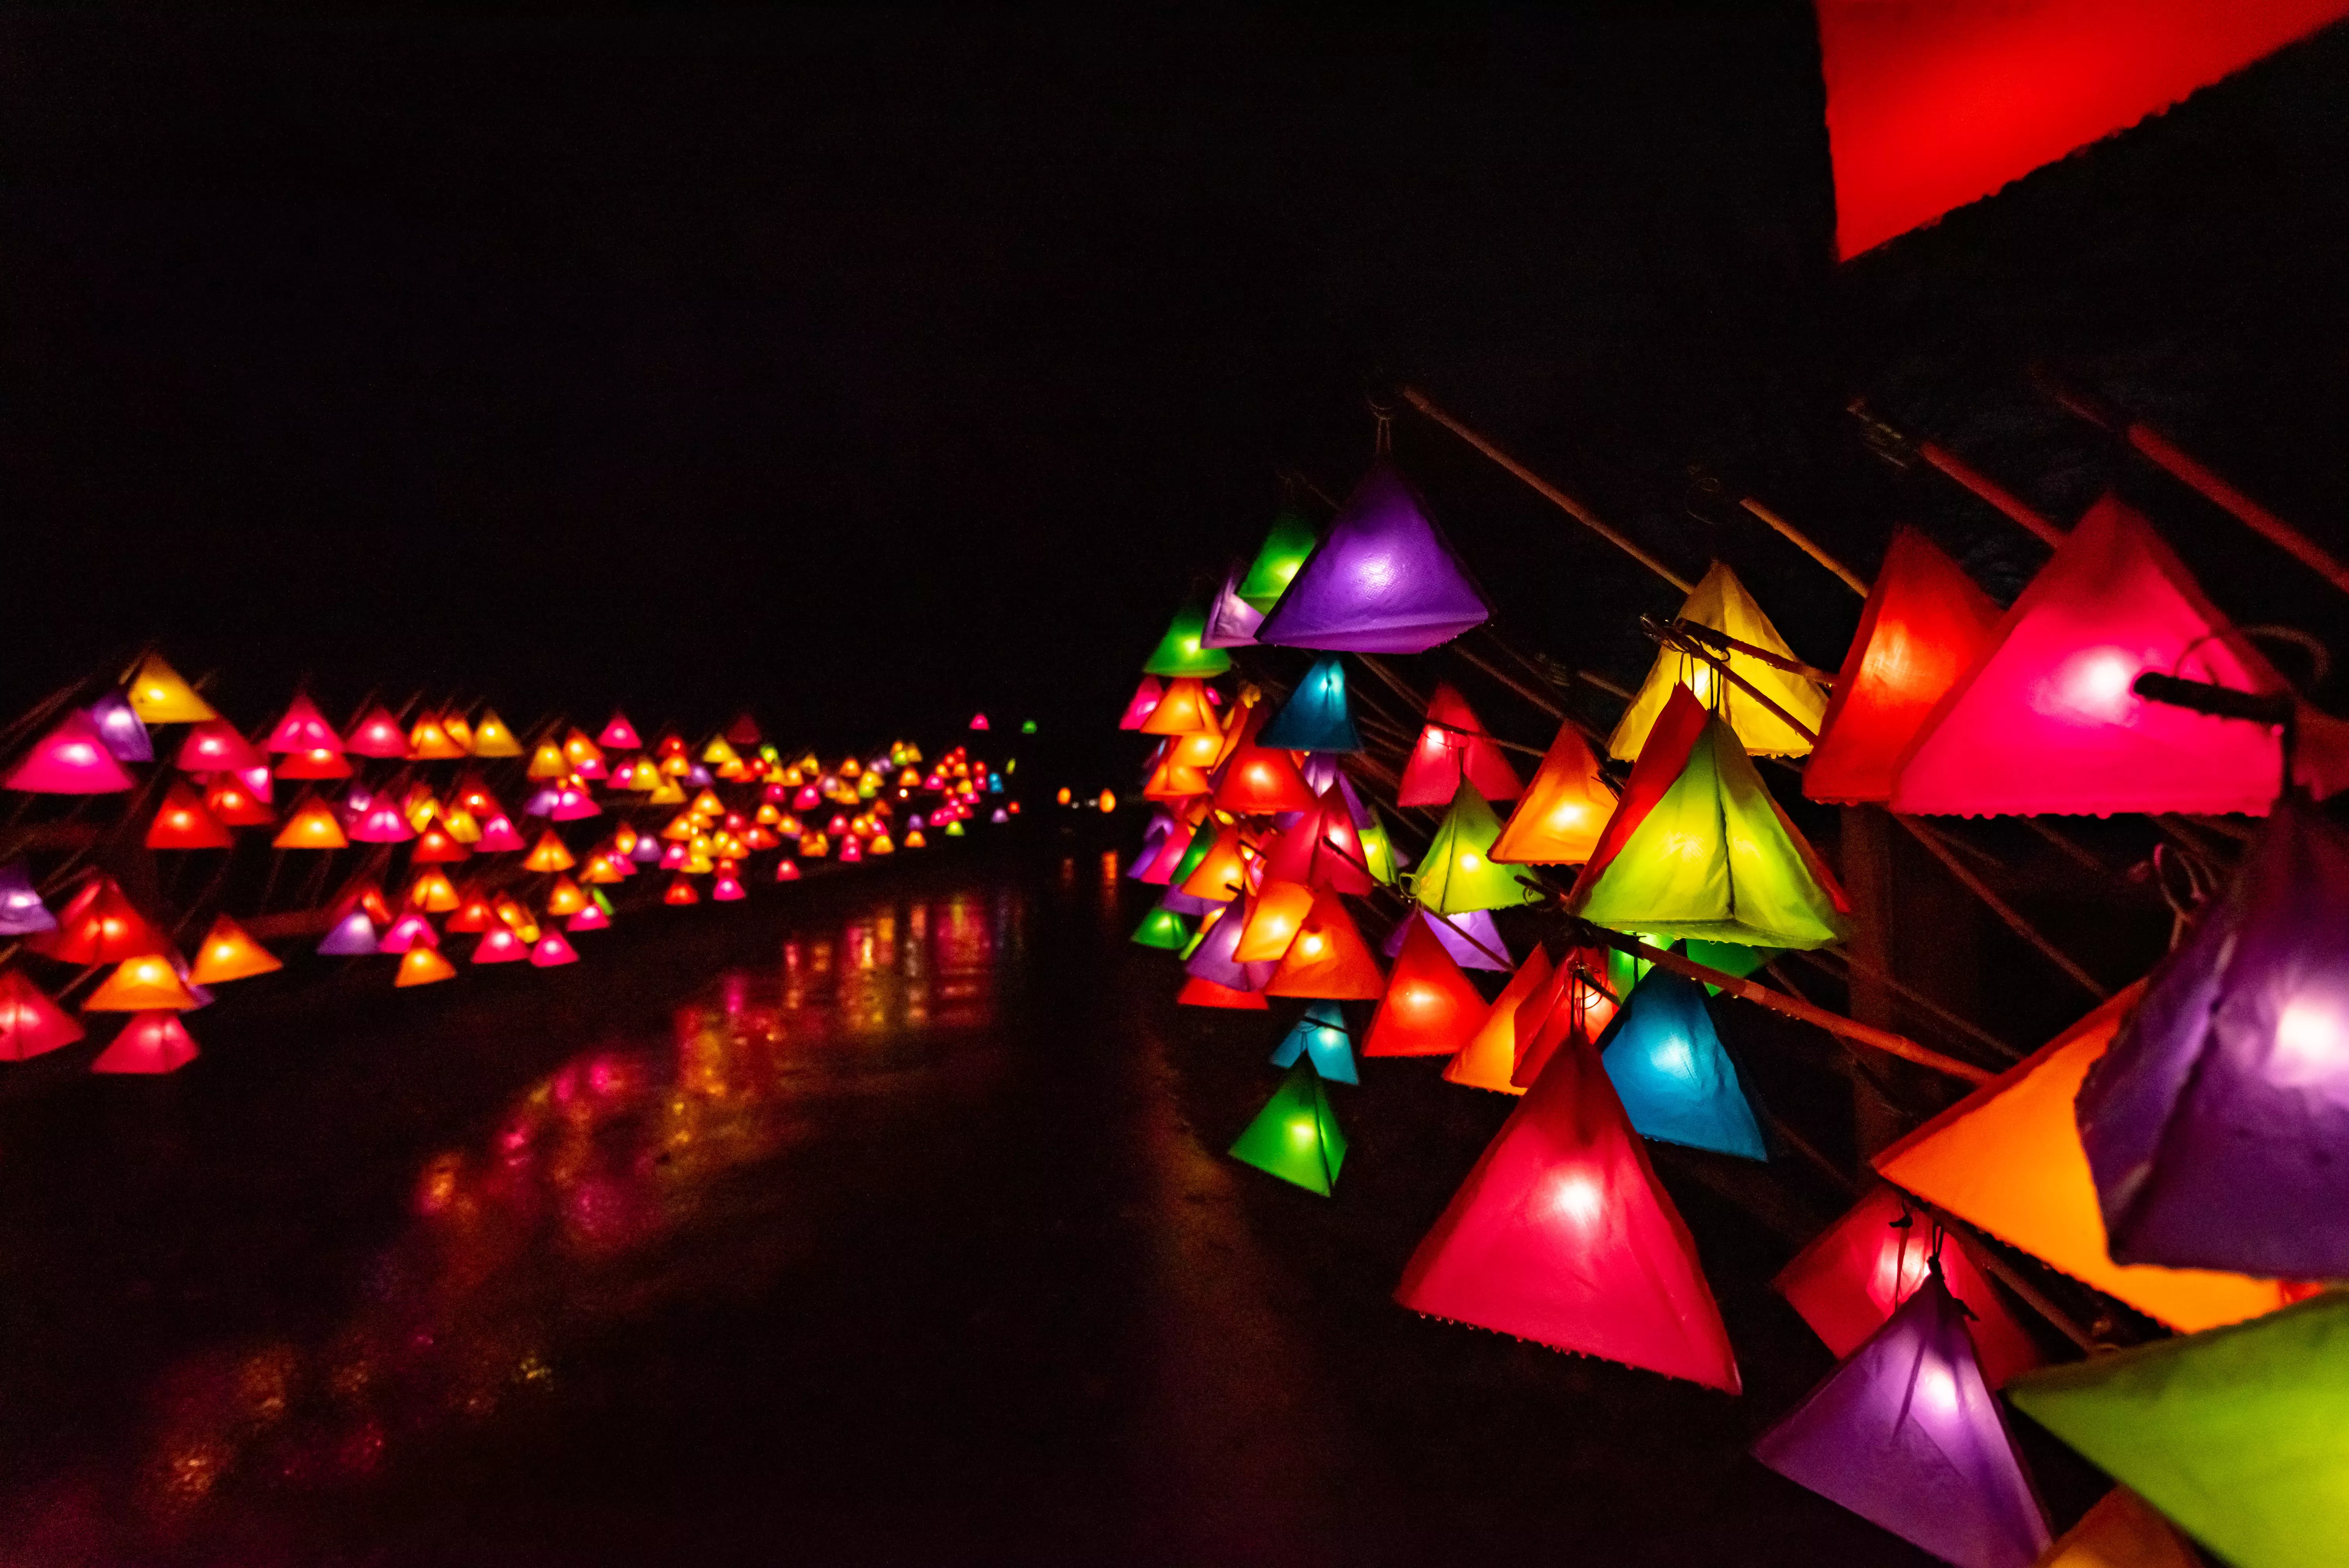
Use the glowing lanterns, fire torches and projections in the Wakehurst landscape to illuminate your photo scenes.
For added depth and perspective, look out for lines of lights. At Glow Wild, you could capture a row of lanterns or lights leading from the foreground into the distance.
This will draw the viewer’s eye into the photo.
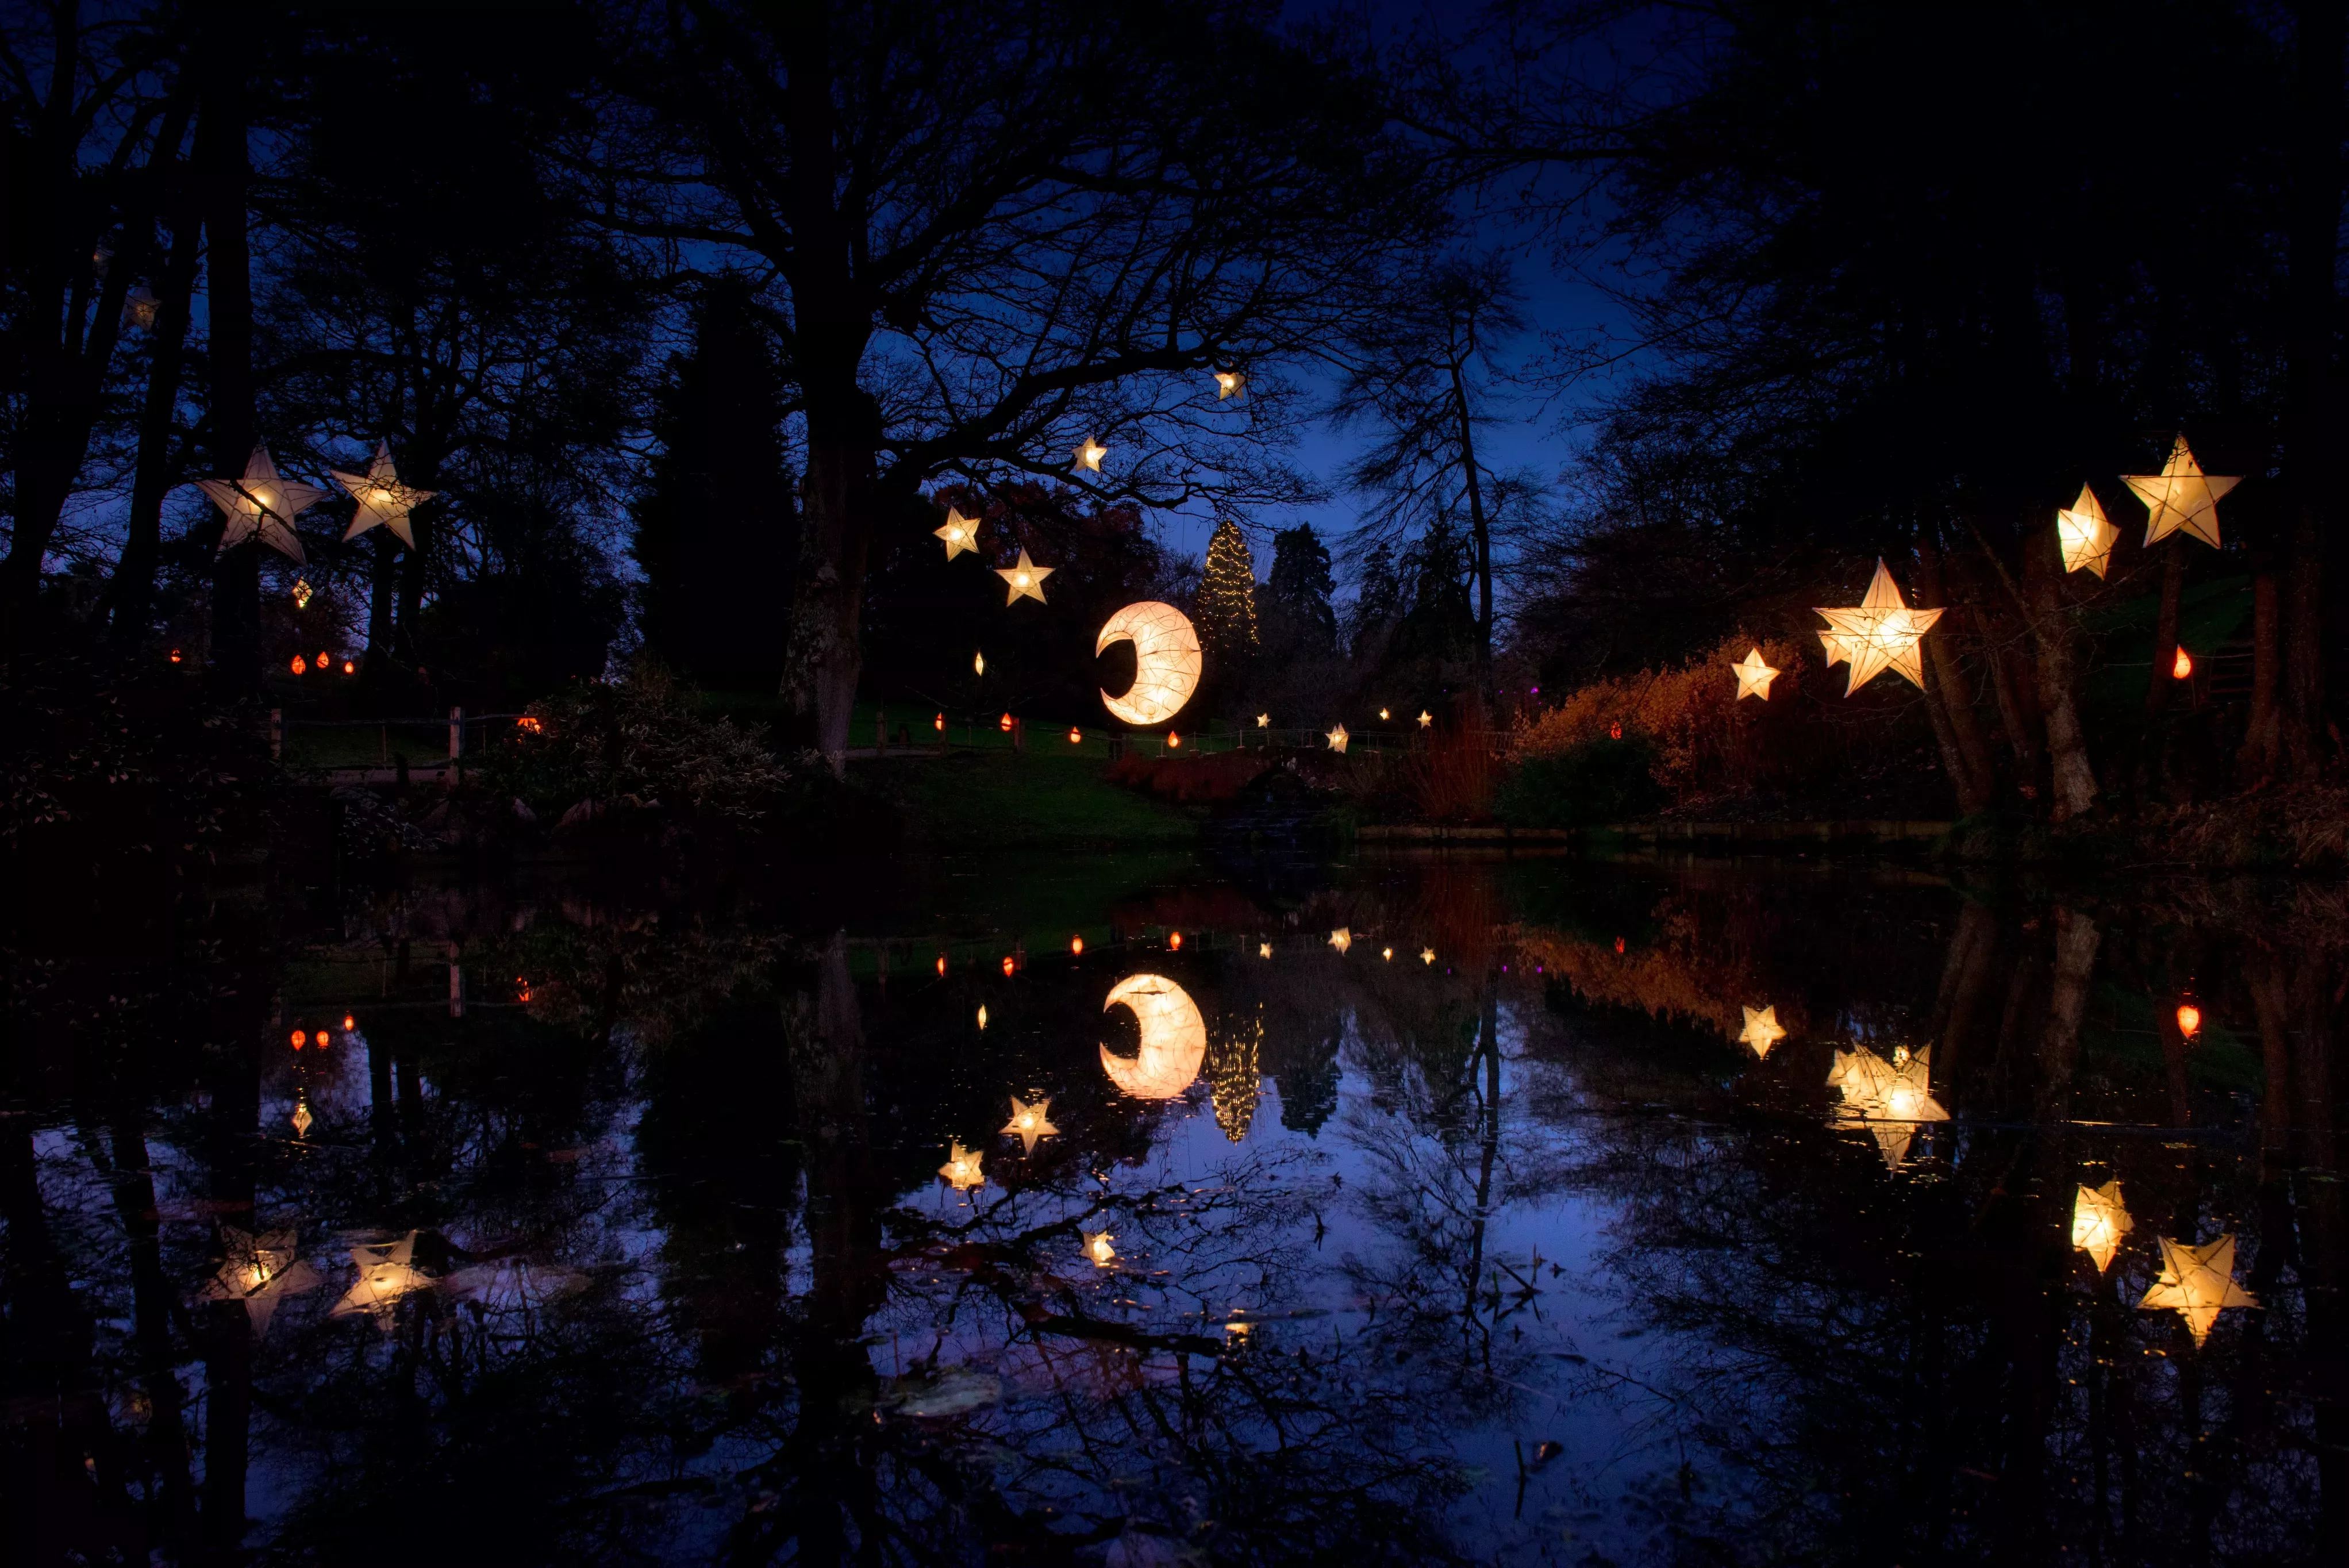
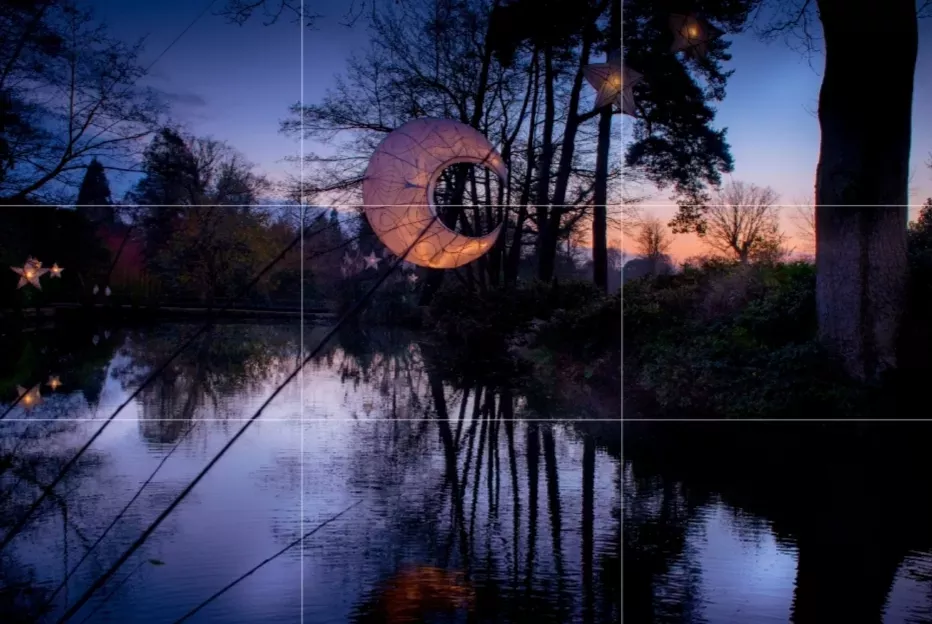
Follow the Rule of Thirds to help position your photo and achieve the right balance.
The grid on your camera or smartphone's viewing screen will help you do this.
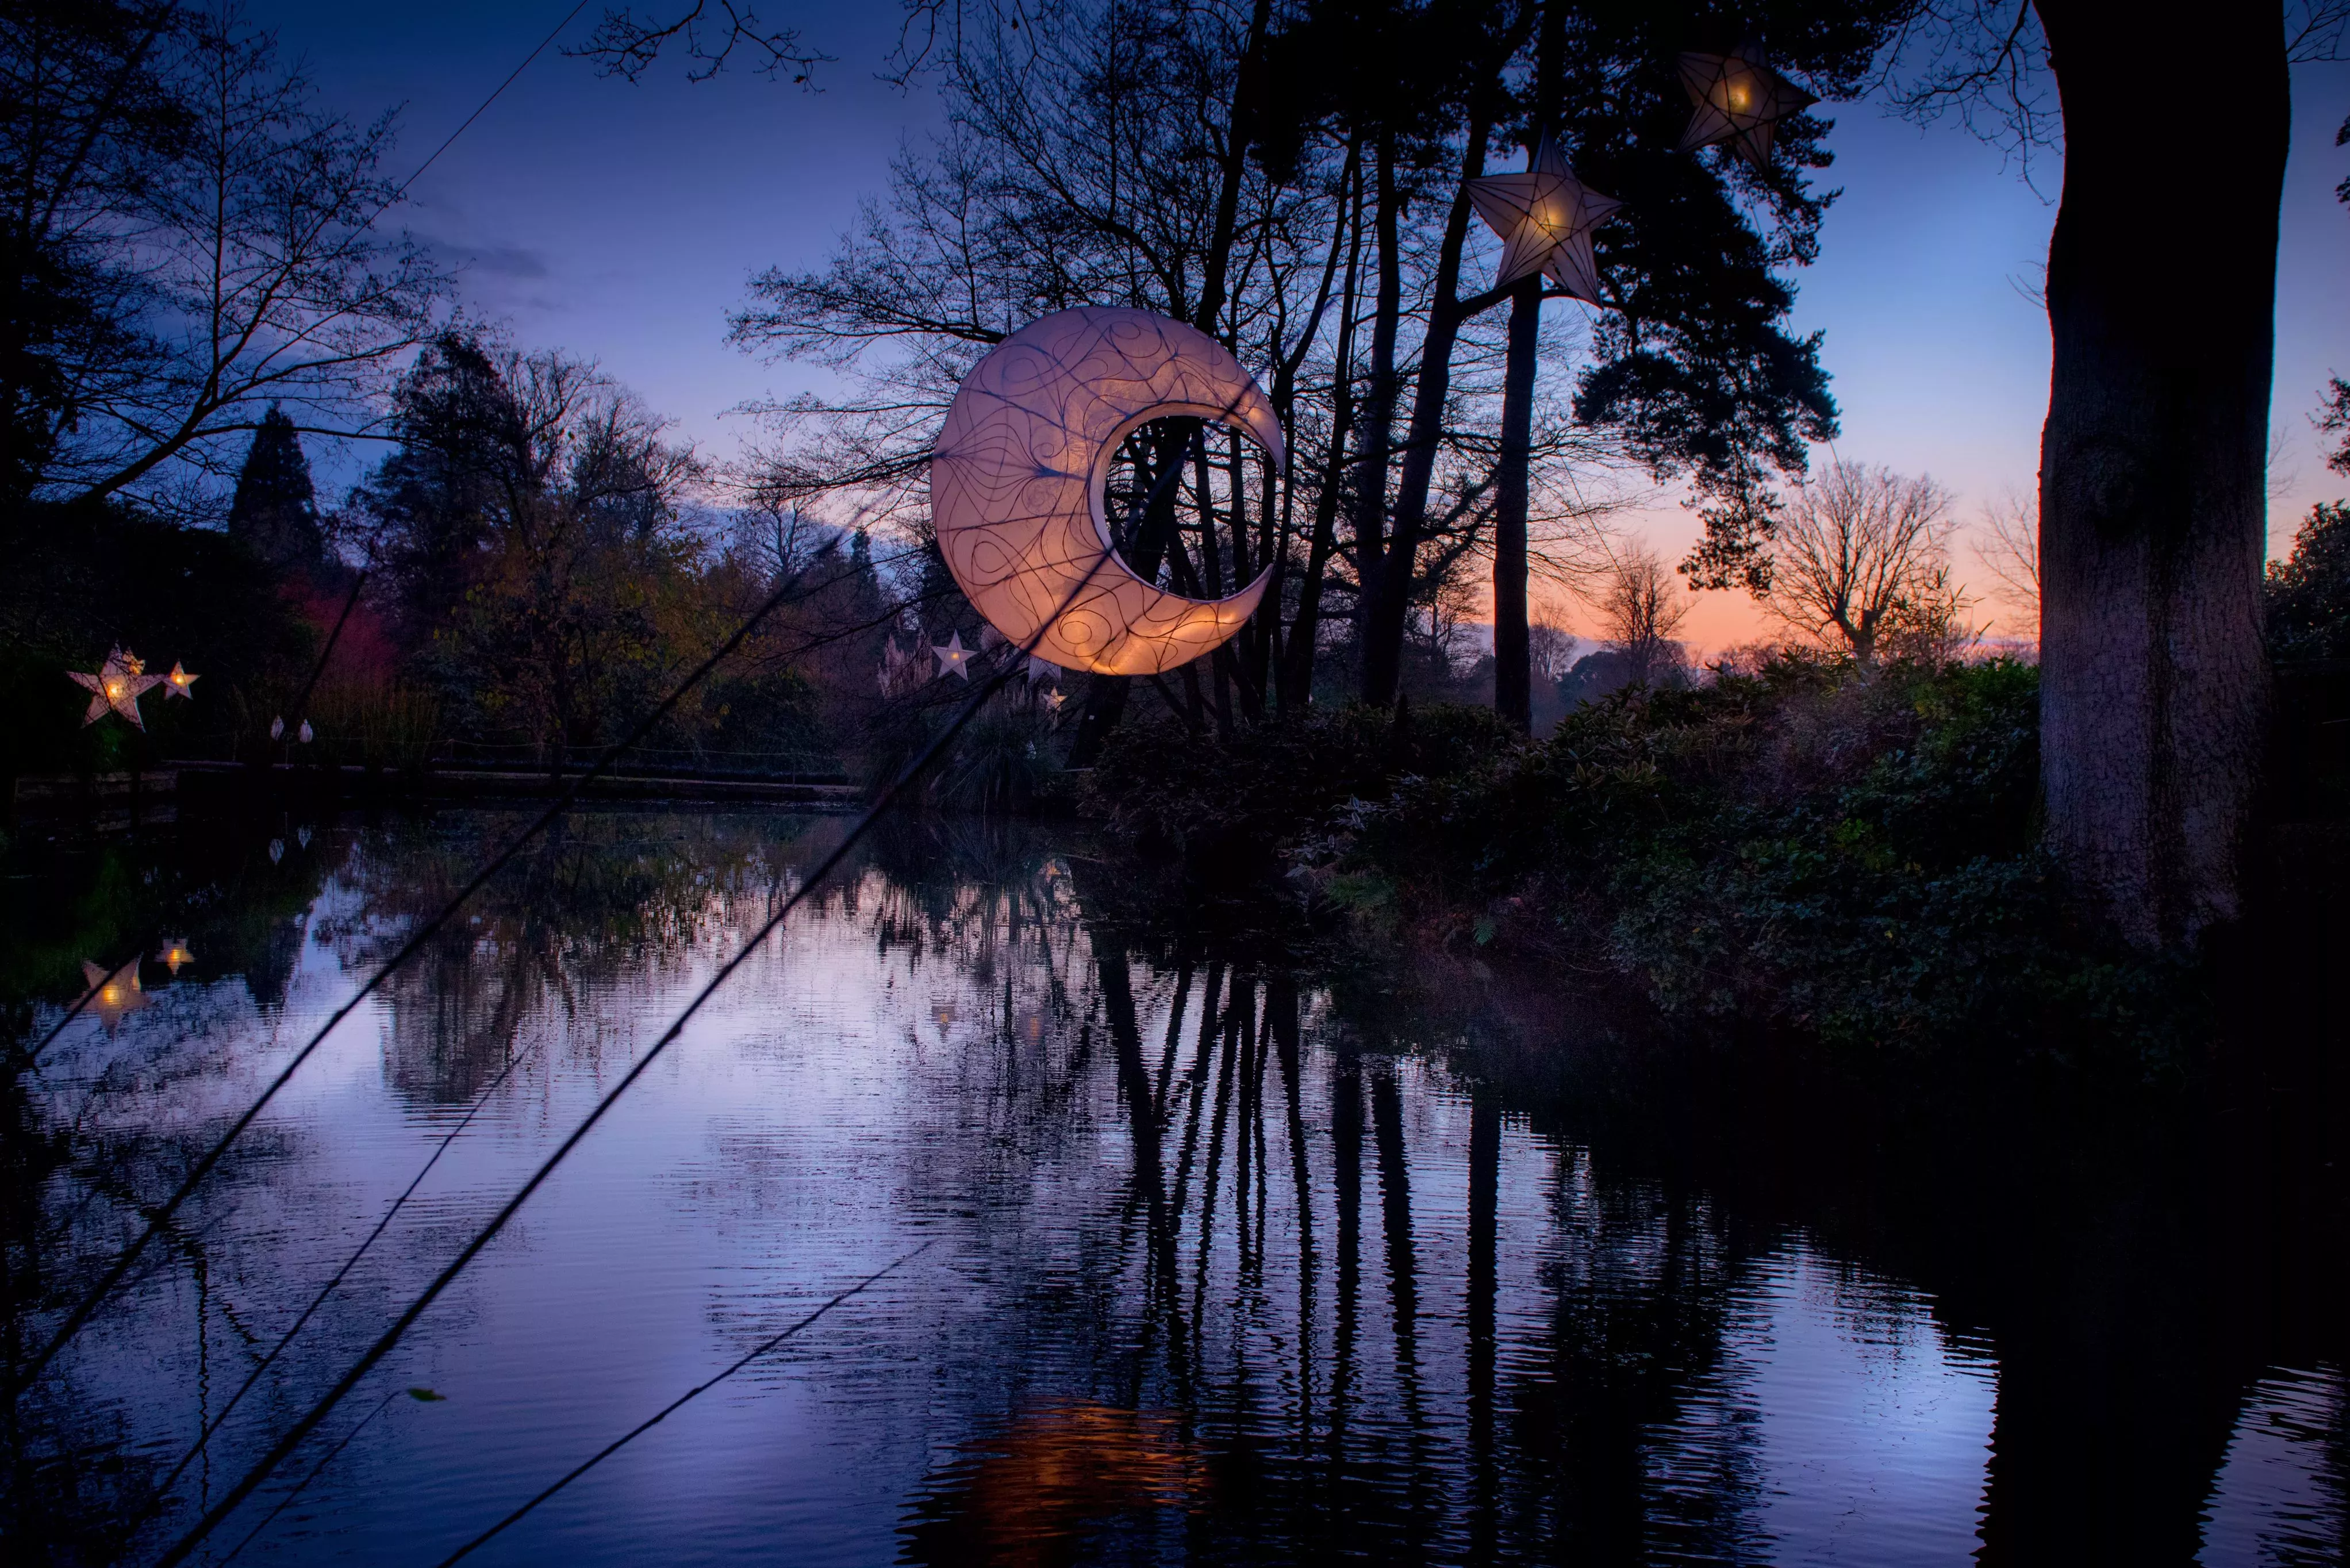
Use the two horizontal and two vertical lines and their points of intersection to line up the most important part of your image, like the hanging moon lantern in the scene below.
Don't run out of battery
You don’t want to line up your perfect shot, click the shutter button and then your camera dies.
Try and bring a spare battery with you, especially as long exposures drain the camera battery.

Pick the perfect format
Getting technical, JPEG is perfect for most photography, but this format also compresses your files, which can be problematic when taking photos at night with high dynamic range.
To avoid this, switch your files to RAW in the camera’s menu. It will take up more space on your memory card, and the images will need to be edited afterwards, but the quality is much better.
This way you will also avoid grainy photos. You can always convert RAW to JPEG after exporting.
Feel free to share your pictures with us on social. And most importantly, have fun!
