9 April 2020
From bean to bar: How to make chocolate
Our Kew horticulturalist Hannah Button makes chocolate at home from cacao beans growing at Kew Gardens.

We all love eating chocolate at Easter time. But how is our favourite confectionery made?
For the past three weeks, one of our horticulturalists Hannah Button has been making chocolate at home from the cacao beans growing in the Princess of Wales Conservatory.
She shares the process from bean to bar, and shows us how her experiment turned out.
Where does chocolate come from?
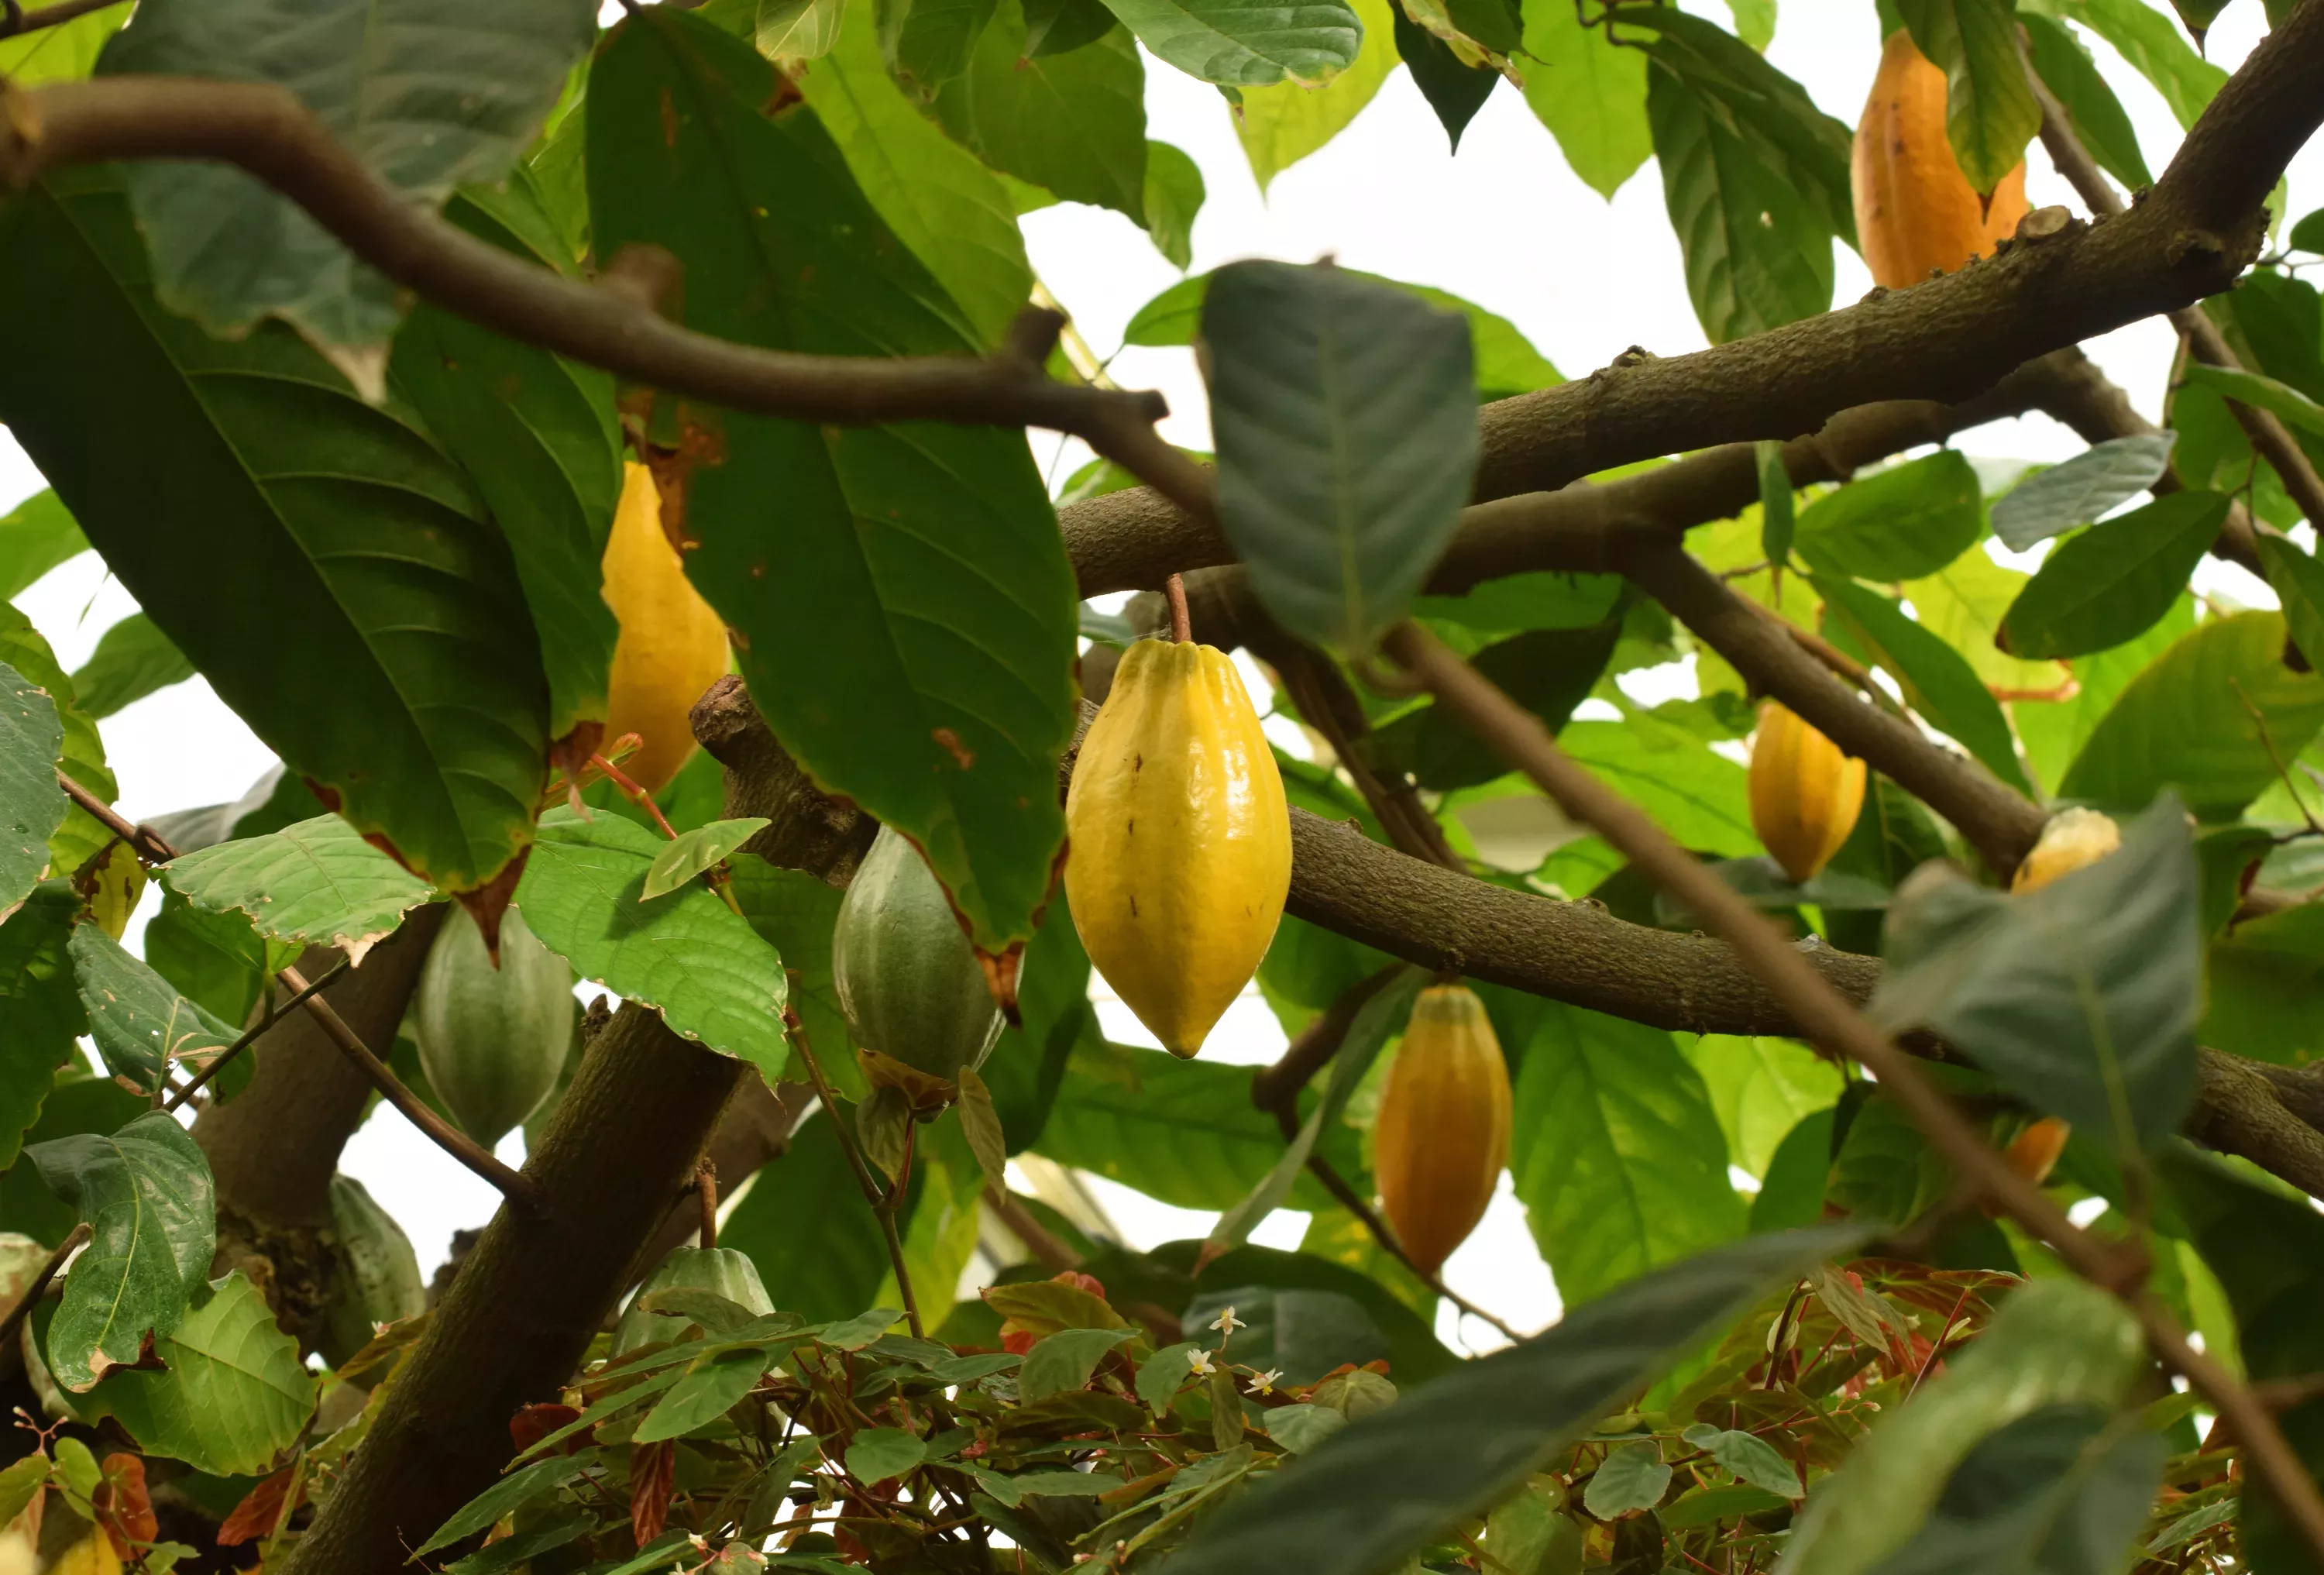
Chocolate is made from the yellow fruit of the cacao tree (Theobroma). The latin name translates to 'food of the gods'.
Native to South America, cacao likes a tropical climate, which is why our trees grow so well in the balmy temperatures of the Princess of Wales Conservatory.
Harvesting the fruit
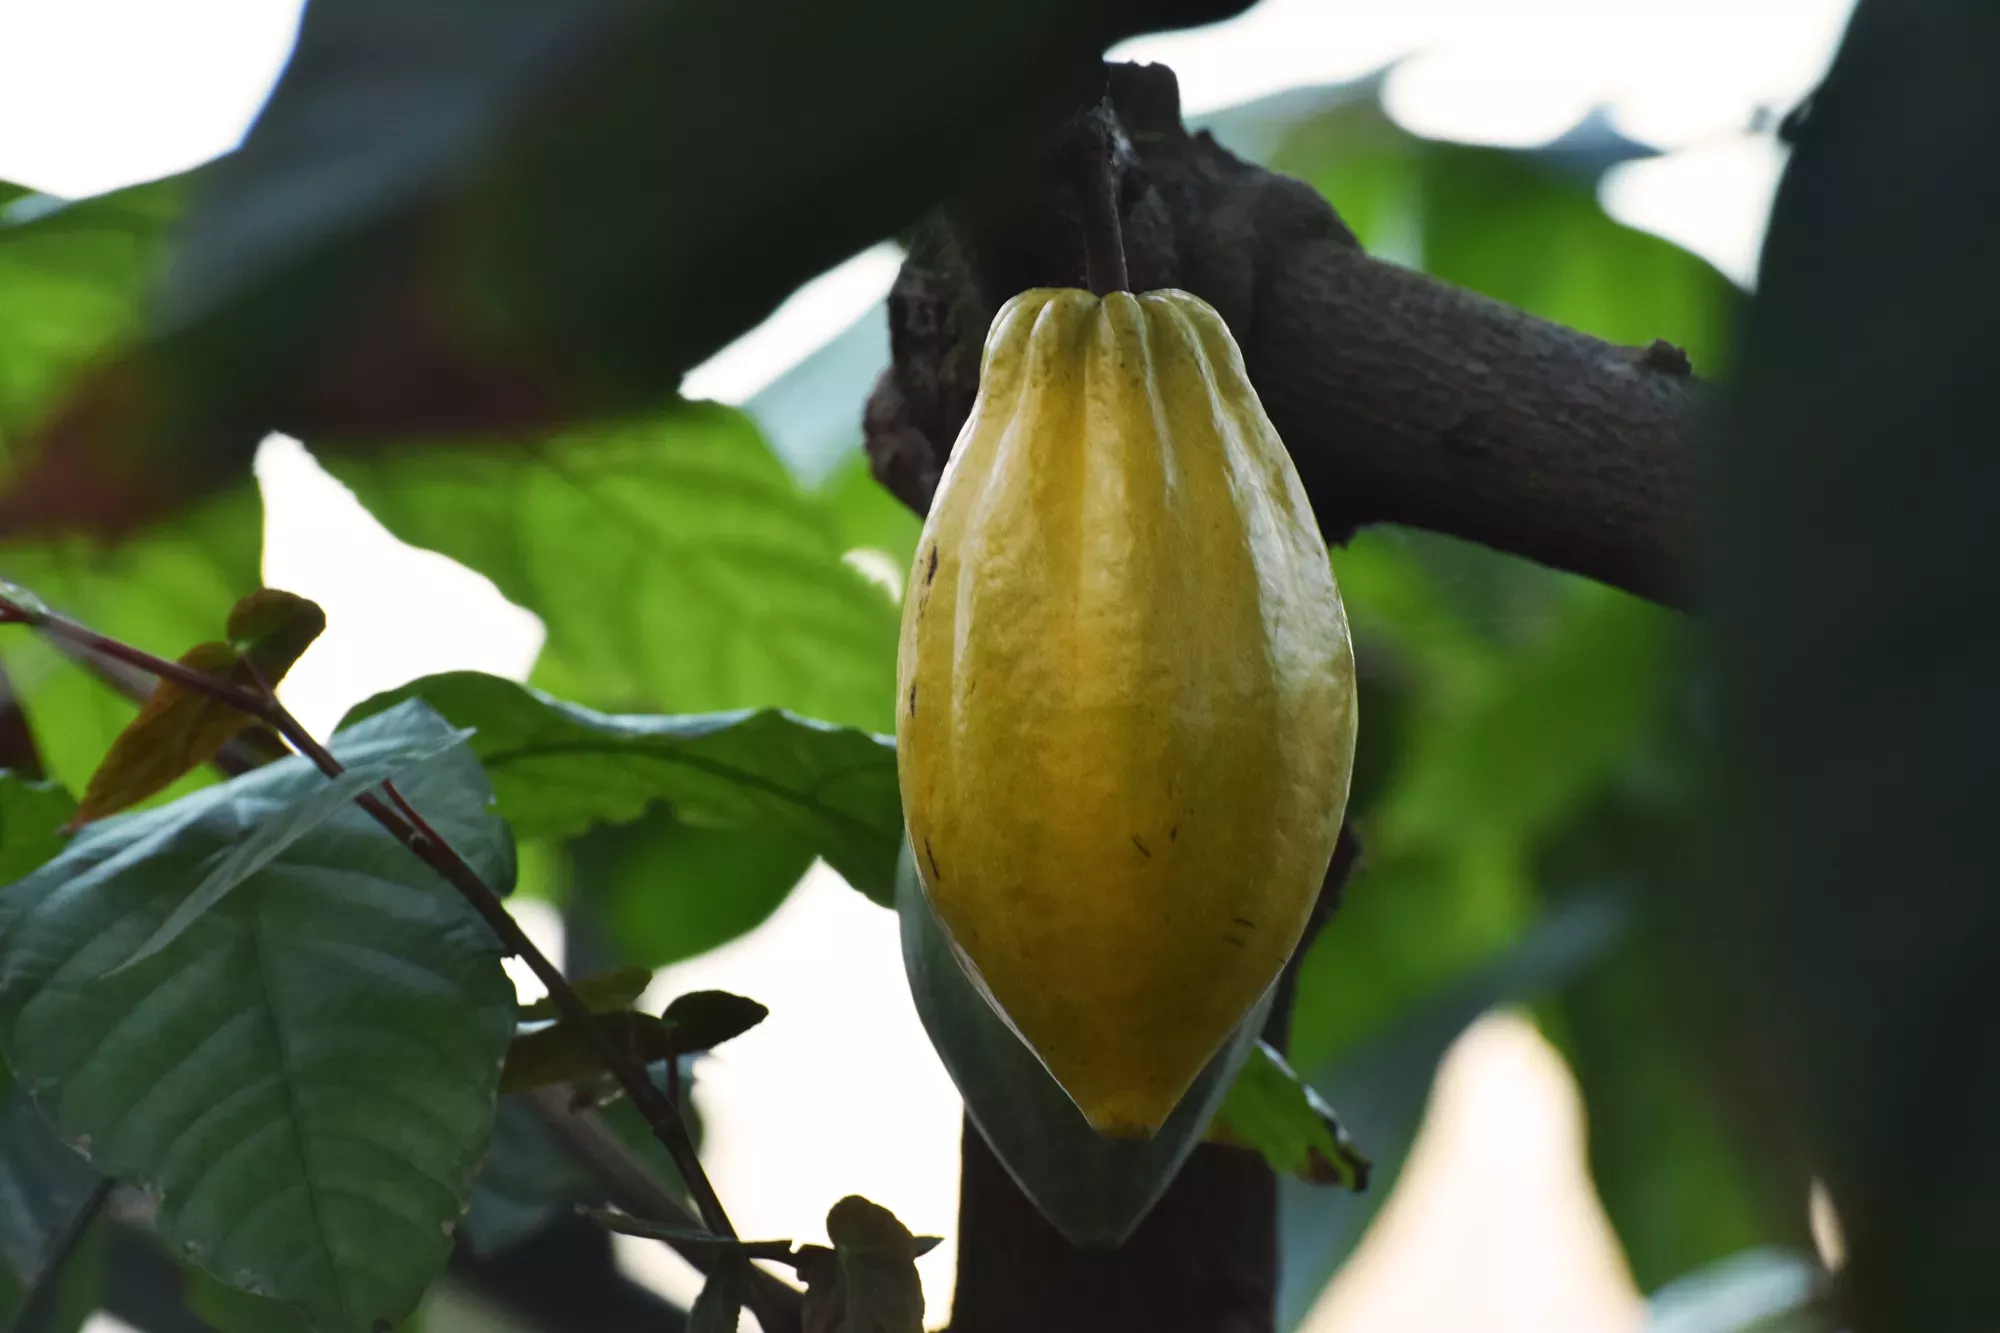
The delicate white flowers of the cacao tree only last for a day. We carefully hand pollinate them when they're in bloom, and they slowly grow into shiny yellow fruit.
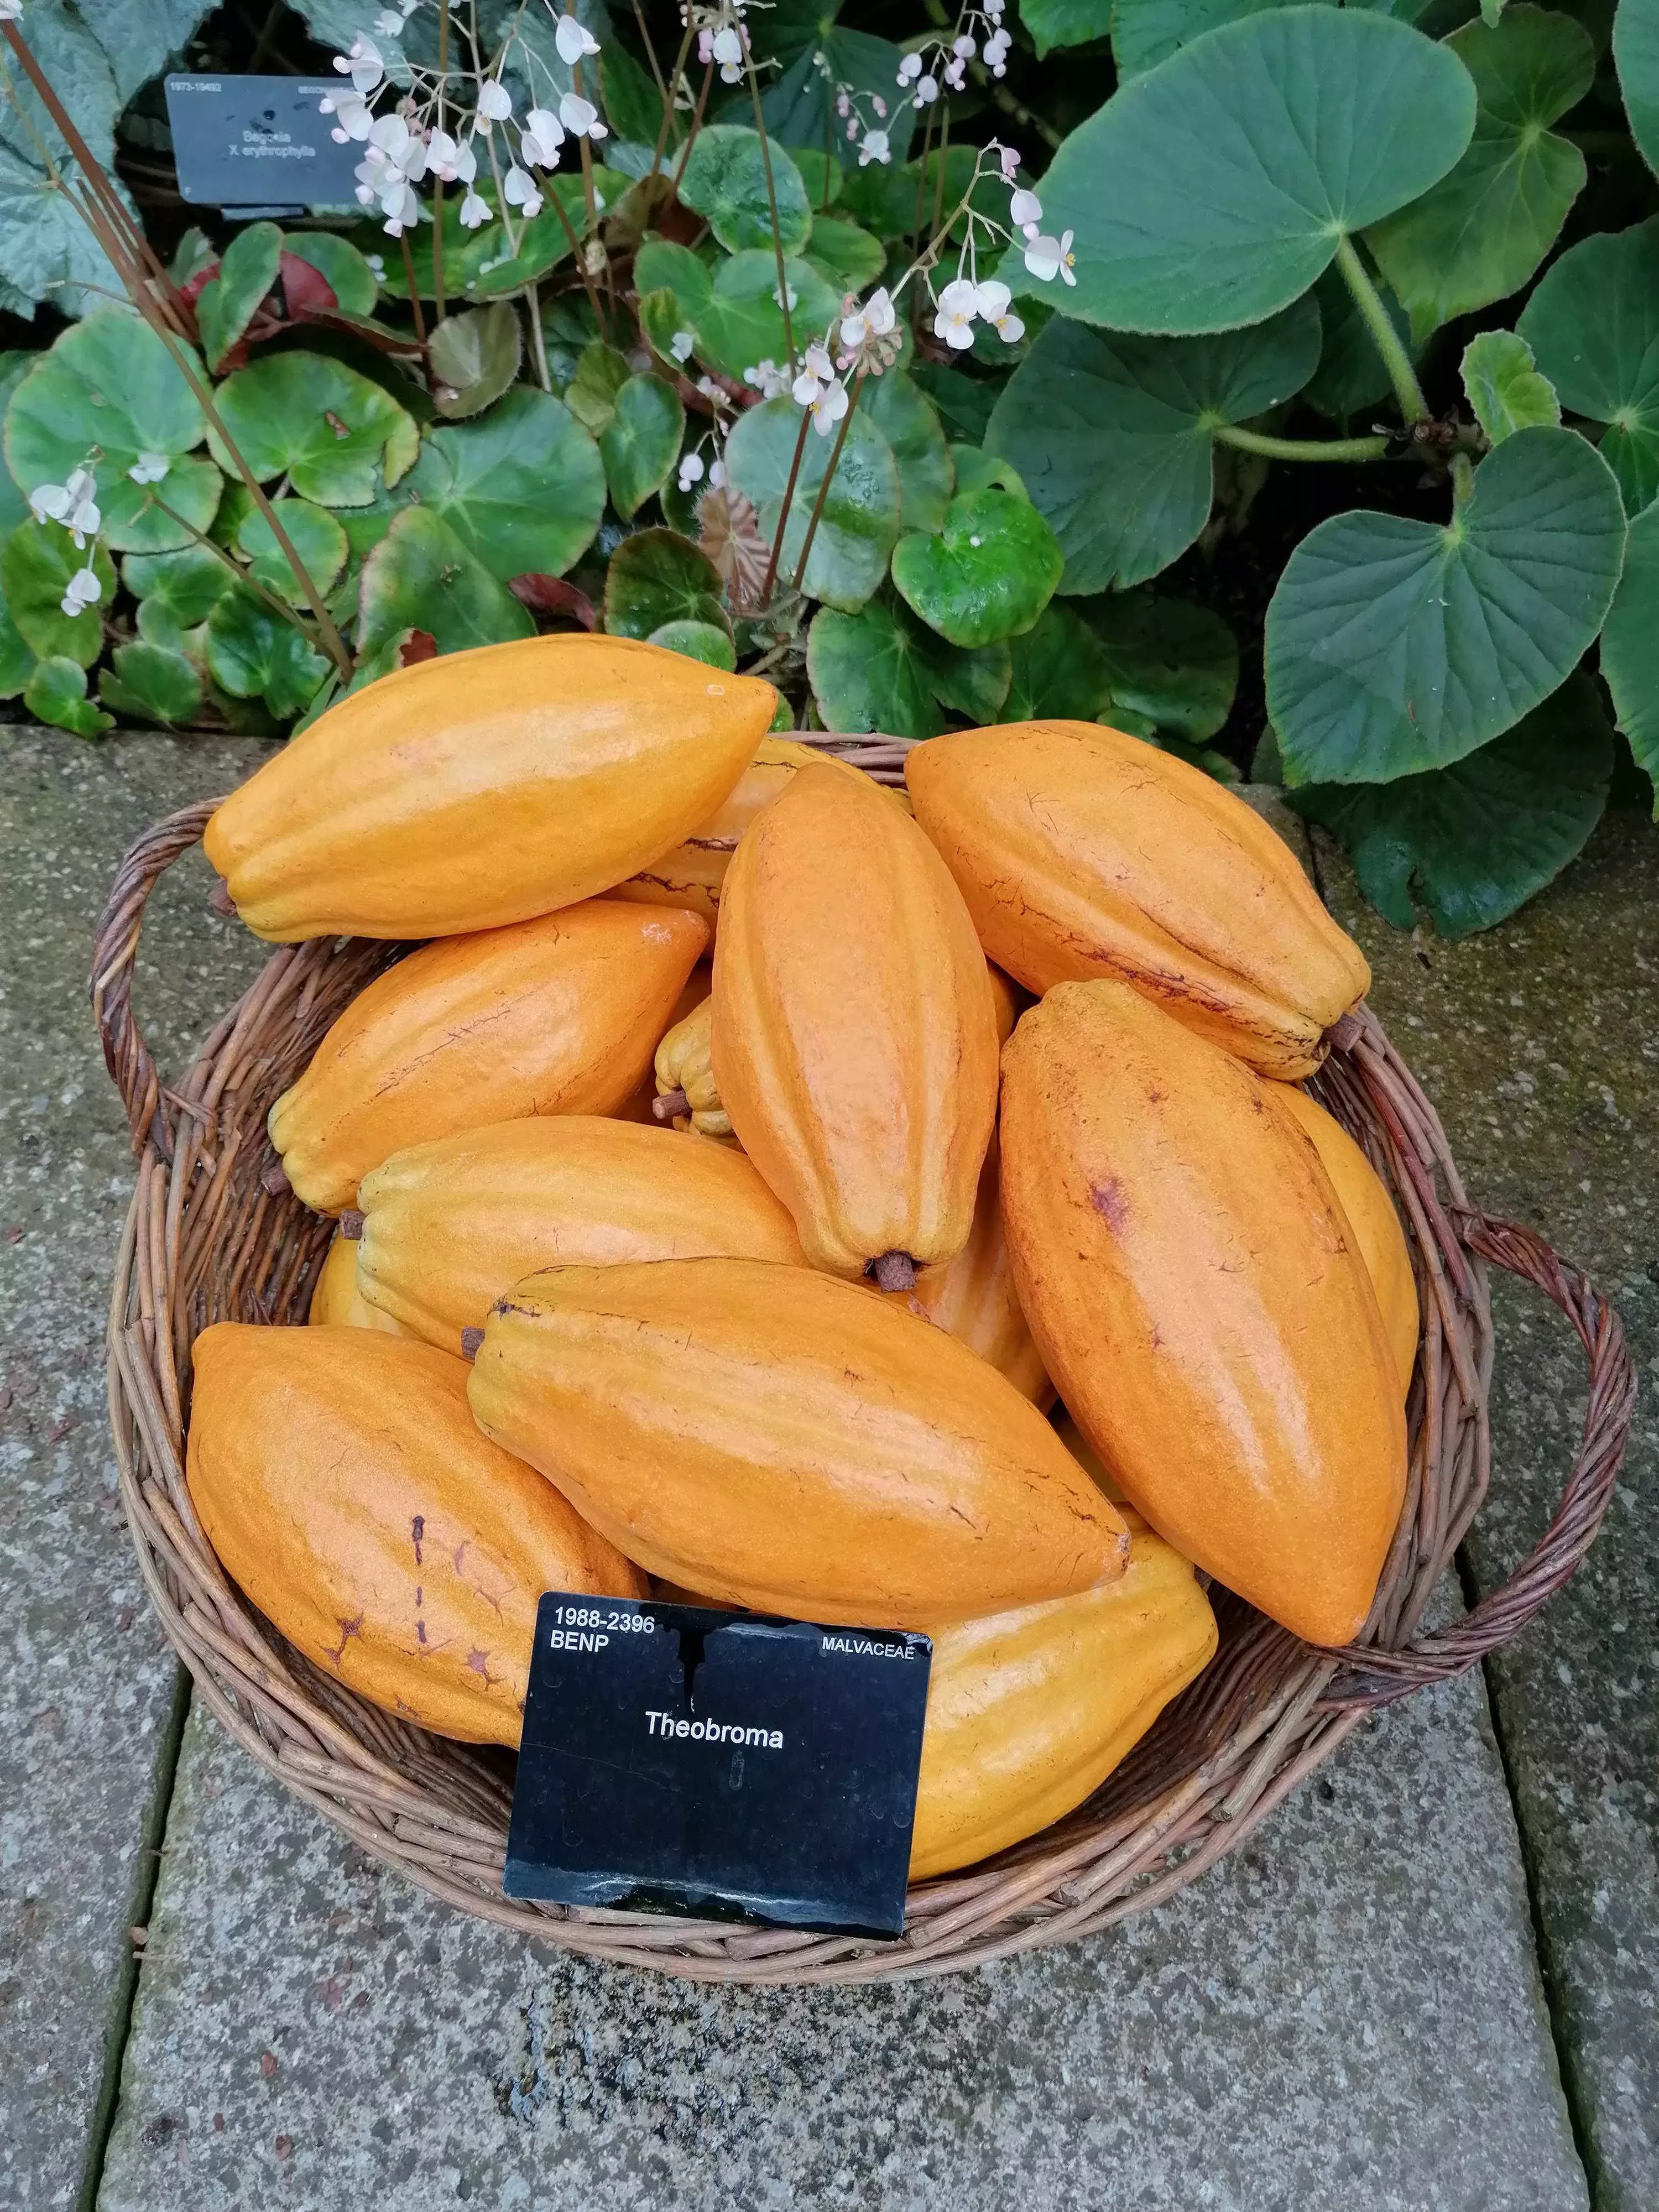
We had a bumper crop of the golden beans this year. I used secateurs to harvest 20 ripe pods to turn into chocolate.
I made sure to pick the ripest fruit, which is golden-yellow in colour with yellow or white colouring beneath the flesh. I also rattled the pods as ripe the ones make a noise when the beans loosen from the husk.

Extracting the beans
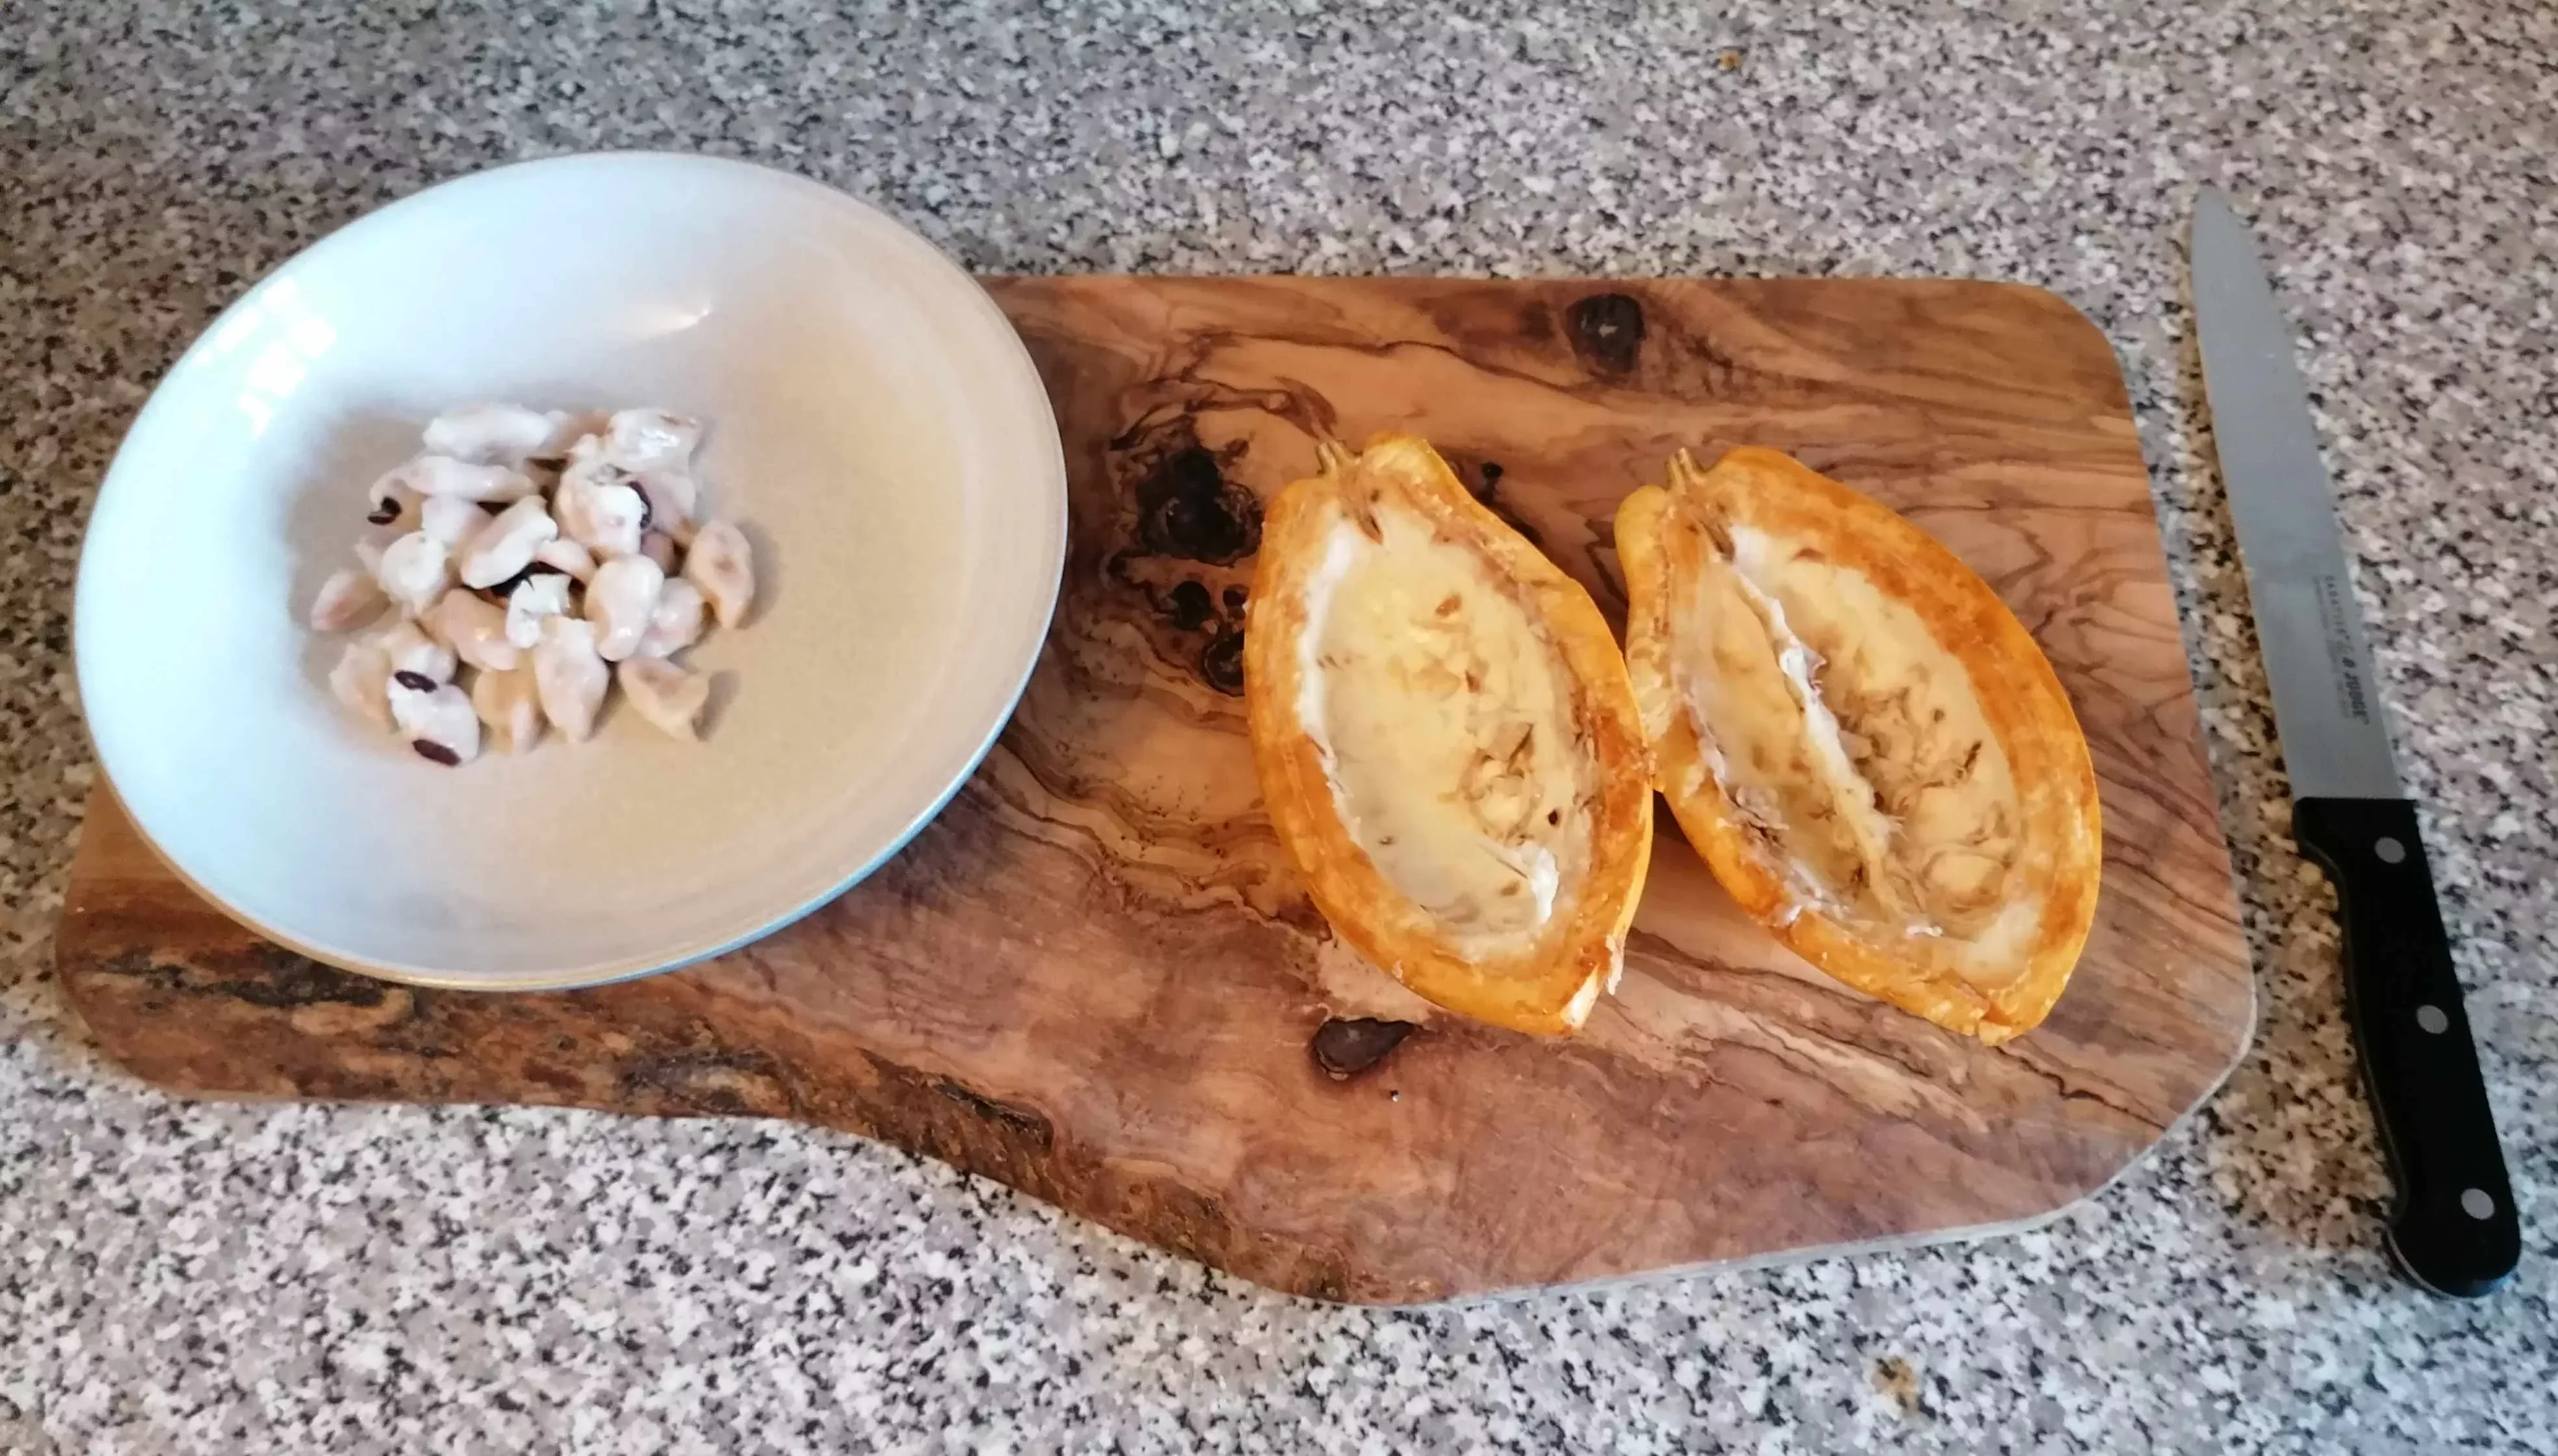
The cacao beans are nestled inside the yellow pods. I used a blunt knife to extract them by scoring the skin, inserting the knife tip and knocking the pod on a table to split it open.
The beans inside are peach coloured, about the size of a large broad bean and covered in a gooey white flesh known as baba.
Baba is sweet and edible and tastes like a mixture of passionfruit and honeydew melon.

Let’s get fermenting
Fermentation is one of the most important stages in the chocolate-making process. This is what creates the delicious rich flavour.
The largest producer of chocolate worldwide is the Ivory Coast of Africa, with 2,034,000 tonnes produced there annually. This part of the world experiences 30°C temperatures and over 75% humidity for most of the year.
With this in mind, I tried to recreate perfect chocolate fermentation conditions in my distinctly non-tropical west London flat…
First I sorted the beans by hand, discarding any that had sprouted or been damaged as these would spoil the chocolate.
To speed up fermentation and develop the flavour, I added a pinch of baker’s yeast, a tablespoon of white wine vinegar and a tablespoon of cane sugar dissolved in a cup of water to the beans.
Did you know?
Cacao beans are traditionally fermented in a bed of banana leaves for between four days to two weeks.
The banana leaves keep out the light and stop heat (produced during fermentation) from escaping. The leaves also release ethylene gas which helps to ripen and ferment the cacao beans.
Natural yeasts, added by insects and the workers’ hands, speed the fermentation process and develop the all-important rich chocolate flavours.
Turn up the heat
Once the beans have fermented, they need to be dried.
The aim of drying is to reduce the water content of the cacao beans from 37% to around 7%. Drying them slowly is essential for a good flavour.
I placed the beans in an airtight container, and experimented with different ways of keeping them warm. First I tried the radiator, but drying them in the oven (at a low temperature and covered in foil) worked better.
I fermented the beans in the oven at 40°C, 16 hours per day for three days, stirring occasionally.
As the beans were fermenting they gave off a powerful vinegar aroma, but this is a normal part of the process. The yeast converts sugars in the pulp surrounding the cacao beans to ethanol. Bacteria then turn the ethanol to vinegar, and finally to carbon dioxide and water.
After three days the fermented beans changed from deep purple to rich brown inside and the vinegary smell turned into a tempting chocolate brownie aroma.

Roasting and winnowing
The roasting stage sterilises the cacao beans, drives off unpleasant acidic compounds generated in the fermentation stage and develops complex flavours.
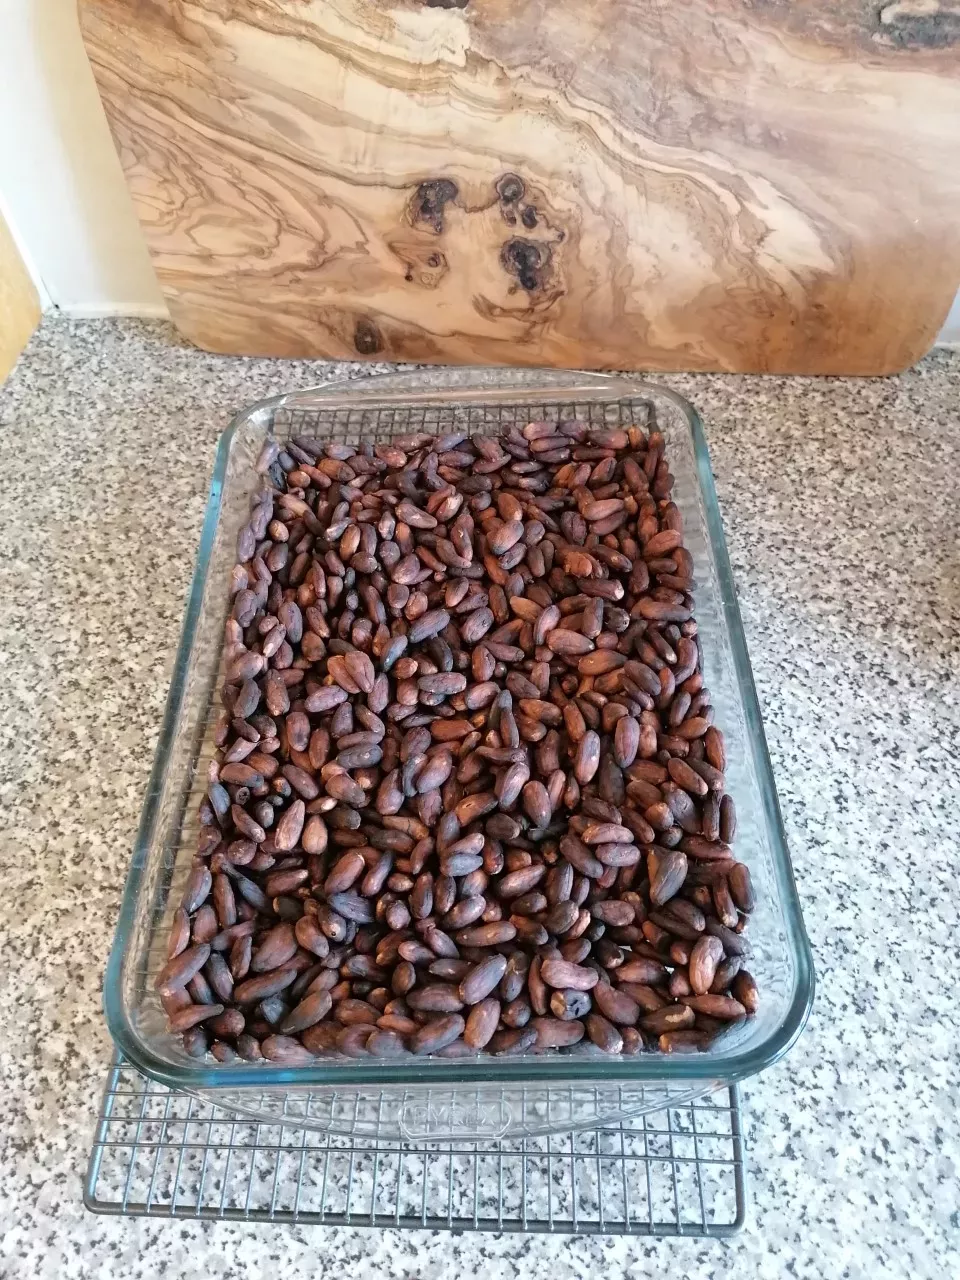
To start, I roasted at a high temperature (160°C) to loosen the shells from the nibs before gradually turning down the heat in stages to prevent scorching the beans, and stirring occasionally.
I then winnowed them using a rolling pin, which is the process of separating the cacao nibs from the useless shells.
Top tip
If you'd like to make your own chocolate at home, I would recommend starting from the roasting stage.
Fresh cacao pods are much scarcer to come by than pre-fermented and dried beans, which you can buy from a few UK stockists.

Grinding
Next is the grinding stage, where the chocolate is ground up into tiny pieces and extra ingredients are added (like dairy and sugar).
Chocolate needs a fat content of 35% to ensure it sets into a solid bar. I decided making dark chocolate would be best, as the cacao butter that occurs naturally in the cacao would be enough to set the chocolate. The only extra ingredient I needed was sugar.
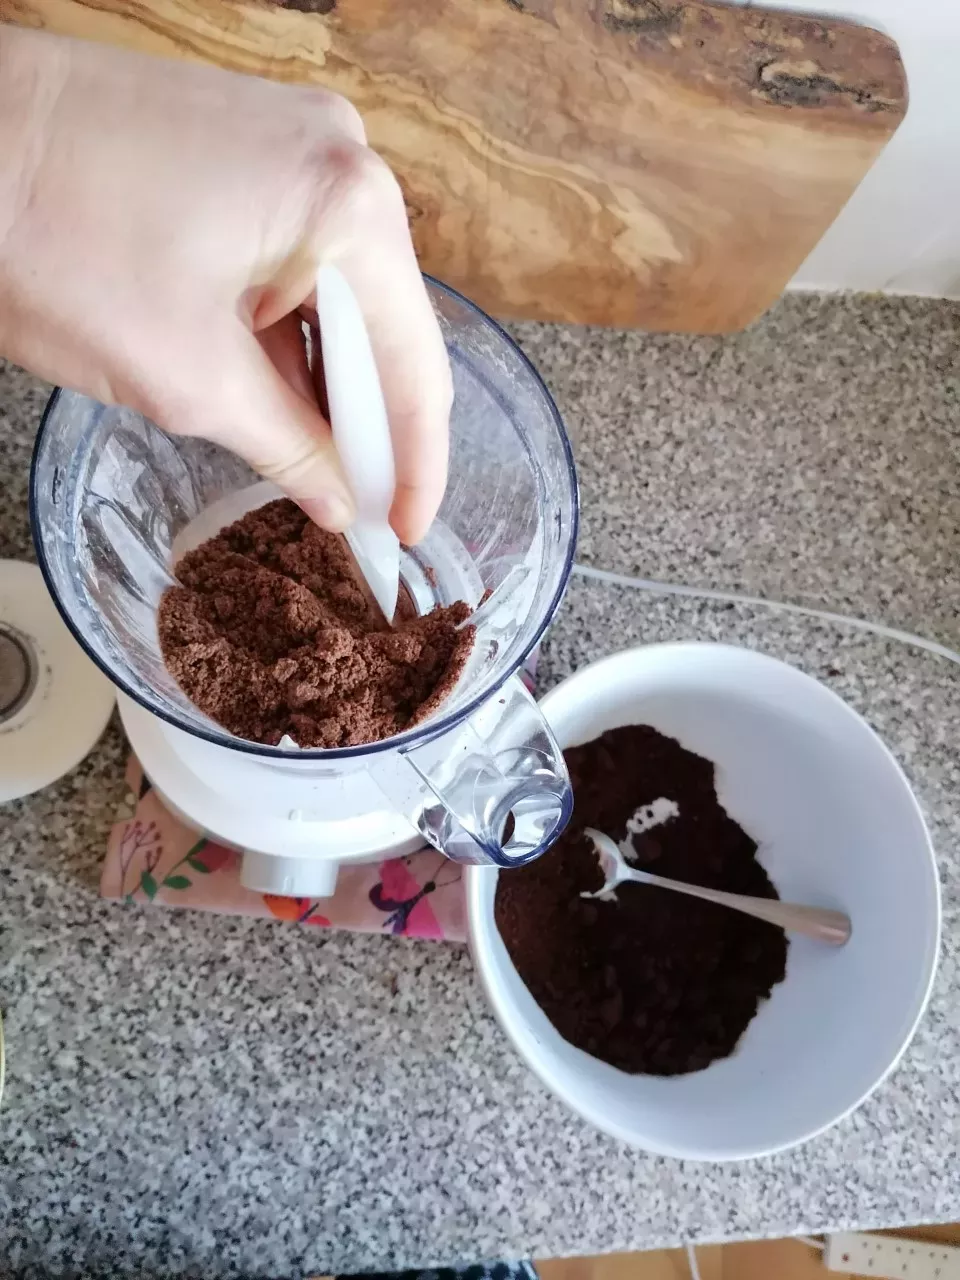
I ground up the beans for 10 minutes in the blender, until they were the consistency of coffee grounds. Separately, I ground up brown sugar to a fine powder, before adding both the cacao and sugar back into the blender together to blend more.
Conching
Conching, a process invented by Swiss chocolatier Rodolphe Lindt, is where the chocolate is mixed and stirred. This warms the mixture, causes it to melt and improves the texture.
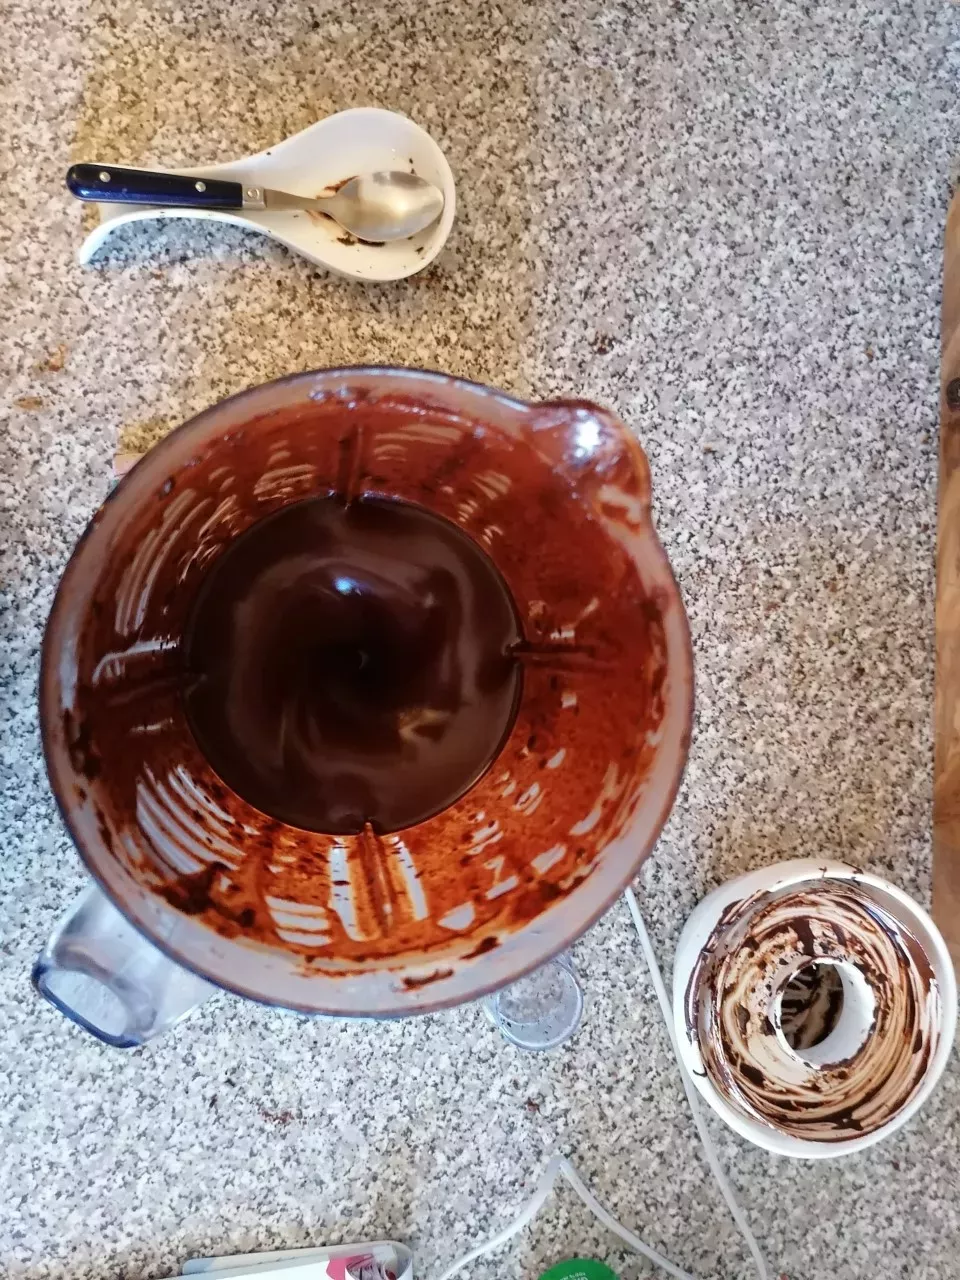
As the mixture heats the cocoa butter is released from the beans and the mixture takes on a mud-like consistency.
Eventually the mud texture gave way to a cacao paste and then a liquor (silky liquid chocolate). I took the lid off the blender at this stage to prevent condensation and to let the acidic volatile compounds (which would impact the flavour) evaporate.
Tempering
The final stage is the tricky but essential tempering process. Tempering is necessary because chocolate is polymorphic, which means the crystals in chocolate can be arranged in different shapes.
The fats in cacao butter can form one of five crystal structures as they cool and harden, each with different properties.
Tempering chocolate encourages the most stable crystal type to form, which is type 5. Tempered chocolate that's made of these crystals has a good gloss, texture, mouth-feel and snap.
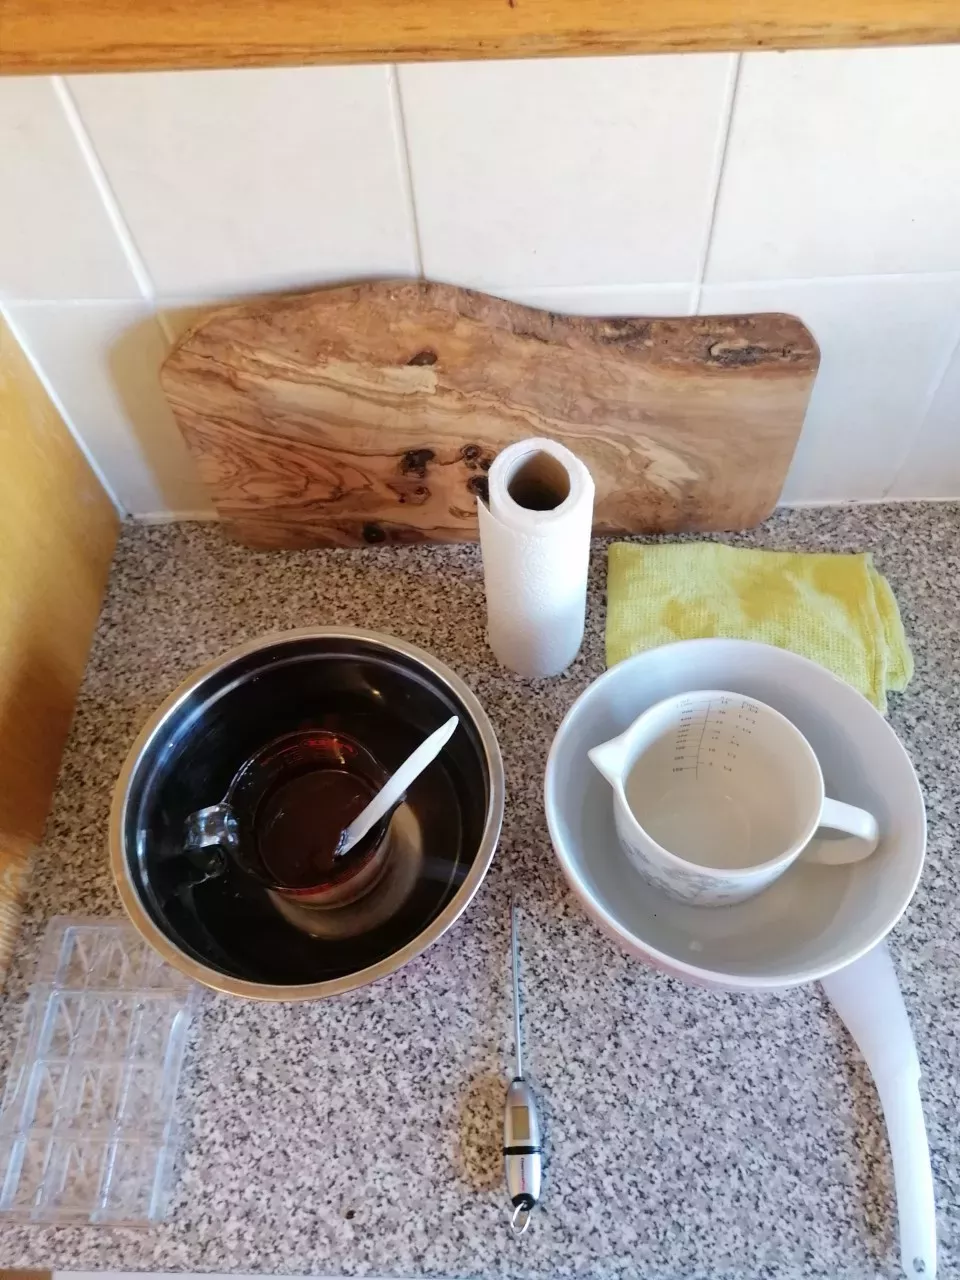
The chocolate has to be cooled very slowly in stages. I used bowls, one in a warm water bath (37°c) and the other in a cold water bath (26°c).
I put the chocolate from my blender into the warm bowl, lifting and dropping it with a spatula until it was 37°c, before transferring a third of it to the cooler bowl.
I repeated this lifting and dropping technique in the cooler bowl, before adding the rest of the warmer chocolate to gradually reduce the temperature.
The aim is to slowly reduce the temperature of the chocolate to 31°c, as this is the temperature where type 5 crystals form best.

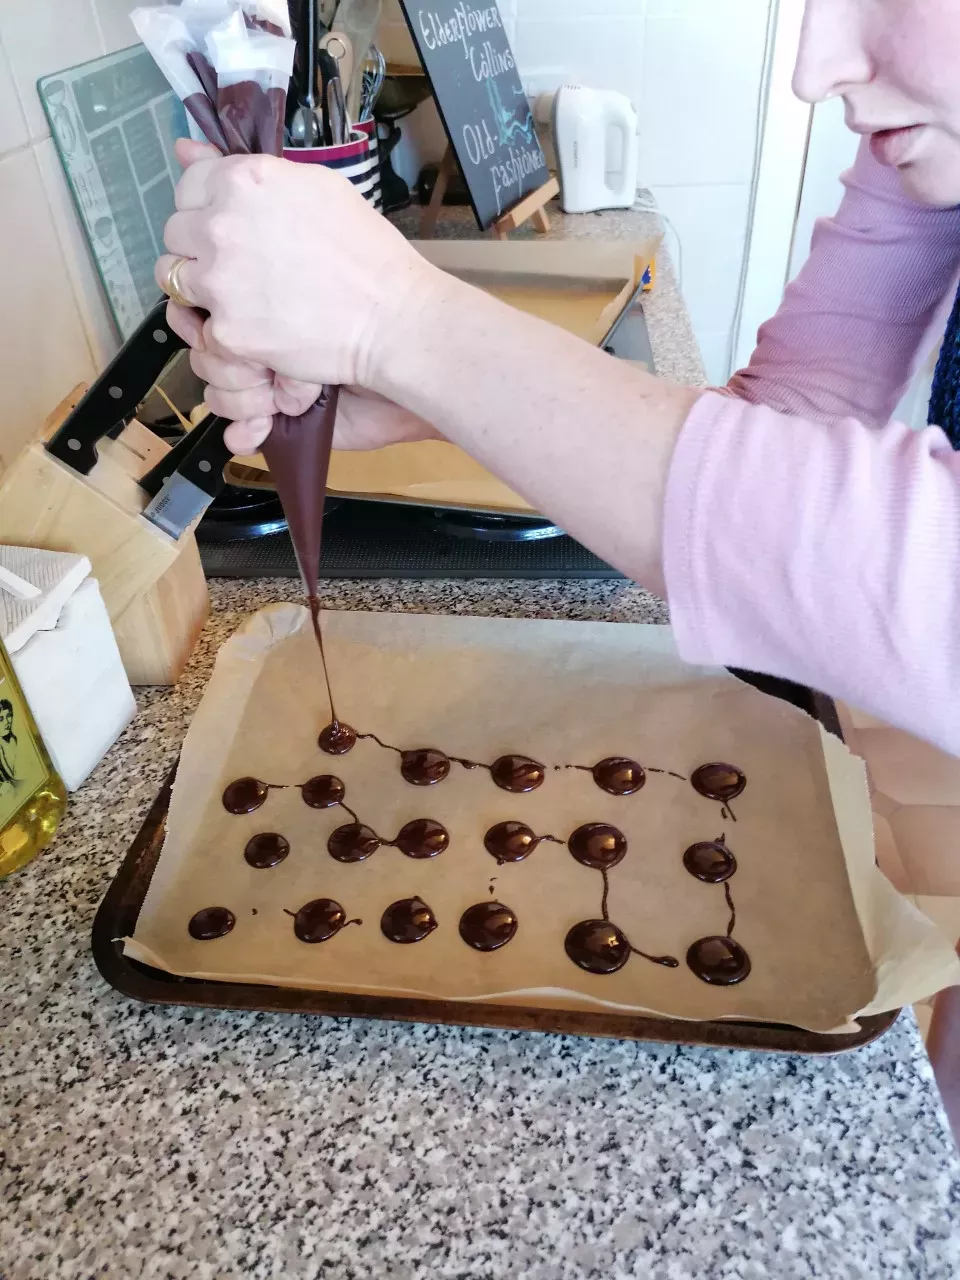
I then poured the chocolate into moulds, and use a piping bag to create chocolate buttons.
Type 5 crystals propagate their own crystal structure throughout the chocolate as it cools, which creates chocolate that has a good texture and glossy shine. I transferred all the chocolate to the fridge to let it set.

The finished product
After a few hours in the fridge the resulting chocolate is delicious with a rich, fruity taste.
Learning about the process of chocolate production from bean to bar over the past three weeks has been a wonderful experience.
All the different chemical reactions and changes the chocolate goes through feel like alchemy. Seeing the process from bean to bar has opened my eyes to the complex process it takes to make chocolate, an everyday luxury that we take for granted.
It's been a real privilege to try delicious homemade chocolate made with simple ingredients, and to make it from cacao we carefully nurture at Kew Gardens.


