9 July 2021
How to press flowers
Learn the art of pressing flowers with this fun how-to guide for kids.

Pressing flowers is a brilliant way to preserve their beauty and intricacy.
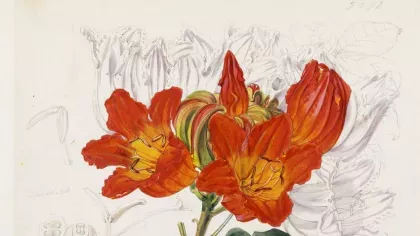
We have many pressed specimens in our Herbarium at Kew – around seven million preserved vascular plants in fact, collected from all around the world over the past two centuries.
These specimens contain a wealth of information and help our scientists identify plants, study biodiversity and use the collection to support conservation, ecology and sustainable development.
The preservation process reduces the moisture in the plants which prevents them from rotting. This means the pressed specimens can last a long time and retain their colour and detail for years.
Now it's time to put on your scientist lab coat and make your own pressed flowers...
Things you will need
- Flowers
- Some heavy books
- Paper
- Kitchen roll

1. First of all, you need to select the flowers you want to press. You could pick some up at the supermarket or florist, or even in your back garden.
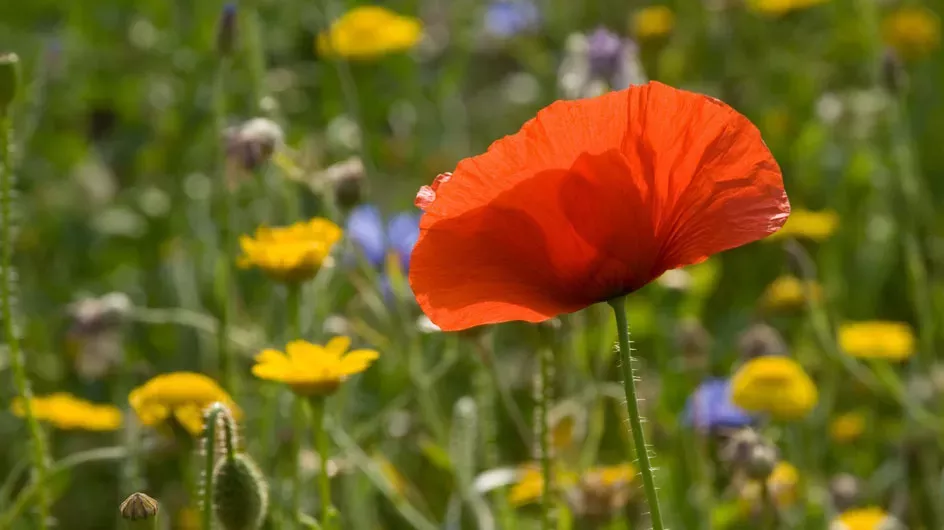
There's an array of colour and shape to choose from. Purple, red, pink or yellow, the choice is yours!

2. If you're picking your own flowers then make sure you have permission to do this.
The best time to pick is on a dry and sunny day after the dew has evaporated to limit moisture on the flower.


3. Select a big book from your bookshelf and open it up to about halfway through.
Lay a piece of paper on the open page. If you plan to press thicker flowers, you may want to add a sheet of kitchen roll too.


4. Place your flower on the paper. Think about how you want to arrange the petals, leaves and stems.
When you're happy with how it looks, rest another piece of paper on top and close the book.

5. Pile more books on top of the closed book to add extra weight. Leave in a warm, dry place.
Check your pressed flowers every day until they no longer feel damp.
If you added a piece of kitchen roll, remove this after one day.

6. When your flowers are completely dry, carefully remove them from the book.
Why not display them in a picture frame or even add them to your plant specimen book like a Kew scientist would?


